
Assigning Entra ID roles
Before we proceed further, we need to understand what roles are within Entra ID. A role gives a user specific permissions to items within Entra ID/Microsoft 365/Intune. There are numerous built-in roles, and you can also create a custom role with specific permissions applied.
It is always worth working from the principle of the least required permissions. It is better to give an admin multiple roles with strict permissions rather than going for a global administrator with keys to the kingdom.
A list of the built-in roles can be found here: https://learn.microsoft.com/en-us/azure/active-directory/roles/permissions-reference.
As this is an Intune book, the two main roles we are interested in initially are Intune Administrator and Entra Joined Device Local Administrator. As its name suggests, Intune Administrator gives full access to everything within Intune.
Entra Joined Device Local Administrator gives users full administrative access over all Entra joined devices. While this is useful for support teams, if licensed, it is worth considering using privileged identity management (PIM), which you can use for role access for a limited amount of time with full reporting.
You can find out more about PIM here: https://learn.microsoft.com/en-us/azure/active-directory/privileged-identity-management/pim-configure
Intune also has specific role-based access control (RBAC) to restrict access within the Intune portal itself. We will cover this further in Chapter 13.
There are two ways to assign roles, so we will use one for each.
How to do it…
Follow these steps to assign a built-in role to your newly created user:
- Navigate to Entra admin center within your new tenant by going to https://entra.microsoft.com.
- Within Entra, click on Show more, then expand the Roles & admins dropdown and click on Roles & admins.
- You will be presented with this menu:
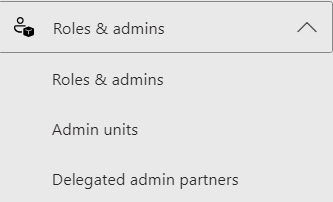
Figure 1.4 – Entra ID – Roles and administrators
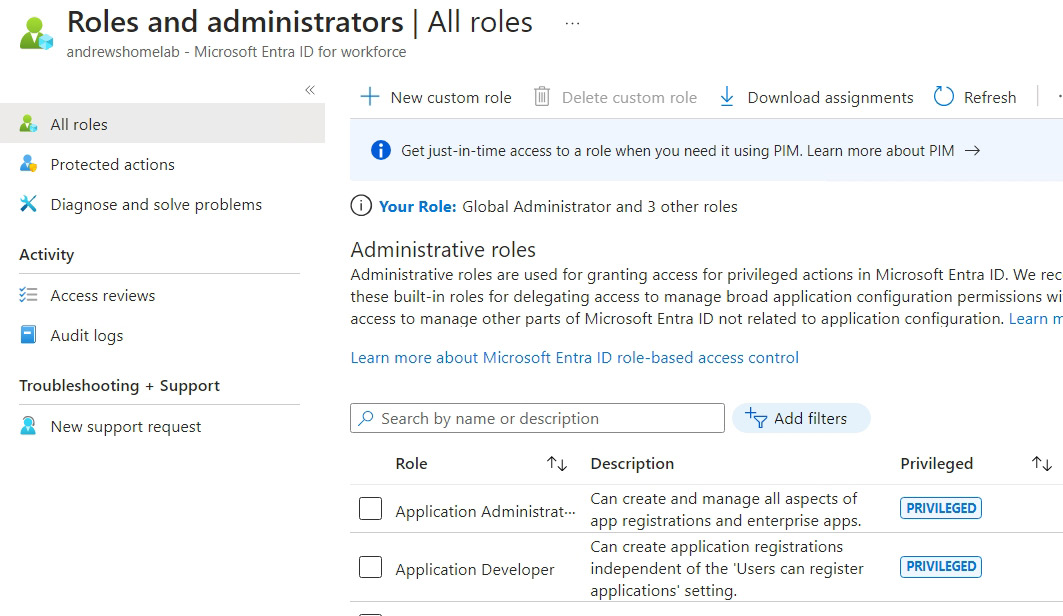
Figure 1.5 – Entra ID – Roles and administrators | All roles
For this, we will use the in-built roles, but if you need something more granular, you can create a custom role based on the exact permissions you require.
- Select Intune Administrator.
- On the screen that appears, click + Add Assignments and find your new user:
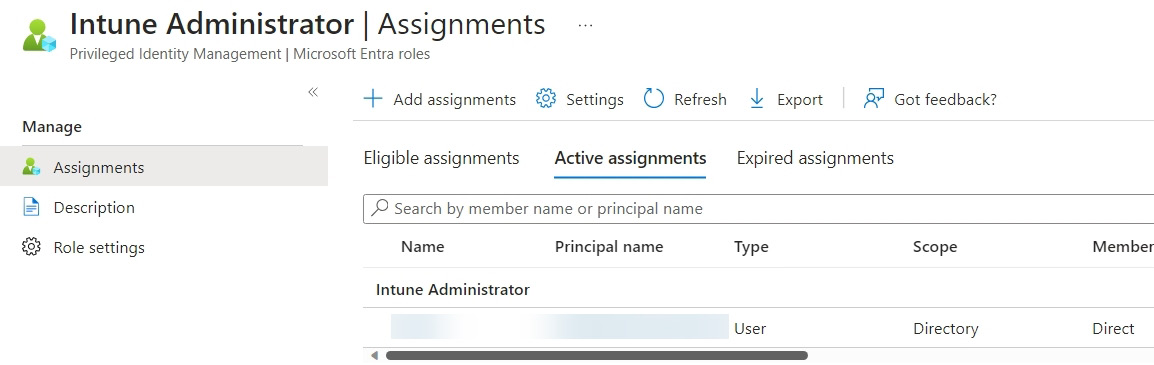
Figure 1.6 – Assigned Intune Administrator role
- The other way we can do this is within the Users blade; navigate back to Entra ID and click on Users, then the user you created.
- Within the user details, click on Assigned roles.
- Then, click + Add assignments.
- This time, select Microsoft Entra Joined Device Local Administrator and click Add.
Following these steps has granted your user administrative rights on your cloud-joined devices.
Automating it
By automating the assignment of roles, we can add to our previous user creation to create an automated onboarding function for user management across job roles.
Adding roles via PowerShell is slightly more complex as we need to find the role ID to be able to assign it.
Create a new PowerShell script and follow these steps:
- For this, we will need to install and import an additional module:
Install-Module Microsoft.Graph.DeviceManagement.Enrolment -Scope CurrentUser -Repository PSGallery -Force
Import-Module Microsoft.Graph.DeviceManagement.Enrolment
- Set the variables, the role name, and the user we are assigning it to (at the time of writing, the role is still called Azure AD Joined Device Local Administrator, but it may change to Entra Joined Device Local Administrator in the future to match the UI):
$rolename = "Azure AD Joined Device Local Administrator"
$user = "test@test.onmicrosoft.com"
- We need to get the ID from the User Profile Name (UPN). We are querying the Users API to the user’s UPN, passing the output as
PSObject, and then retrieving the ID from it. This can be done with two commands, one for grabbing the user details and the second for grabbing the ID from the first variable, but wrapping the query in brackets does the same job and runs quicker:$userid = (Invoke-MgGraphRequest -Uri "https://graph.microsoft.com/beta/users/$user" -Method Get -OutputType PSObject).id
Note that we are passing
OutputTypeand using aGETrequest with this first command. SettingOutputTypeallows us to use the output within PowerShell. - The next stage is to find the details for the role we are looking for. We can do this by grabbing all the roles and then using
where-objectto grab the role we are looking for, after which we can pass the output to a PowerShell object. We grab the roles fromroleDefinitionswithin the whole directory in Graph, in theroleManagementsubsection of the API:$uri = "https://graph.microsoft.com/beta/roleManagement/directory/roleDefinitions" $roletoassign = (((Invoke-MgGraphRequest -Uri $uri -Method Get -OutputType PSObject).value) | where-object DisplayName -eq $rolename).id
- Now that we have the role ID and the user ID, we just need to put them together and assign the role. As we are using a PowerShell module instead of JSON, we must pass parameters instead of raw JSON. Here, we are setting
ScopeIDto"/"to cover the entire directory:$params = @{ "@odata.type" = "#microsoft.graph.unifiedRoleAssignment" RoleDefinitionId = "$roletoassign" PrincipalId = "$userid" DirectoryScopeId = "/" } New-MgRoleManagementDirectoryRoleAssignment -BodyParameter $params
By completing these steps, we have created our script to automate role assignment in Microsoft Entra using the Graph API.