


Installing Django
We already have a base with which to work with Python; now, it’s time to install the minimum dependencies and tools that will be practical in Django.
We will add the following content to requirements.txt, which is currently empty:
# Django
django===4.0
# Django Server
daphne===3.0.2
asgiref===3.4.1
# Manipulate images
Pillow===8.2.0
# Kit utilities
django-extensions===3.1.3
# PostgreSQL driver
psycopg2===2.9.1
# Django Channels
channels===3.0.4
# Redis Layer
channels_redis===3.2.0
You may not know some of them since they are part of the project that adds WebSocket to Django. Let’s review each one:
- Django: This automates many important tasks, such as database connections, migrations, HTML rendering, sessions, and forms. In addition, being one of the most used and active frameworks, it gives us a high degree of security.
- Daphne: An asynchronous server maintained by the Django team itself. We’ll need it to work with WebSocket, to emit or receive data without blocking the app.
- asgiref: An ASGI library that needs Channels to work.
- Pillow: The mandatory Django library for manipulating images.
- django-extensions: A set of extensions that adds elements, such as jobs, script execution, database synchronization, and static storage in S3.
- Psycopg2: The driver to connect to PostgreSQL, the database that we will use and is most recommended to use with Django.
- Channels: Adds protocols and functionality for working with WebSocket to the heart of Django.
- channels_redis: We must have a record of the connections that we have active and the groups to which they belong. Using a database that writes to the hard disk is an inefficient way to manage it. To solve this, we’ll connect with a Redis service later, as it works on volatile memory and is incredibly fast.
PyCharm may suggest you install a plugin, as shown in the following screenshot:
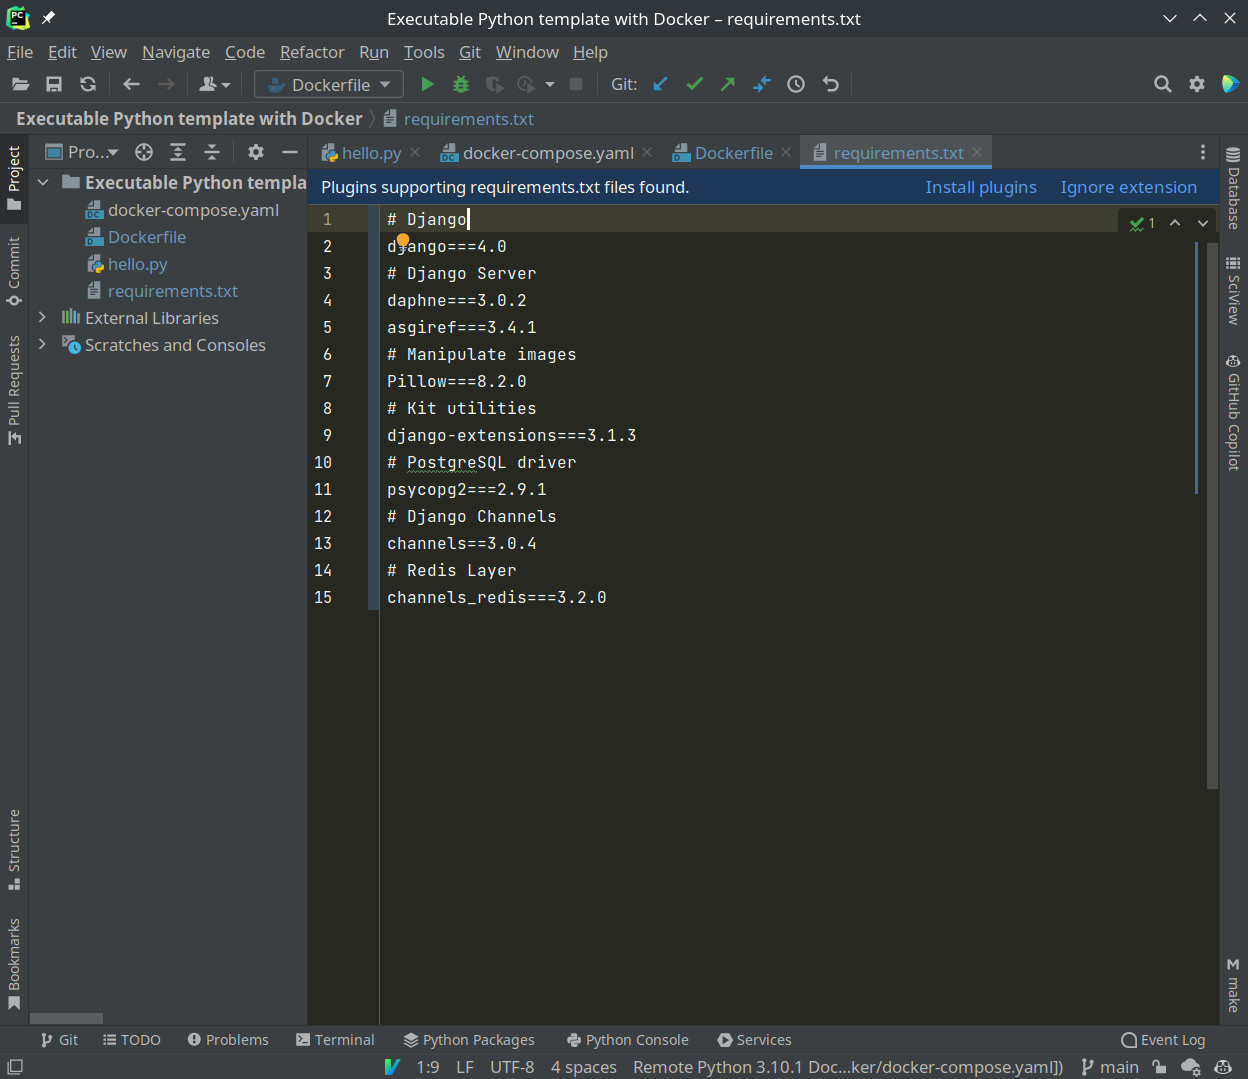
Figure 1.8 – PyCharm asking whether you want to install the new dependencies
If you click on Install plugins, it will show you a window, like so:
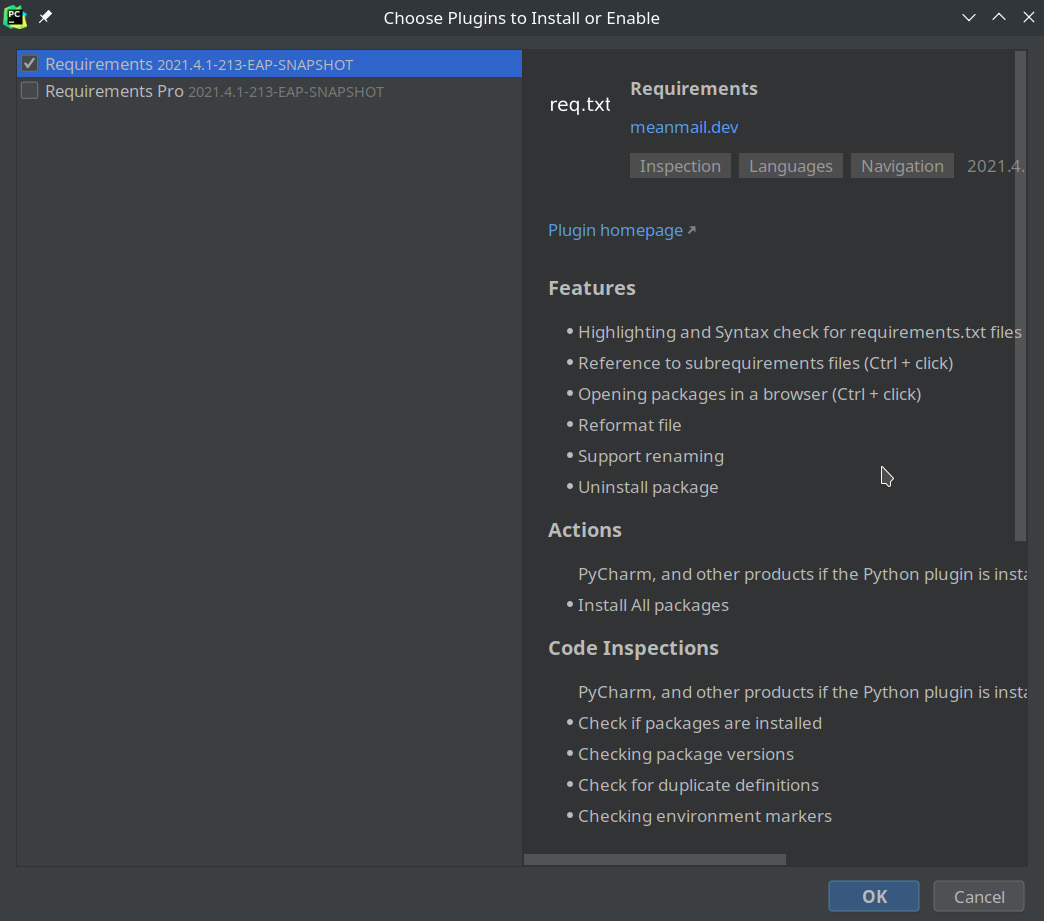
Figure 1.9 – PyCharm asking whether you want to install the requirements plugin
By clicking on the OK button, we can enjoy color codes for requirements.txt.
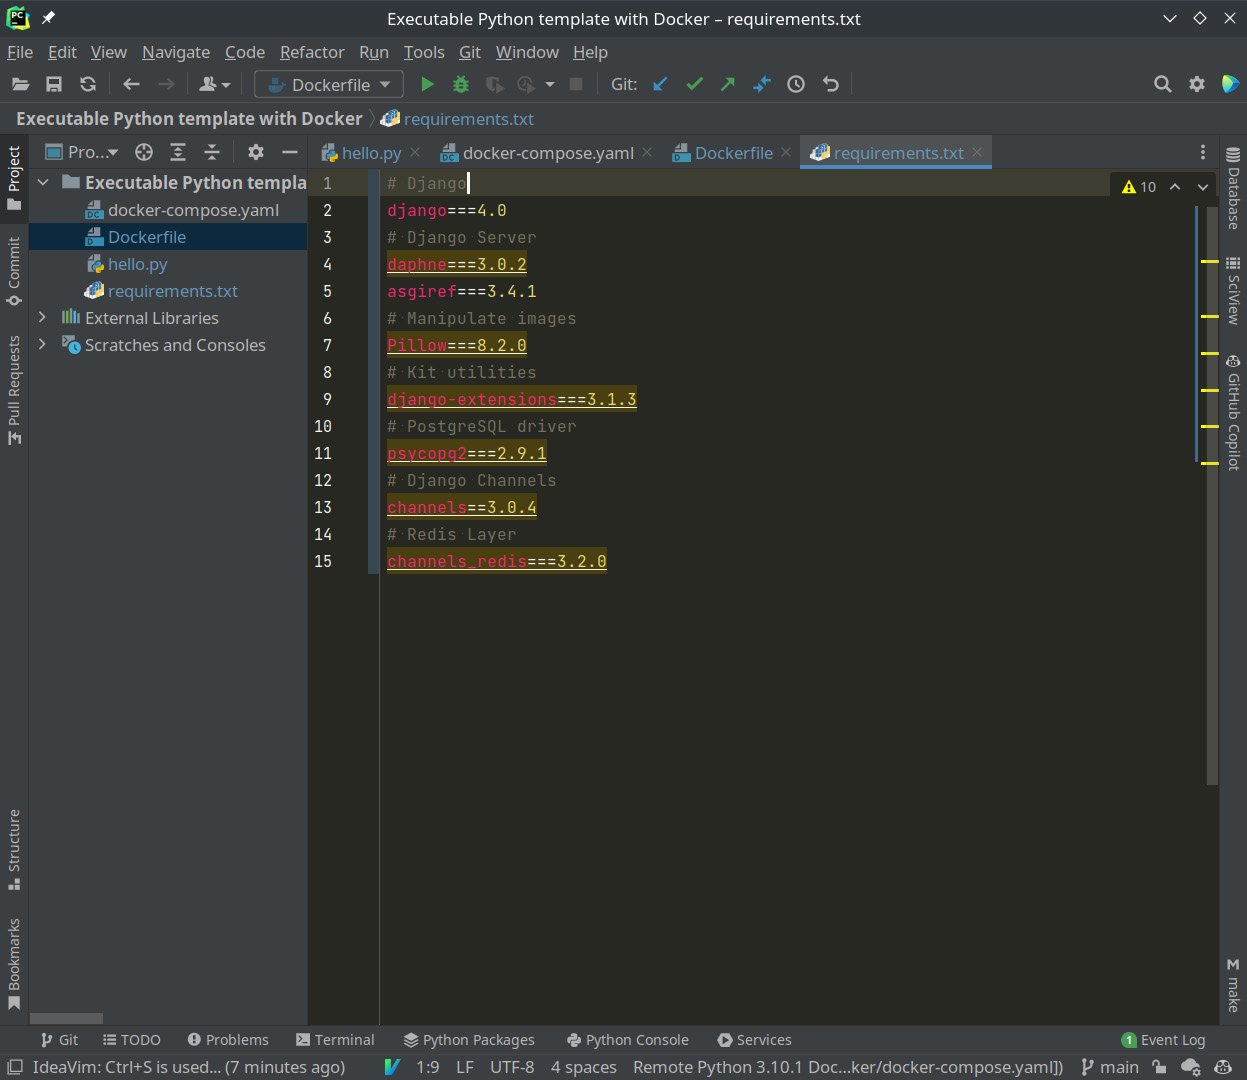
Figure 1.10 – Color codes thanks to the plugin
Now, we will recompile the image so that all the dependencies we have added are installed.
With PyCharm, this can be done in a visual way. Go to Dockerfile, right-click on the double arrow shown in the following screenshot, and select Build Image for ‘Dockerfile’:
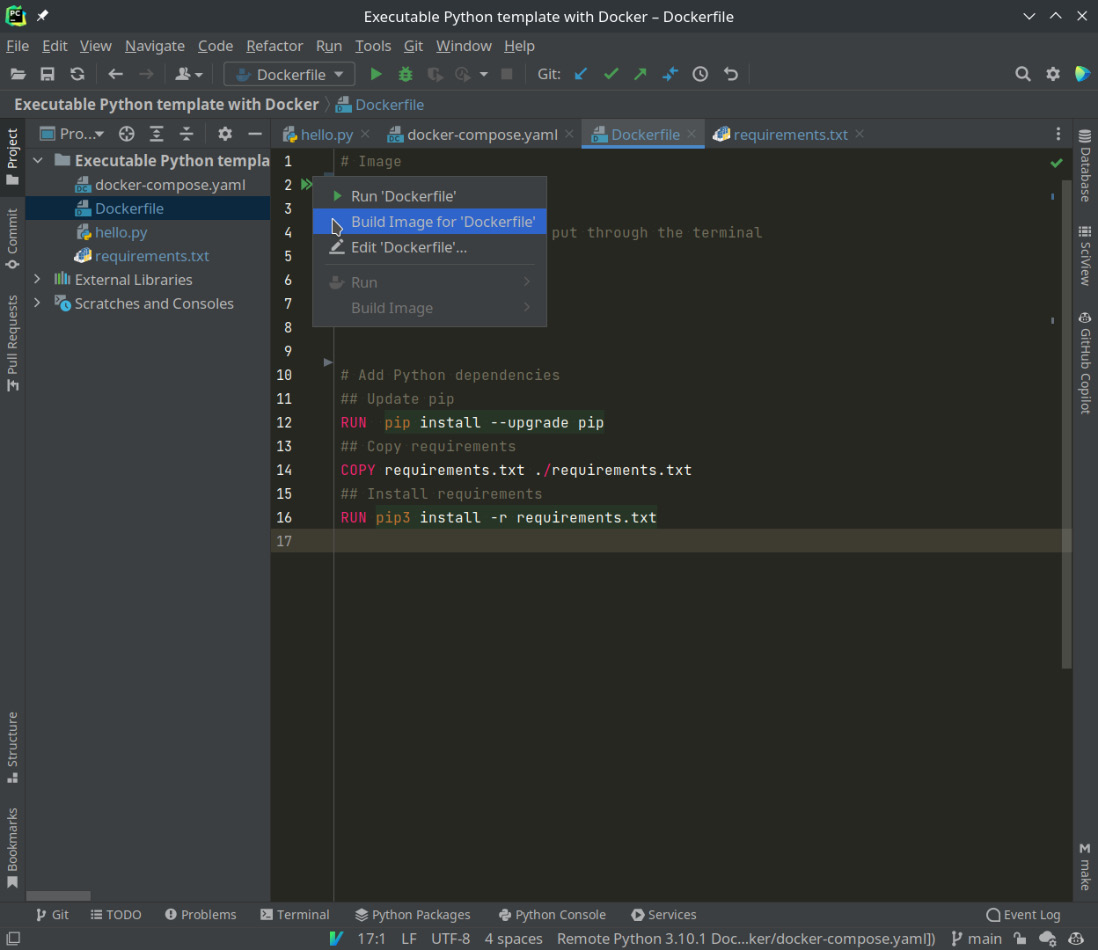
Figure 1.11 – Compiling a Dockerfile image using PyCharm
If you are using the terminal or another editor, we will use docker-compose in the directory:
docker-compose build
By recreating the image, we’ve integrated all the dependencies inside the image; now, Django has everything we need. To check that it’s installed and we have version 4, we’ll temporarily modify entrypoint:
Entrypoint: django-admin --version
And then, we’ll run the service.
Remember that you can do this by clicking on the green arrow next to Python (line 5 in Figure 1.12) or through docker-compose.
docker-compose up
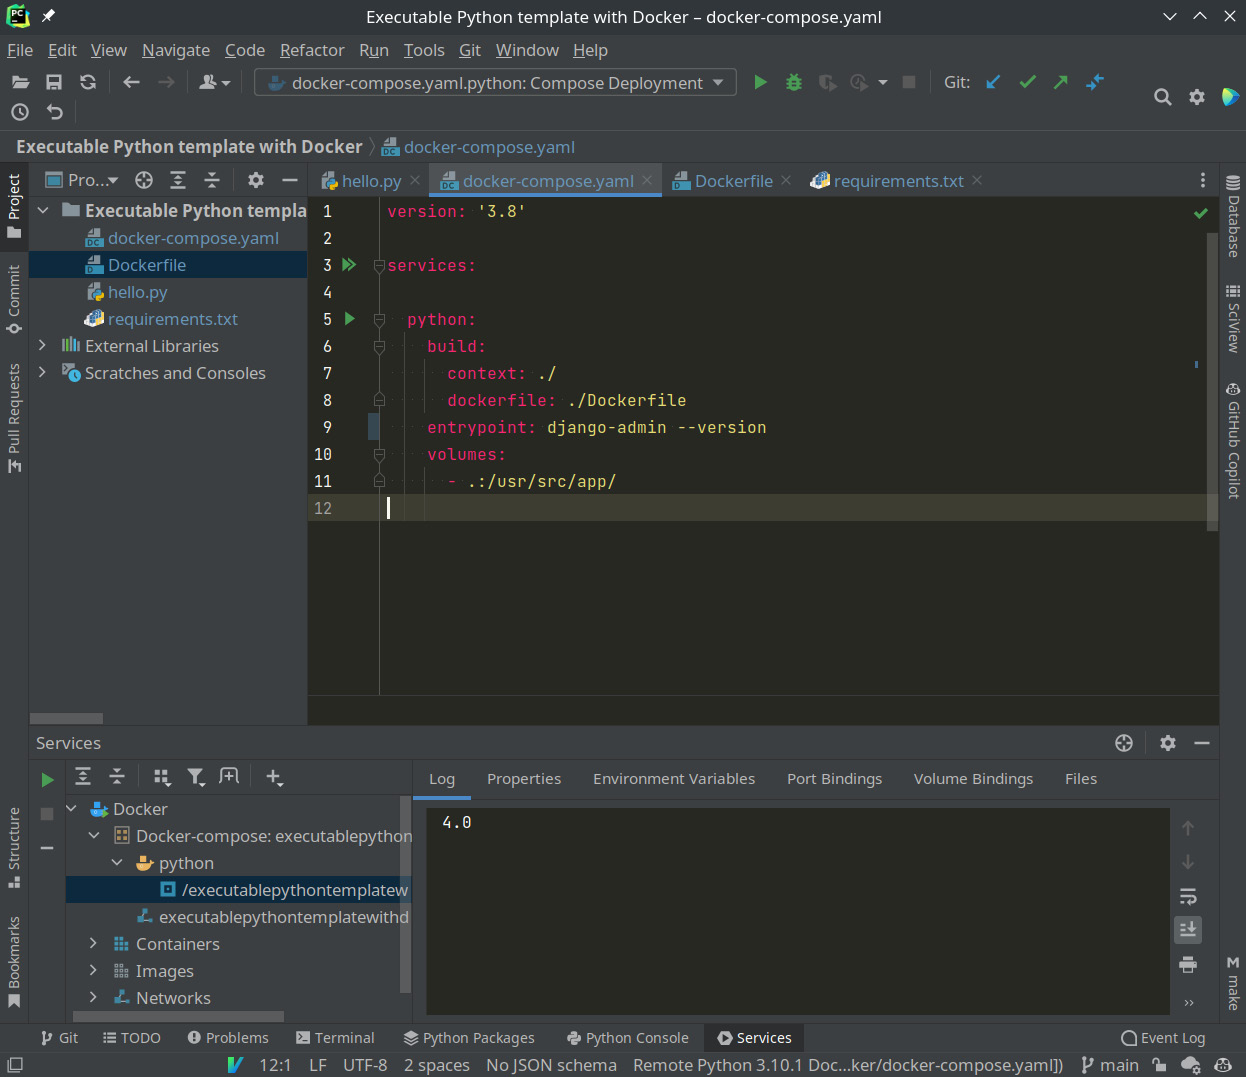
Figure 1.12 – Checking which version of Django is installed
In both cases, you can see that it returns 4.0 or the version specified in requirements.txt. We are ready!
All this work can serve as a template for future Python developments. Don’t lose it!
After creating a minimal template through the Django client, we’re going to configure it to launch the test server every time the service is up.