
In this chapter, you will learn these recipes:
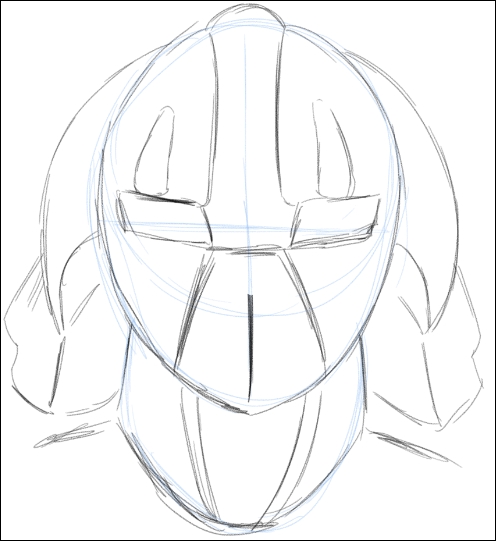
Using Symmetry ruler
Making action lines with the Scattered stream line tool
Making action lines with the Dark stream line tool
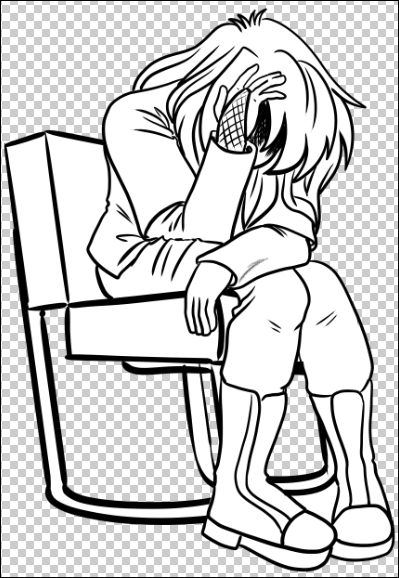
Adding moods with the Gloom stream line tool
Making rain drops with the Rain stream line tool
Making focus lines with the Scattered stream line tool
Making focus lines with the Dark saturated line tool
Making focus lines with the Dense saturated line tool
Using the Brightness tool
Creating dark flashes with the Burst tool