

It's been a long time since the Qt and OpenCV frameworks were introduced to the open source community and the world, but it wasn't until recently that people started noticing the benefits of using the two together, and the combination became popular among computer vision experts. We're in luck since we are at a phase in the history of these two frameworks where they both have been grown enough to be combined very easily, with little or no effort. There are also no more questions about the stability of these frameworks, and they are sometimes used to build applications running on quite sensitive hardware. Even a brief search on the internet would prove this. As we'll learn in this chapter, Qt Creator has become an almost fully-grown IDE, and it provides very easy mechanisms to integrate and build computer vision applications using OpenCV. Now that we are past all installation and configurations that we faced in Chapter 1, Introduction to...
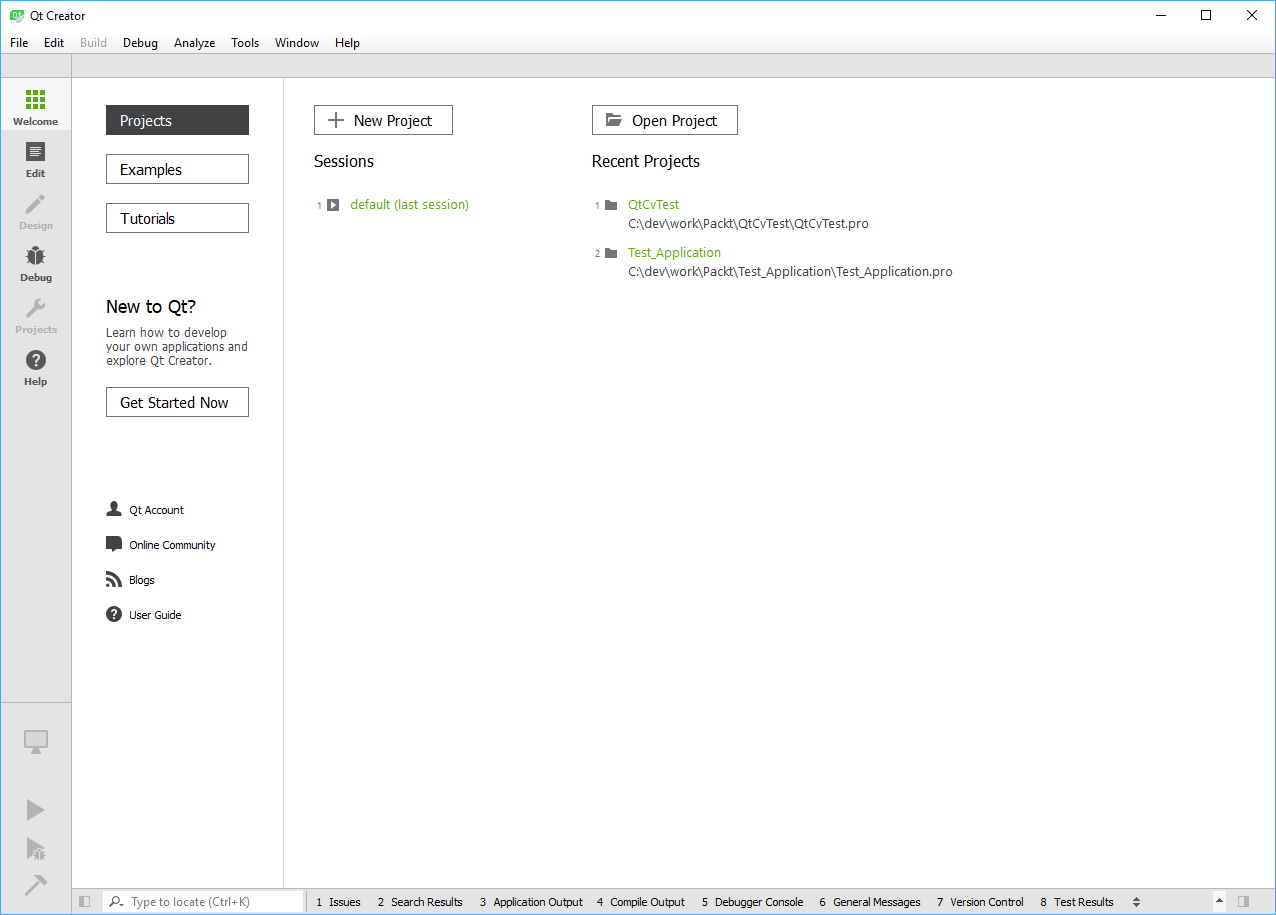
Qt Creator is not the same thing as the Qt framework. Yes, that's right; it is just an IDE created by and for the Qt framework. This is what confuses many people who are somewhat to these terms. So, what does that really mean? In a very basic definition, it means you can use Qt Creator or any other IDE to create Qt applications. At some point, when the Qt framework became rich with classes and functions, the people responsible for Qt decided to create an IDE using the wonderful Qt framework itself, and, voila! An IDE free from the operating systems and C++ compiler types was born. Qt Creator is an IDE that supports better integration with the Qt framework, it's open source (which basically means you can use it for free), it's cross-platform, and it includes almost all the tools required from an IDE. Here's a screenshot of the Welcome mode in Qt Creator:
Note that we'll necessarily use all of the Qt Creator features, but it's a good idea to know what it's capable of before...
In this section, we will take a walk around different and bits of Qt Creator. It's always a good idea to get a sense of your surroundings and environment when you move to a new place. You may not notice the differences at the beginning, but this is actually a very similar situation, as you'll come to realize. You are going to use the Qt Creator environment throughout the whole book, and, basically, live and work with it for the entire period of reading this book, and, later on, hopefully, for a long time in your career, personal projects, or studies. So, let's start our walk and start touching things to see what really happens.
Let's go back to the first picture in this chapter. What you see here is the initial Qt Creator screen, or as you'll see a bit later, it is the welcome mode of the Qt Creator. You may notice that the icons and colors here are slightly different than what you have on your computer, even though you installed the same version of Qt. Don't worry, as...
This chapter was an introduction to Qt Creator more than it was anything else, and that is exactly what we need in order to comfortably proceed with the next chapters, concentrating on building things instead of repetitive instructions and configuration tips and hints. We learned how to use Qt Creator to design user interfaces and write code for the user interfaces. We were introduced to some of the most widely used Qt classes and how they are packed in different modules. By learning about different Qt Creator modes and building an application at the same time, we can now practice more by ourselves and even improve the application we wrote. The next chapter will be the chapter where we build the skeleton of an extendable plugin-based computer vision application that will continue almost for the rest of the book, until the very last chapters. In the next chapter, we'll learn about different design patterns in Qt and OpenCV and how we can use similar patterns to build applications...