


Getting ready with Git
Git is a tool for version control in software development. So, what does version control mean?
As a professional developer, you will need to write code as often as possible. Let’s say you work on a project and it’s 80% complete. The project lead has asked you to add a new feature to your code base, and it is urgent as the client wants your team to add that as part of the features required in the minimum viable product you will be presenting in a few days’ time.
You quickly abandon what you were working on before and start working on this new feature. You make changes to one or two files to incorporate the new features. In the shortest time possible, you made the new feature work. Unfortunately, while trying to add the new feature, you unintentionally tampered with code in other files as well, and you don’t even know which one of them is affected.
Now imagine you have a genie that can tell you where in your code you made your change and the exact altered line of code. Wouldn’t that be awesome? Life would be super easy, saving you lots of development time. That’s the magic of version control!
Version control helps you keep track of changes to the code base in your software project. It is a great way of helping developers monitor changes in their source code. Moreover, it eases the collaborative work of the development team. With version control, you can track code base changes, who is changing the code base, and when the change happens. And, if changes are not desirable, you can quickly reverse them.
Developers have used many different version control tools over the years. Git happens to be the current market leader.
How does Git work?
Git is known as distributed version control software. In a work environment where collaboration among team members is necessary, a complete copy of the entire source code will be available on every contributor’s local computer system; we can call this a local repository.
Git tracks the local repository, maintaining a record of all the changes that occur within the local repository. It saves you the time and energy of keeping multiple versions of the project in separate local directories on your computer. This makes sharing changes to the source code between collaborators effortless.
There are three primary states in Git you should know about:
- Modified: In this state, files have been changed, but the changes have not yet been added to the local database by Git. These changes are the ones made since the last commit on the files.
- Staged: In this state, the changes have been tracked by Git and will be added to the Git local database as such in the next commit.
- Committed: In this state, the changed files have successfully been added to the git local database.
Let’s dive deeper into version control concepts and learn how to create local and remote repositories. Before that, it will be helpful to understand the difference between Git and GitHub.
Git versus GitHub
As discussed earlier, Git is an open source tool for version control. It is simply used to track changes in a code base, track the identity of the person who made the change, and allow team coding collaboration among developers. When you set up your project on your local machine, Git is used to track changes in all the activities – adding files, updating existing files, or creating new folders.
It basically keeps a historical record of your source code. Conversely, GitHub is a cloud-based source code hosting and project management service. It simply allows you to use Git as a tool to keep your code base in a remotely hosted environment to track changes in your code base or collaboratively allow developers to work on projects.
Setting up a local repository
Install Git Client from https://git-scm.com/download/. Ignore this step if you already have it installed on your machine:
- Let’s start by creating a working directory named
local_repositoryin the terminal:$ mkdir local_repository
- Set the directory as a working directory:
$ cd local_repository
Inside the working directory, create an HTML file named
index.html:$ touch index.html
You will get the following output:

Figure 1.7 – A screenshot creating index.html
Note
If you are getting an error, 'touch' is not recognized as an internal or external command, operable program or batch file, with touch index.html, type npm install -g touch-cli in your terminal if you have Node.js installed.
- Set up your global credentials:
$ git config --global user.name "Name of User"$ git config --global user.email "test@test.com"
With the preceding commands, you set a global username and email address as credentials to track your contributions in the project source code.
- Your working directory now has a new file,
index.html. Enter this command in the terminal, and you will get output similar to Figure 1.8:$ git init

Figure 1.8 – A screenshot showing the creation of the empty Git repository
With git init, you create an empty local git repository. Git now has a local database or directory that contains all the metadata to track changes in your working directory. The .git folder is usually hidden in your working directory.
- To add the content of your working directory to your repository, enter the following command:
$ git add index.html
This represents the staging state in Git. The changes are tracked by Git and will be added to the Git local database in the next commit.
- To verify this, enter the following command, and you will get output similar to Figure 1.9:
$ git status
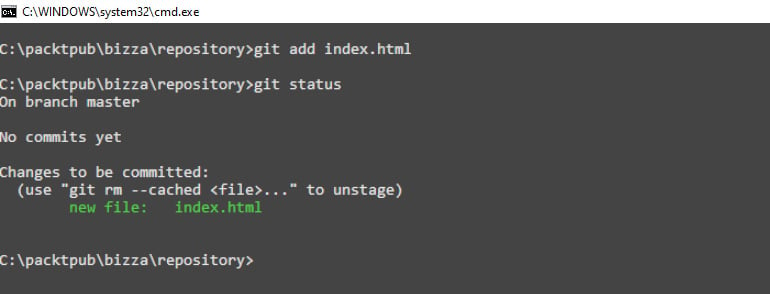
Figure 1.9 – A screenshot showing the staging state of Git
Note
To add multiple contents, enter git add.
- Now, you will need to commit to a local repository. This commit stage helps you track changes in your code base with a user-friendly message. To commit with a message flag, enter the following command, and you will get output similar to Figure 1.10:
$ git commit -m "first commit"

Figure 1.10 – A screenshot showing the commit state of Git
Note
It is always best practice to include a message in your commit command. This helps track changes, and if you have to revert, you can use a commit message as your saving point.
Now you understand how to create a local repository, add files to it, and transition files from the staging area to the committed state. Let’s briefly discuss how you can create a remote repository on GitHub for the cloud-based storage of your source code for possible collaboration.
Setting up a remote repository with GitHub
In today’s digital age, GitHub has become an essential skill for seamless collaboration and version control in software development projects. Let’s delve into setting up a remote repository with GitHub:
- Create a developer account on the GitHub site: https://github.com/.
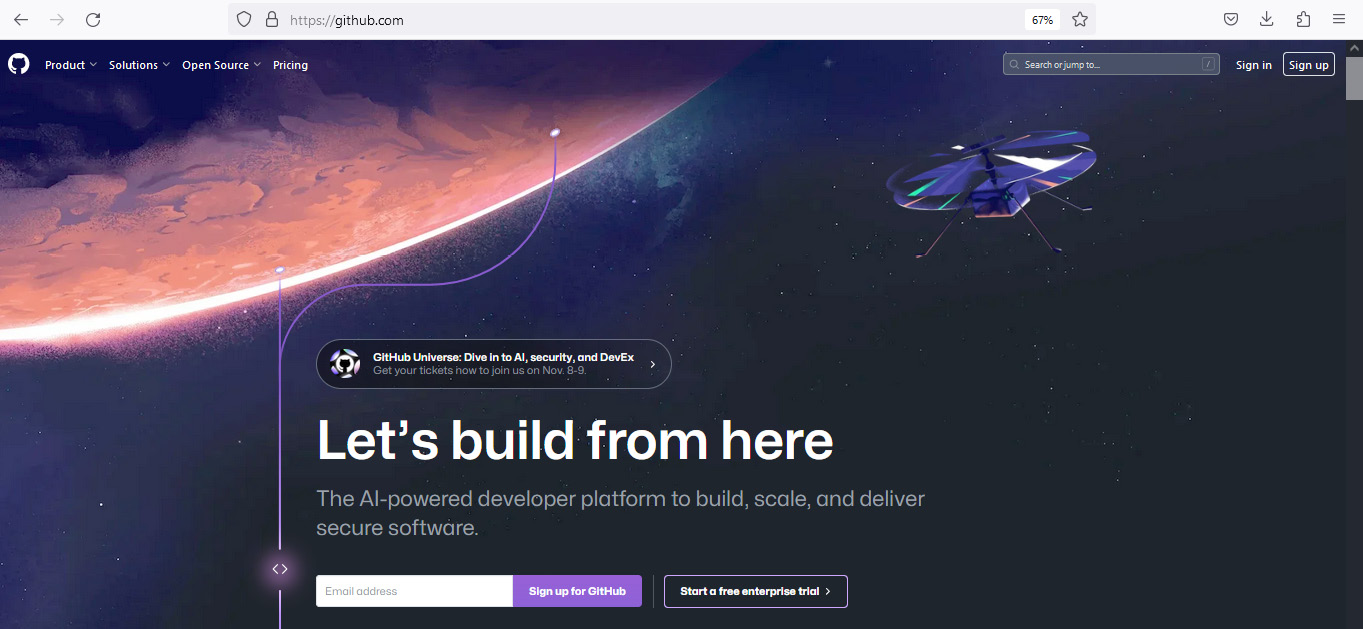
Figure 1.11 – A screenshot showing the GitHub signup page
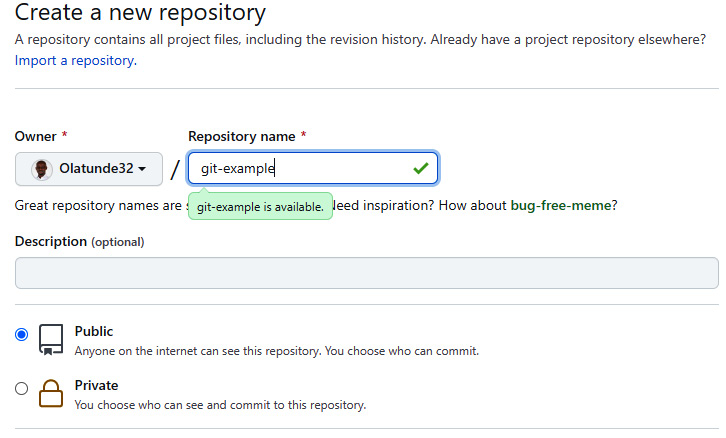
Figure 1.12 – A screenshot showing the staging state of Git
- Once you have created your new repository, enter the following command in your current working directory:
$ git remote add origin https://github.com/your-git-username/your-repository-name.git$ git branch -M main$ git push-u origin main
The preceding commands move your local repository to a remote cloud-based repository to track your code base changes.
In summary, we discussed Git as a required tool for web developers in the modern age. You now know the difference between Git and GitHub. We also discussed basic, useful commands for a version control operation, either in a local or remote repository. Next, we’ll dive into the real-world project we will build in this book using React and Flask.


