Plotting in 2D and 3D
Whether you’re a scientist, analyst, engineer, teacher, or student, you know that proper visualization is vital to understanding your data.
If you decide to showcase your data using diagrams such as line charts, bar charts, or pie charts, then Chapter 14, Drawing Diagrams, will cover you.
If you want to visualize your data in a coordinate system in LaTeX, then the current chapter is the right place.
In this chapter, we’ll be covering the following topics:
- Introducing plotting
- Creating and customizing Cartesian axes, ticks, and labels
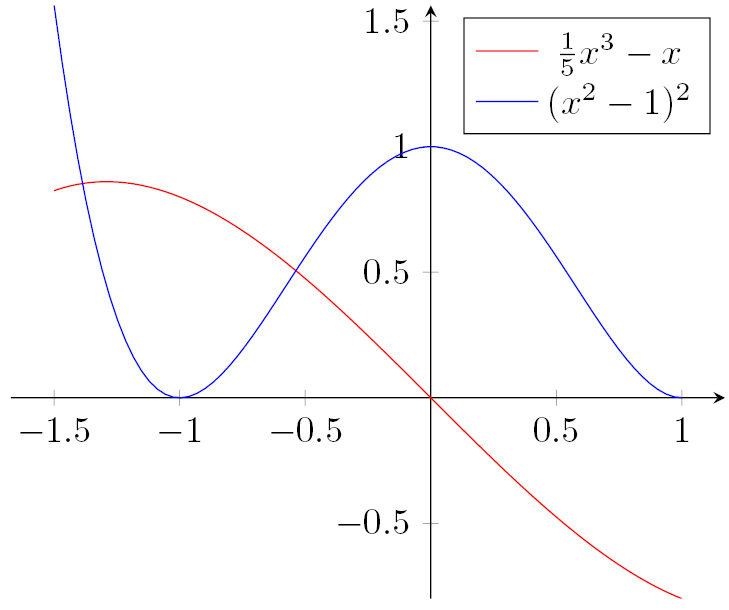
- Using plotting commands and options
- Filling the area between plots
- Calculating plot intersections
- Adding a legend
- Using the polar coordinate system
- Parametric plotting
- Plotting in three dimensions
After studying this chapter, you will be able to easily plot datasets and mathematical functions in a scientific and technical context.