

Implementing Azure AD Privileged Identity Management
To protect your environment’s Azure AD tenancy and improve your security posture, you should implement a robust privileged identity protection strategy for roles and resources.
This recipe will teach you to implement Azure AD Privileged Identity Management (PIM) in your environment’s AD tenancy.
We will take you through configuring a user to be assigned a privileged access role in your Azure AD tenancy so that the user’s activity may be controlled.
Getting ready
This recipe requires the following:
- A device with a browser, such as Edge or Chrome, to access the Azure portal: https://portal.azure.com
- You should sign into the Azure portal with an account with the Global Administrator role
- You will require Azure AD Premium licenses or trial licenses
How to do it…
This recipe consists of the following task:
- Configuring Privileged Identity Management
Task – configuring Privileged Identity Management
- From the Azure portal, search for Azure AD Privileged Identity Management and select access.
- From Azure AD Privileged Identity Management, select Azure Resources and click Discover resources:
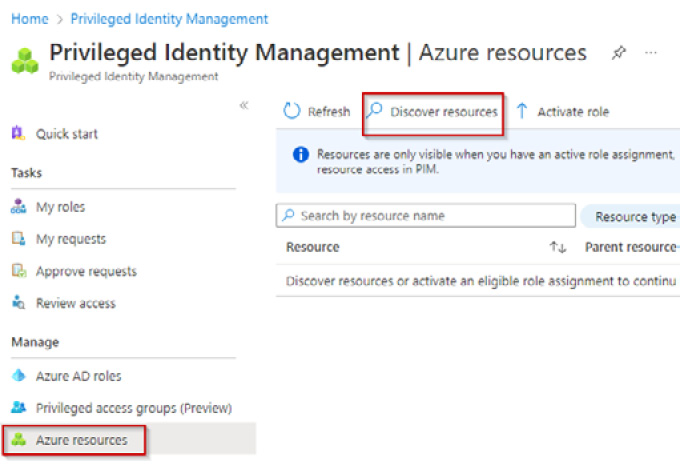
Figure 1.40 – The Privileged Identity Management screen
- Select your Subscription from the Azure resources blade and click Manage resource from the top toolbar. Click OK on the pop-up screen, then close the Discovery page:
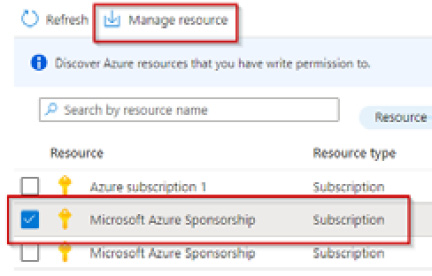
Figure 1.41 – The Azure resources blade
- Click the subscription listed on the Azure resources page; the Overview page will open. From the left menu, click Roles in the Manage section:
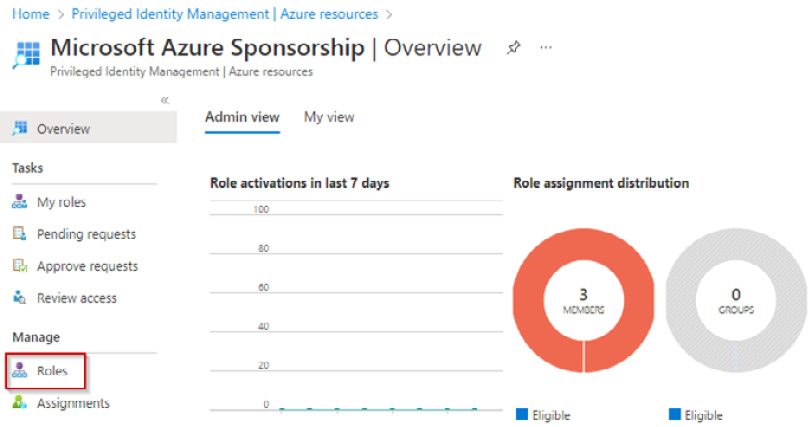
Figure 1.42 – Manage resources screen
- From the Roles blade, click + Add assignments from the top toolbar.
- From the Select role drop-down menu, select a role you want to be controlled via PIM. In our example, we will select the Azure Arc Kubernetes Admin role:

Figure 1.43 – Select role
- Click the No member selected under Select member(s) hyperlink and search and select a user from your Azure AD tenant to be assigned this role:
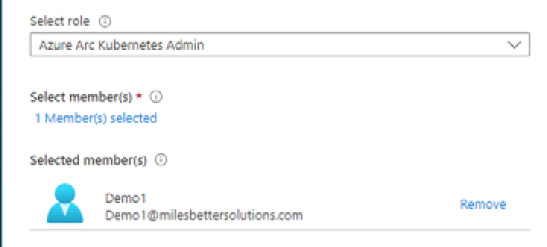
Figure 1.44 – Select member(s)*
- Click Next >.
- Select eligible under assignment type from the setting tab and set the assignment start and end date/times properties. Then, click Assign.
- You will now see information from the Overview page regarding this new assignment:
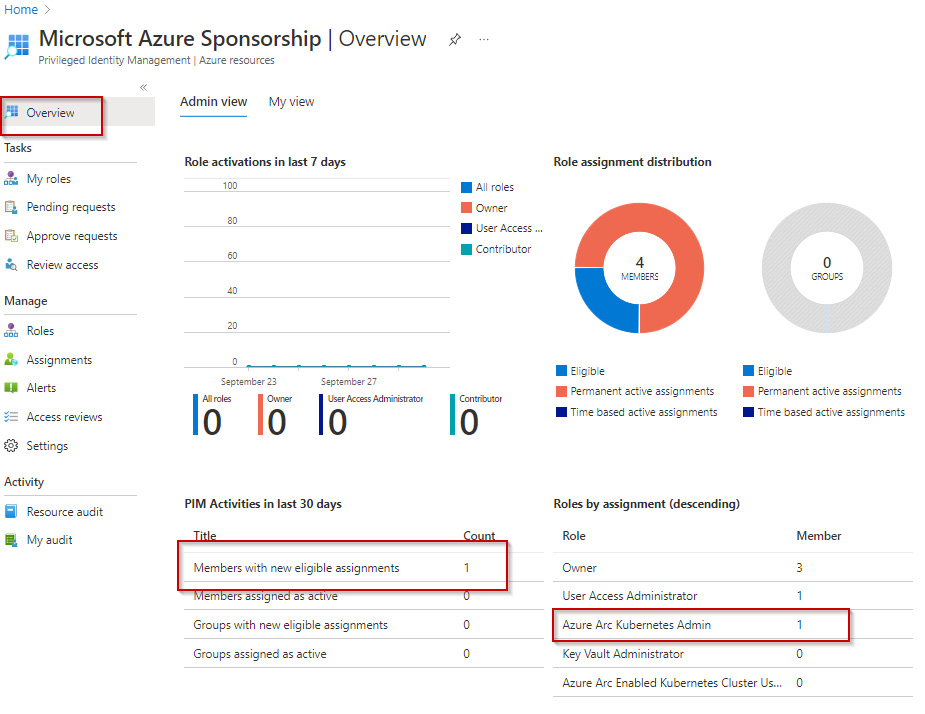
Figure 1.45 – Assignments on the Overview page
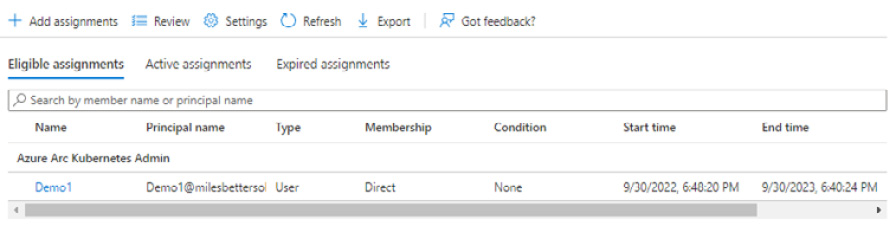
Figure 1.46 – Assignments
- You should receive an email notification regarding this assignment; you can update or remove this assignment and create an access review for ongoing governance:
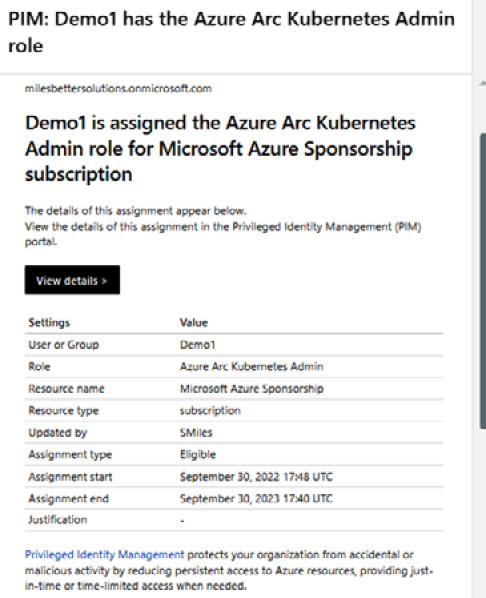
Figure 1.47 – Assignment notification email
With that, you have configured Privileged Identity Management. This concludes the hands-on tasks for this recipe.
How it works…
In this recipe, we looked at how to configure Privileged Identity Management. We assigned a user the Azure Arc Kubernetes Admin role.
See also
Should you require further information, you can refer to the following Microsoft Learn articles:
- Plan and implement privileged access: https://learn.microsoft.com/en-us/training/modules/plan-implement-privileged-access
- Azure Active Directory fundamentals documentation: https://learn.microsoft.com/en-us/azure/active-directory/fundamentals