Reader small image

You're reading from  Angular Cookbook - Second Edition

Product typeBook
Published inDec 2023
Reading LevelBeginner
PublisherPackt
ISBN-139781803233444
Edition2nd Edition
Languages
Tools
Right arrow
Author (1)
Muhammad Ahsan Ayaz
Muhammad Ahsan Ayaz
author image
Muhammad Ahsan Ayaz

Muhammad Ahsan Ayaz is a Google developers expert in Angular, a software architect, and a head instructor of JavaScript at the School of Applied Technology. He loves helping the start-up ecosystem and product owners to bring their ideas to life using JavaScript, Angular, and web technologies. He has built several open-source projects that he maintains and he speaks at events, along with creating articles and video courses.
Read more about Muhammad Ahsan Ayaz

Right arrow

How to apply multiple structural directives on the same element

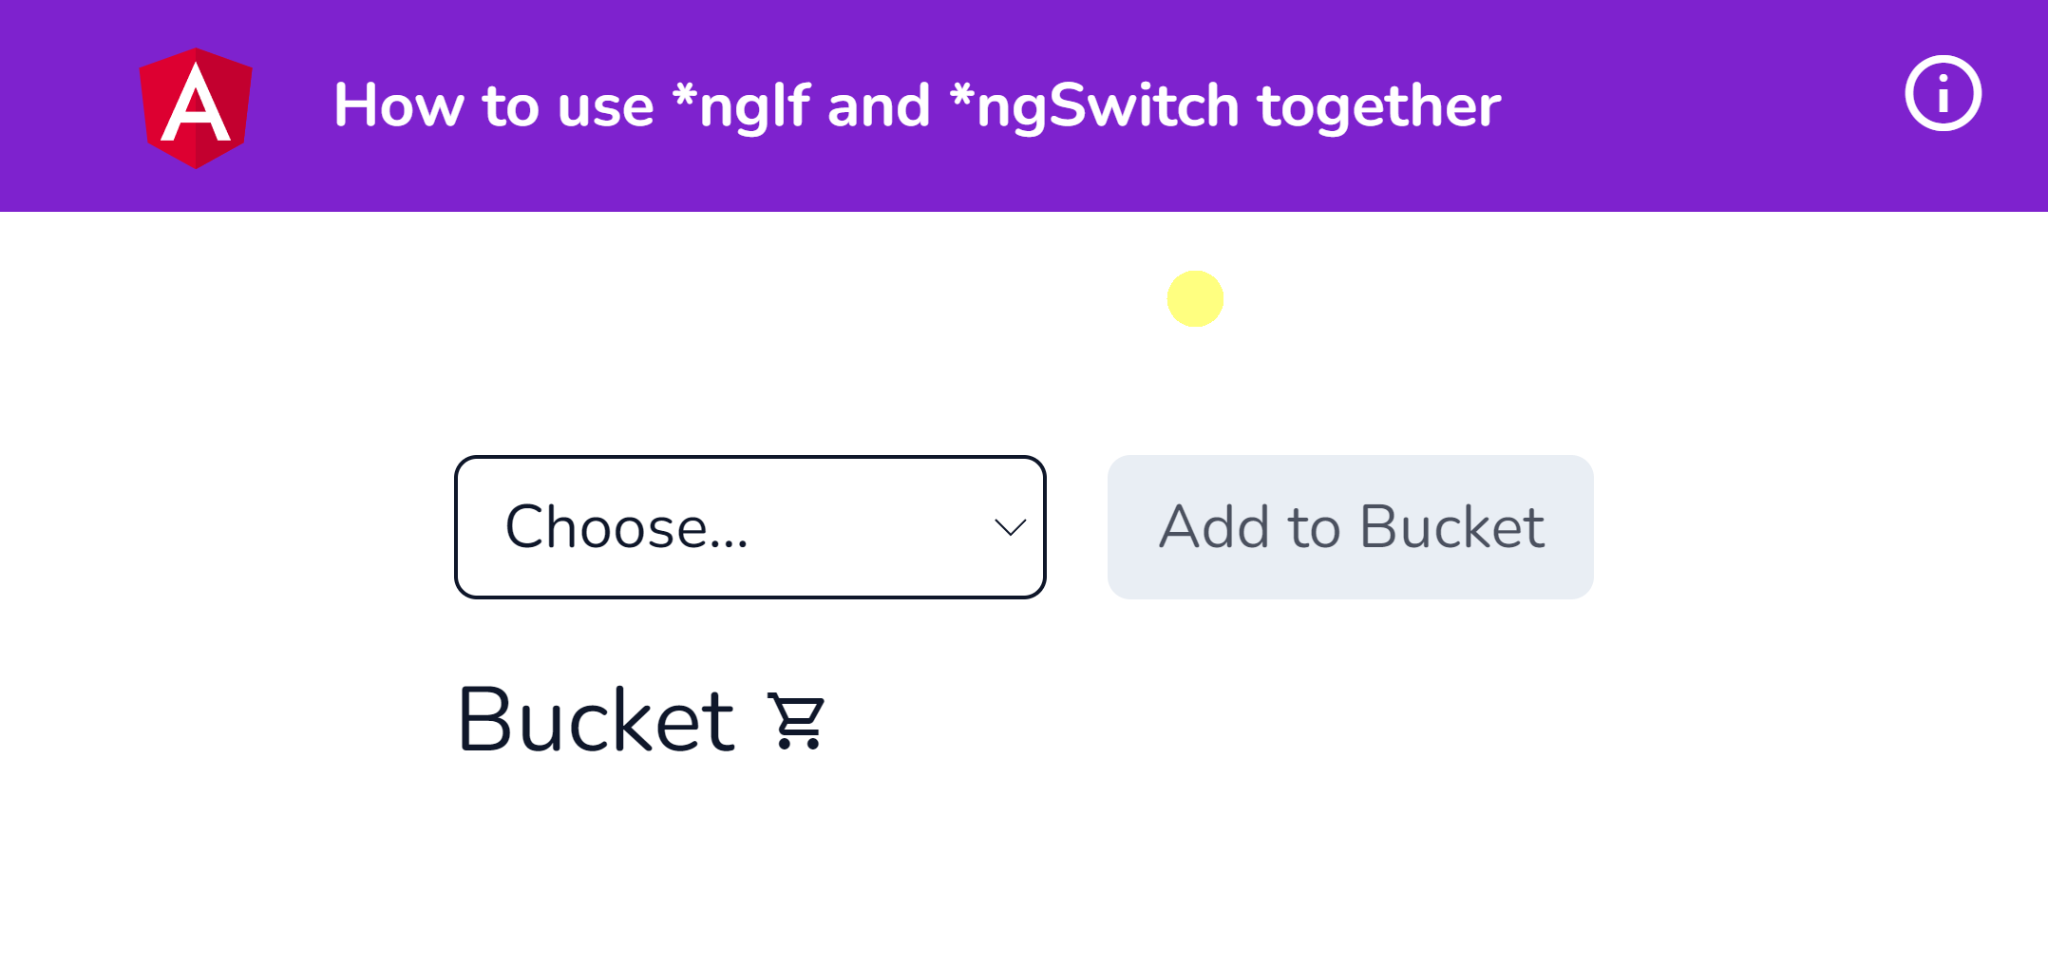
In certain situations, you might want to use more than one structural directive on the same host or for the same element —for example, a combination of *ngIf and *ngFor together. Which is not something Angular supports out of the box. In this recipe, we will show a message conditionally using *ngIf for the case when we have no items in the bucket. Since we’re supposed to show conditionally, and apply the for loop on the element, this is a perfect example to use for the recipe.

Getting ready

The app that we are going to work with resides in start/apps/chapter02/ng-multi-struc-directives inside the cloned repository:

  1. Open the code repository in your Code Editor.
  2. Open the terminal, navigate to the code repository directory and run npm run serve ng-multi-struc-directives to serve the project

This should open the app in a new browser tab and you should see the followin

Figure 2.9 – ng-multi-struc-directives app running on http://localhost:4200

Applying multiple directives to the same element using the Directive Composition API

In this recipe, you'll use the Directive Composition API to create multiple components and applying directives to them directly for reusability instead of having to apply the directives to each component. Or to create additional elements inside the components template to apply the directives.

Getting ready

The app that we are going to work with resides in start/apps/chapter02/ng-directive-comp-api inside the cloned repository:

  1. Open the code repository in your Code Editor.
  2. Open the terminal, navigate to the code repository directory and run npm run serve ng-directive-comp-api to serve the project

This should open the app in a new browser tab and you should see the following:

Figure 2.11 – ng-directive-comp-api app running on http://localhost:4200

How to do it…

  1. First off, we'll create a couple of components for our application. We'll create one directive for the filled...

Using Angular DI tokens

In this recipe, you’ll learn how to create a basic DI token. We will create it for a regular TypeScript class, to be used as an Angular service using DI. We have a class named Jokes in our application, which is used in the AppComponent by manually creating a new instance of the class. This makes our code tightly coupled and hard to test, since the AppComponent class directly uses the Jokes class.

In other words, when running the tests for the App component, we now rely on the Jokes class, and if something changes in that class, our test will break. Since Angular is all about DI and services, we’ll use a DI token to use the Jokes class as an Angular service. We’ll use the InjectionToken method to create a DI token, and then the @Inject decorator to enable us to use the class in our service.

Getting ready

The app that we are going to work with resides in start/apps/chapter03/ng-di-token inside the cloned repository:

    ...

Optional dependencies

Optional dependencies in Angular are powerful when you use or configure a dependency that may or may not exist or has not been provided within an Angular application. In this recipe, we will learn how to use the @Optional decorator to configure optional dependencies in our components and services. We will work with LoggerService and ensure our components do not break if they have not already been provided with the LoggerService.

Getting ready

The app that we are going to work with resides in start/apps/chapter03/ng-optional-dependencies inside the cloned repository:

  1. Open the code repository in your code editor.
  2. Open the terminal, navigate to the code repository directory, and run the following command to serve the project:
    npm run serve ng-optional-dependencies
    

    This should open the app in a new browser tab, and you should see the following:

    Figure 3.2: The ng-optional-dependencies app running on http://localhost...

Creating a singleton service using providedIn

In this recipe, you’ll learn several tips on how to ensure your Angular service is being used as a singleton. This means that there will only be one instance of your service in the entire application. We’ll use a couple of techniques, including the providedIn: 'root' statement, making sure we only provide the service once in the entire app by using the @Optional() and @SkipSelf() decorators.

Getting ready

The app that we are going to work with resides in start/apps/chapter03/ng-singleton-service inside the cloned repository:

  1. Open the code repository in your code editor.
  2. Open the terminal, navigate to the code repository directory, and run the following command to serve the project:
    npm run serve ng-singleton-service
    

    This should open the app in a new browser tab, and you should see the following:

    Figure 3.7: The ng-singleton-service app running on http://localhost...

Creating a singleton service using forRoot()

In this recipe, you’ll learn how to use ModuleWithProviders and the forRoot() statement to ensure your Angular service is used as a singleton in the entire app. We’ll start with an app that has multiple instances of NotificationsService, and we’ll implement the necessary code to make sure we end up with a single instance of the service in our application.

Getting ready

The app that we are going to work with resides in start/apps/chapter03/ng-singleton-service-forroot, inside the cloned repository:

  1. Open the code repository in your code editor.
  2. Open the Terminal, navigate to the code repository directory, and run the following command to serve the project:
    npm run serve ng-singleton-service-forroot
    

    This should open the app in a new browser tab, and you should see the following:

    Figure 3.10: The ng-singleton-service-forroot app running on http://localhost:4200

...

Providing alternate classes against the same DI Token

In this recipe, you’ll learn how to provide two different services to the app using Aliased class providers. This is extremely helpful in complex applications where you need to narrow down the implementation of the service/class for some components/modules, that is, providing different classes against the same DI token to have a polymorphic behavior. Additionally, aliasing is used in component/service unit tests to mock the dependent service’s actual implementation so that we don’t rely on it.

Getting ready

The app that we are going to work with resides in start/apps/chapter03/ng-aliased-class-providers, inside the cloned repository:

  1. Open the code repository in your code editor.
  2. Open the Terminal, navigate to the code repository directory, and run the following command to serve the project:
    npm run serve ng-aliased-class-providers
    

    This should open the app in a new...

Dynamic configurations using value providers

In this recipe, you’ll learn how to use value providers in Angular to provide constants and config values to your app. We’ll start with the same example from the previous recipe, which involves EmployeeComponent and AdminComponent using the BucketComponent to manage a bucket of fruits. We will restrict the EmployeeComponent from deleting items from the bucket by using the configuration with a value provider. As a result, the employees won’t even see the Delete button.

Getting ready

The app that we are going to work with resides in start/apps/chapter03/ng-value-providers inside the cloned repository:

  1. Open the code repository in your code editor.
  2. Open the terminal, navigate to the code repository directory, and run the following command to serve the project:
    npm run serve ng-value-providers
    

    This should open the app in a new browser tab, and you should see the app as shown in...

lock icon
The rest of the chapter is locked
You have been reading a chapter from
Angular Cookbook - Second Edition
Published in: Dec 2023Publisher: PacktISBN-13: 9781803233444
Register for a free Packt account to unlock a world of extra content!
A free Packt account unlocks extra newsletters, articles, discounted offers, and much more. Start advancing your knowledge today.
undefined
Unlock this book and the full library FREE for 7 days
Get unlimited access to 7000+ expert-authored eBooks and videos courses covering every tech area you can think of
Renews at £13.99/month. Cancel anytime

Author (1)

author image
Muhammad Ahsan Ayaz

Muhammad Ahsan Ayaz is a Google developers expert in Angular, a software architect, and a head instructor of JavaScript at the School of Applied Technology. He loves helping the start-up ecosystem and product owners to bring their ideas to life using JavaScript, Angular, and web technologies. He has built several open-source projects that he maintains and he speaks at events, along with creating articles and video courses.
Read more about Muhammad Ahsan Ayaz