


Configuring the IDE
PyCharm is highly popular because it’s a tool specially prepared to work with Python and it also includes interesting integrations with databases, Git, HTTP clients, environments, and the like. One of the most used is certainly the one related to Docker, so I will use this fantastic IDE in future examples. However, as I said before, it is not mandatory to use it; there are enough alternatives to please everyone. All code and activities shown in this chapter will work independently of the editor.
To set up the IDE, follow these steps:
- Open the folder where you want to work using PyCharm (File | Open). A directory tree will be displayed on the left.
- Click on the Python file (
hello.py). It’s not possible to run the Python code if you don’t use the terminal; PyCharm doesn’t know where the Python interpreter, or executable, is otherwise. It’s inside a Docker image that the operating system can’t access, for now.
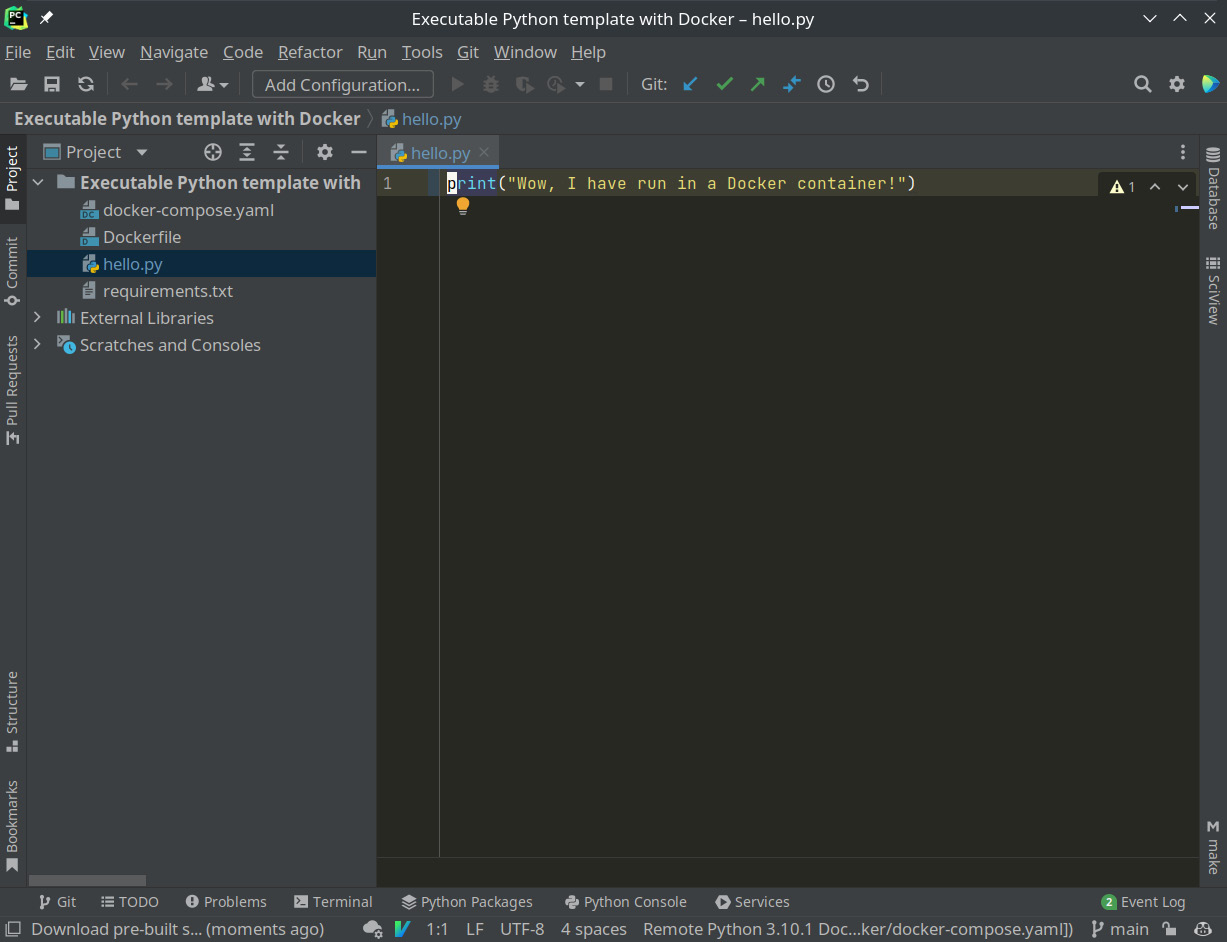
Figure 1.1 – Open the Python file
- PyCharm may open a popup that suggests creating a virtual environment. You can skip this step or close the window; we will use Docker for the job. If you don’t see the window, you can continue without fear.
- We then check whether we have the Docker plugin installed. Go to File | Settings | Plugins and look for Docker.
- If it is installed, it will appear in the Installed tab. If not, you will have to look for it in Marketplace and then click on the Install button. Then, restart PyCharm. Ensure you do this. Otherwise, we won’t be able to continue.
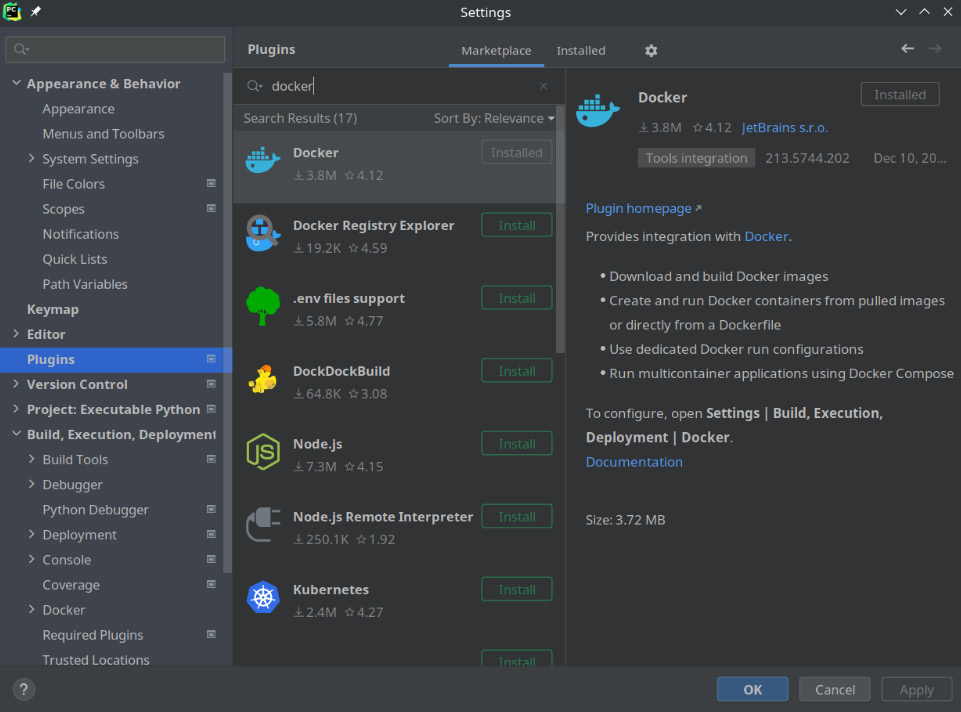
Figure 1.2 – Installing the Docker plugin
- Now open File | Settings | Build, Execution, Deployment | Docker and press the + button. Then, search for Docker.
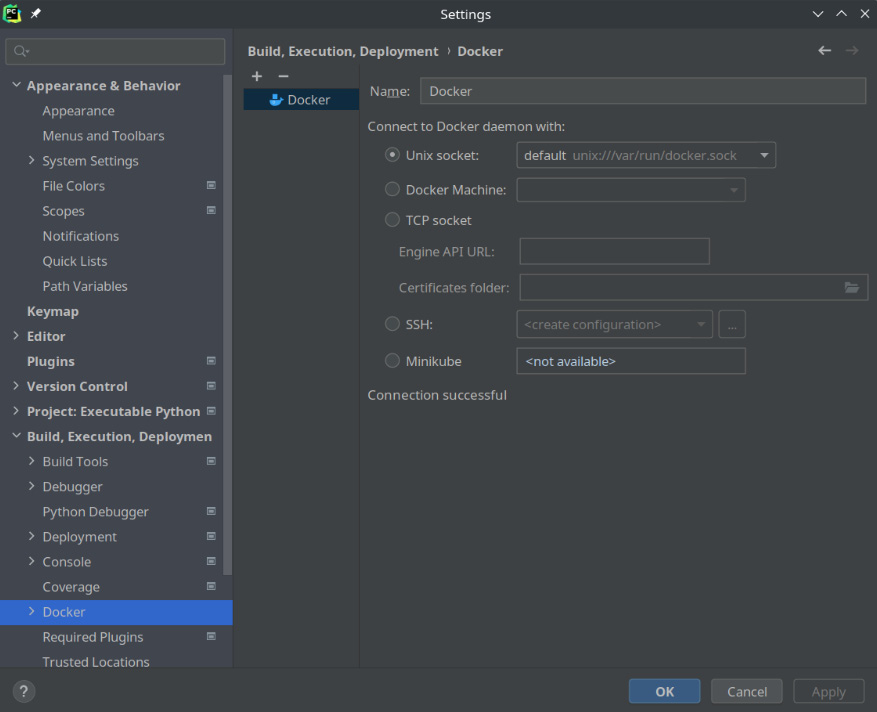
Figure 1.3 – Connecting with Docker
- Enter
Dockerin the Name field, for example, and activate Unix socket. At the bottom, you will see the Connection successful message. - We only need to tell PyCharm not to look for the Python interpreter, or executable, on the machine (if there is one) and to use the Docker service we have created instead.
- Go to File | Settings | Project: Executable Python. Here, we deploy the Python Interpreter, select Remote Python xxx Docker Compose, and click on Apply. The interpreter name may change depending on the folder name.
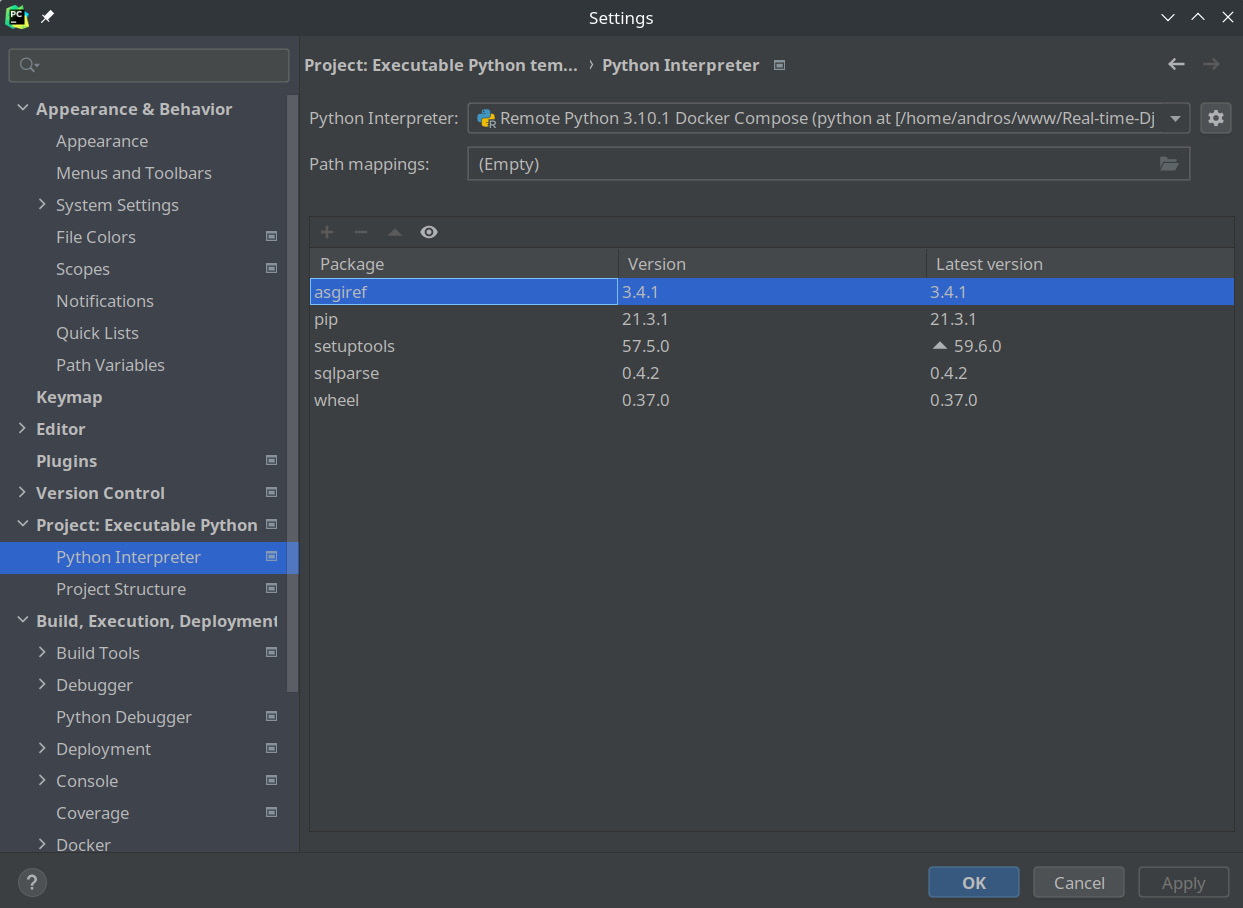
Figure 1.4 – Adding the Python interpreter
- It will automatically detect the dependencies that are already installed on the machine but we will ignore them. By the way, this is a good place to manage all Python dependencies visually.
- Now, it’s time to run the Python code using the configuration you just made.
- Close Settings and focus on the directory tree (on the left side). Right-click on
hello.pyand then Run ‘hello’.
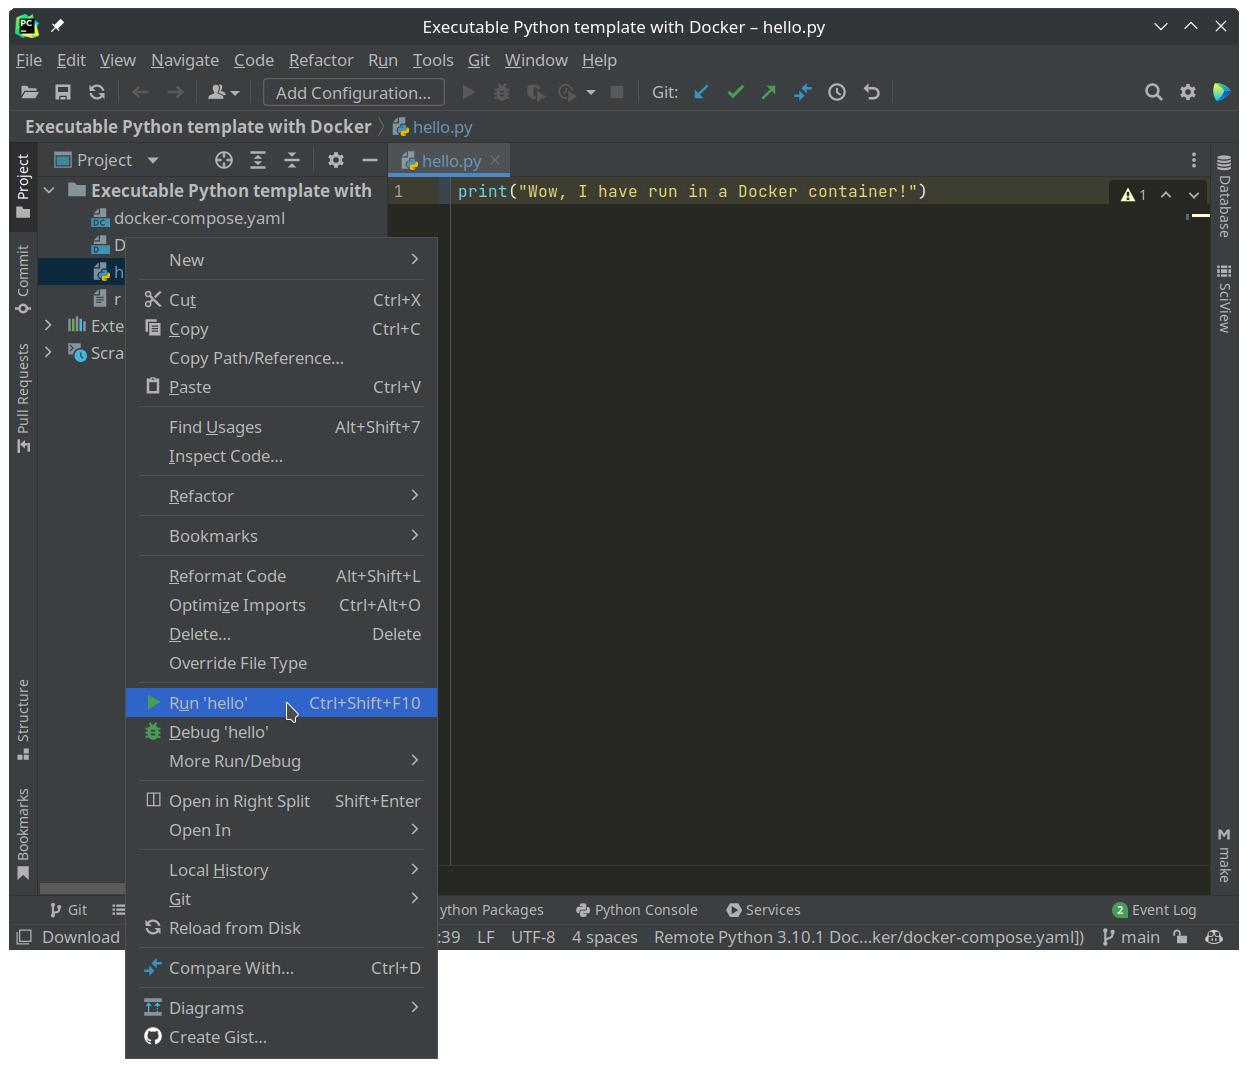
Figure 1.5 – Running Python with PyCharm
- At the bottom of the editor, an area with the log of the execution will open. As proof that it has been done successfully, we can see the
printstatement.
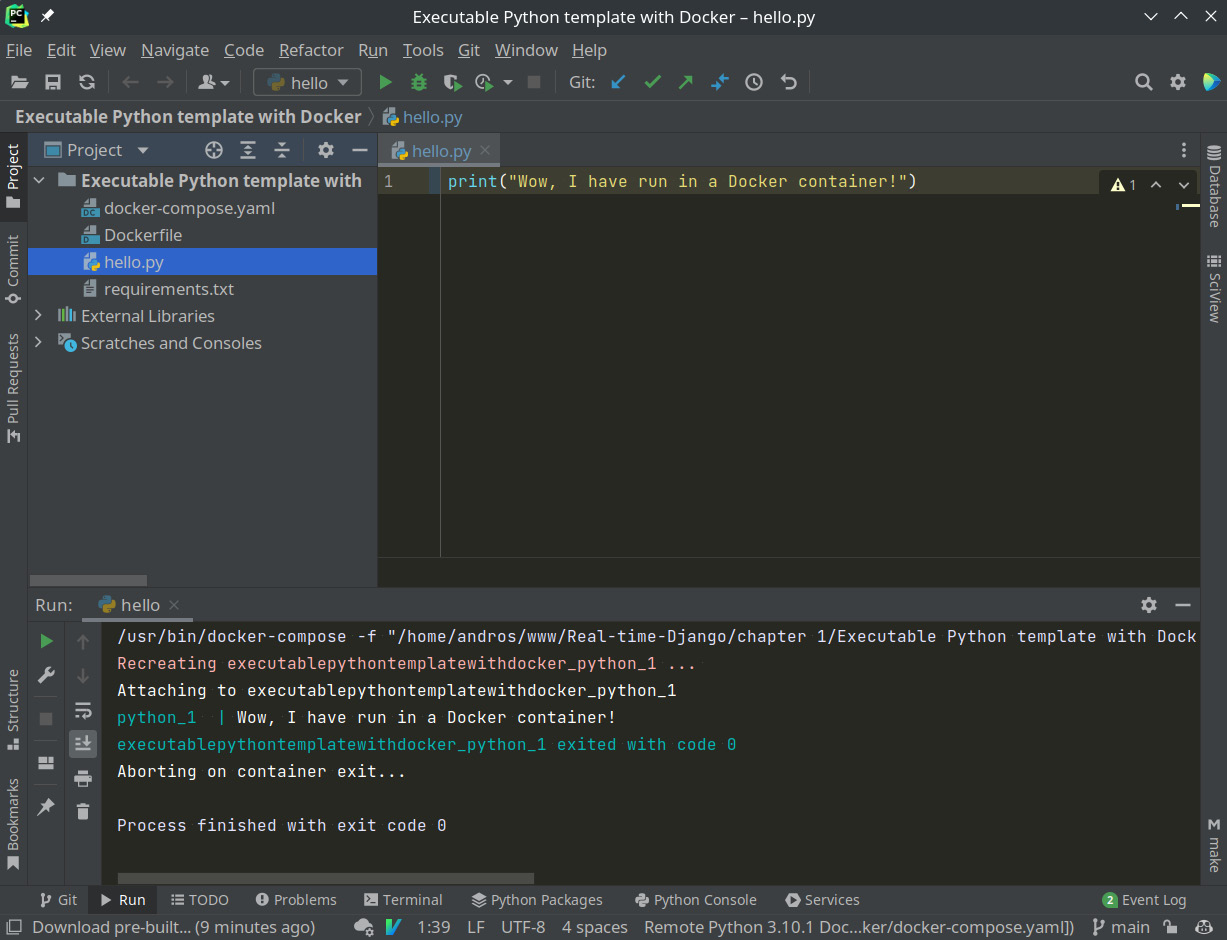
Figure 1.6 – Viewing the Python execution log through Docker integration
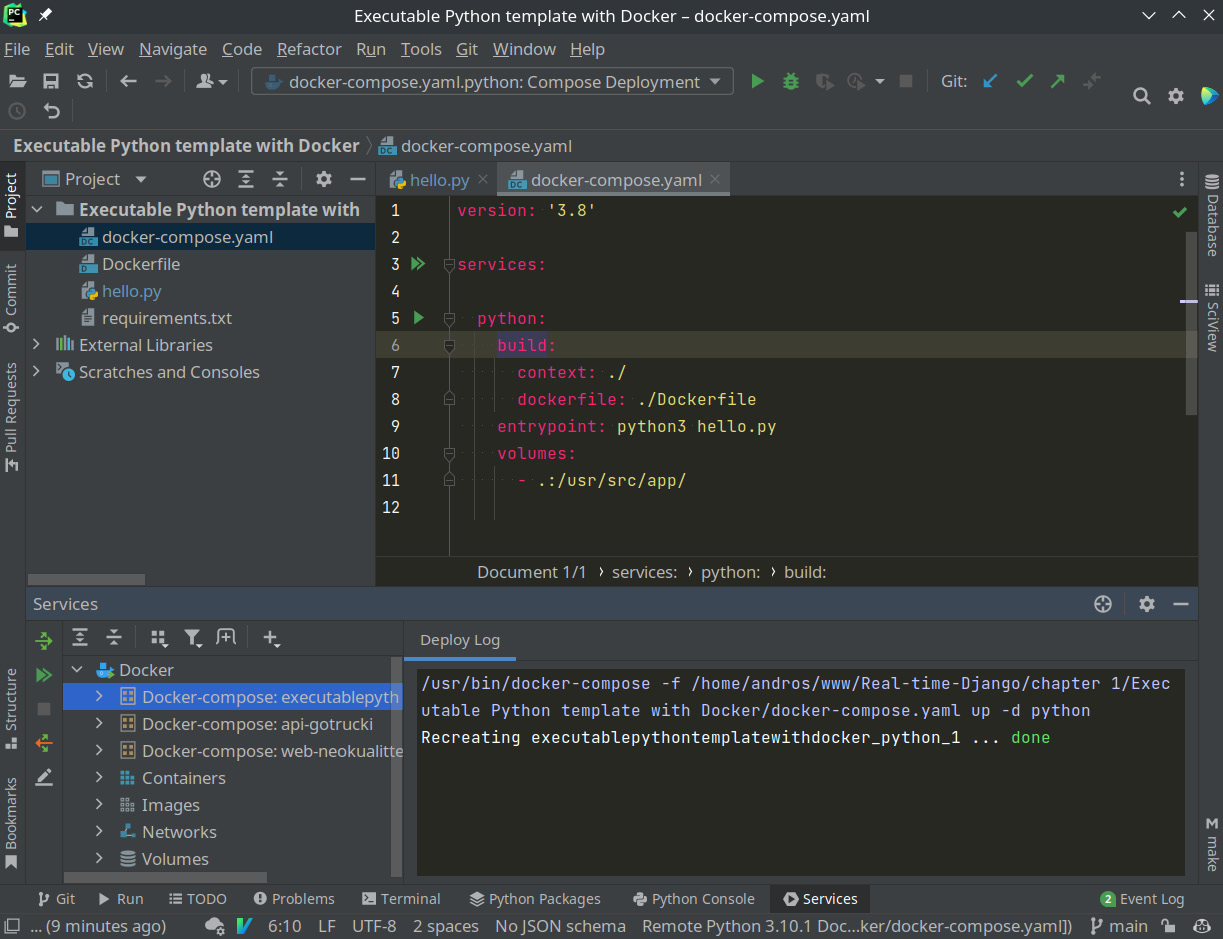
Figure 1.7 – Launching containers through Docker integration
- On line 5 in Figure 1.7, you can see a green arrow; when you click on it, it will launch the service and, again, the Python code.
PyCharm is already integrated with Docker and is able to launch Python with its dependencies in isolation from the operating system. We are ready to work directly with Django. We are going to create a simple project using the official Django client to have a minimal structure when developing.


