

At the time of writing, Azure services are being provided via two portals, which follow two different models. The Azure classic portal follows the ASM model and the Azure portal follows the ARM model.
ASM versus ARM model
Azure classic portal (ASM model)
Historically, Azure services were provided via one portal prior to 2014, the classic portal, which can be accessed via the following URL https://manage.windowsazure.com/.
The model that was used for that portal is called the ASM model, within which each resource existed independently. You could not manage your resources together; you had to build up and track each resource. For example, you would have to manage storage from the storage blade, and the same goes for the virtual networks, VMs, and so on. So, when your environment got bigger, there would be chaos in the management scheme. You would have to know which VMs were stored in which storage account, and that could lead to some critical situations, such as reaching the IOPs limits of the storage account. In turn, this could result in you accidentally creating a new VM and assigning it to that storage account. As a result, the VM would run with terrible performance. This would not be your only concern when working with the ASM model; you might want to delete a solution with multiple resources, which you would have to do manually for each resource.
When you open the Azure classic portal, it will look like the following screenshot:
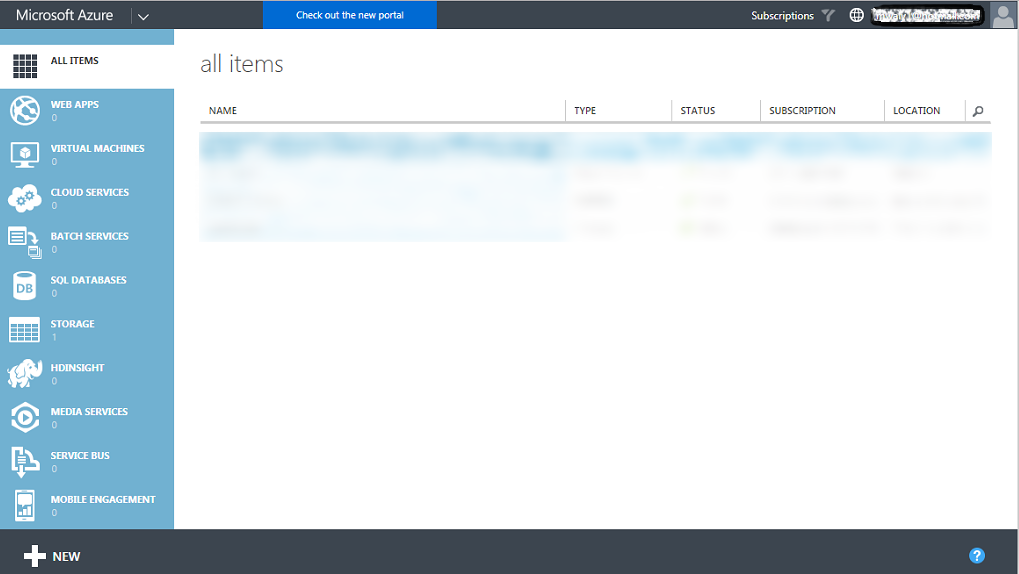
Figure 1.2: Azure classic portal
Azure portal (ARM model)
In 2014, Microsoft launched a new portal which follows a new model, called the ARM model. This portal can be accessed via the following URL https://portal.azure.com/.
This model depends on the concept of resource groups, which means you can group all your resources within a container, resulting in resources being deployed in parallel. As a result, you will not face the same problems as you did with the classic portal.
The following diagram describes the deployed resources through the ARM model:
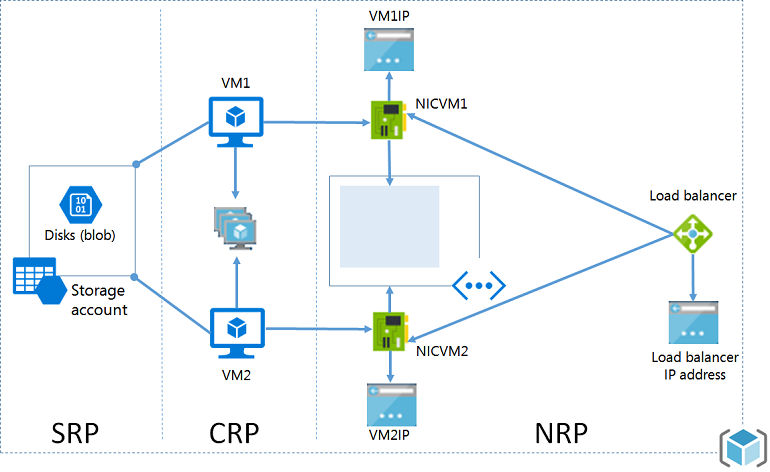
Figure 1.3: Resource Manager management model at a high level
Here are the benefits you will gain using this portal:
- Ability to manage your resources as a group instead of managing them separately.
- Use Role Based Access Control (RBAC) to control access to resources, so that you can assign permissions to a user on a resource or some resources but not to other resources (as it was in the classic portal).
- Use tags to organize and classify your resources, which can help you with billing. For example, you might want to monitor the billing of some resources that make up a solution, for example, a web server. By assigning a tag to the resources that make up that solution, you would be able to monitor its billing, and so on.
- Support the usability of JSON to deploy resources instead of using the portal.
- Deploy resources in parallel instead of deploying them sequentially and waiting until every resource deployment finishes to deploy another one.
- Specify dependencies during the deployment of resources. For example, a VM will not be created until a storage account and a virtual network are deployed because the VM VHD would need a place to be stored in and an IP Address from a virtual network./li>
- Reuse the JSON template to deploy a solution with the same specifications.
- Resources with the same life cycle should be gathered in the same resource group.
- Resources in different regions can be in the same resource group.
- The resource cannot exist in multiple resource groups.
- A resource group supports RBAC, wherein a user can have access to some specific resources, but no access to others.
- Some resources can be shared across resource groups, such as storage accounts.
- ARM VMs can only be placed in ARM storage accounts.
When you open the Azure portal, it will look like the following screenshot:
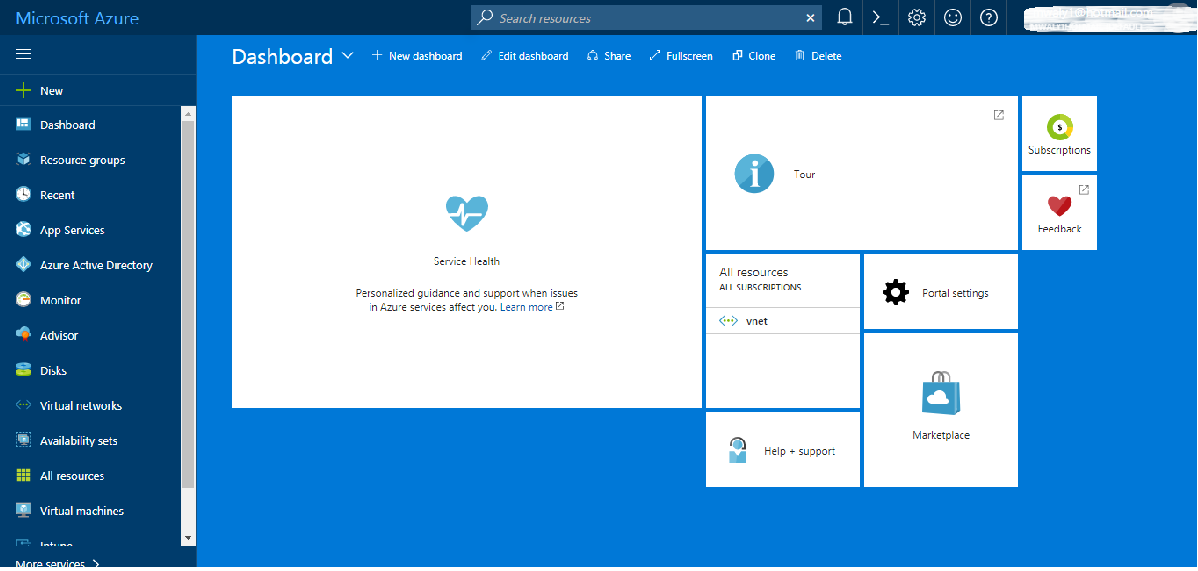
Figure 1.4: Azure portal
- You can change the background of the portal by double-clicking on any unused area of the dashboard. You can navigate between four colors (blue, dark blue, white, and black).
- For further information about the difference between the ARM and ASM models, check out the following article: https://blogs.technet.microsoft.com/meamcs/2016/12/22/difference-between-azure-service-manager-and-azure-resource-manager/.
Deployment model tricks
Here are some things you need to consider:
- You cannot create a VM using the ARM model and assign it to a virtual network built using the ASM model
- You cannot use a prebuilt image that was created using ASM APIs to build a VM using the ARM model, but as a workaround, you can copy the VHD files from the storage account in the classic portal to a storage account created in the ARM model
- You can migrate assets from the ASM model to the ARM model
- Every resource must be assigned to a resource group, so whenever you want to move a resource between resource groups you must remove it from its current resource group, then add it to the new resource group.