


Making our Points fall down
We will now make our Points fall down. Luckily, this isn’t that hard. All we have to do is add a Transform Geometry node between our Simulation Begin node and our Join Geometry node. Let’s give this node a Translation value of -0.1 on the Z axis. This will ensure that in each frame, all of our Points will move down by 0.1 units on the Z axis. When we hit play on our timeline, we can see that our Points are falling down correctly!
However, if you look closely at the pattern our Points are falling in Figure 16.3, we can see a slight issue:
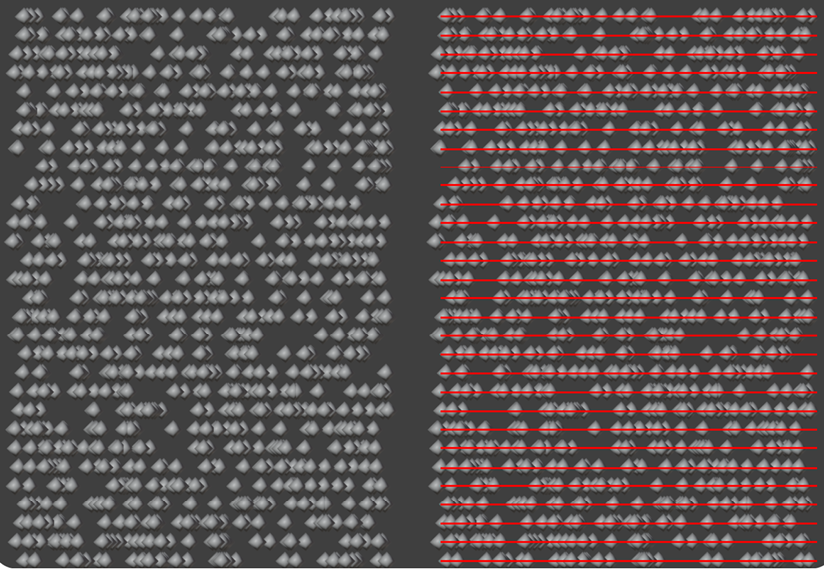
Figure 16.3: Repeating patterns in falling Points
When we take a look at the side view of our falling Points, which is shown in Figure 16.3, we can see that all the Points are being distributed in straight lines, which is not what we want. Luckily, there are ways we can fix this:
- Firstly, let’s navigate back to our Distribute Points on Faces node and add a reroute at the...


