


 Download code from GitHub
A carpenter needs his tools to build furniture; similarly, as a developer, you need to have a set of tools that allow you to work in a better and more efficient manner. However, in the analogy of the carpenter, the tools could be used to make different types of furniture. With software, it is a little different. There are plenty of tools and they are dependent on many factors, such as the operating system (Windows, Mac OS X, or Linux) and the language of choice (for example, C, C++, Python, Ruby, JavaScript, and Objective-C). This book is about Xcode, the IDE that Apple makes available to developers who want to develop for Apple devices (iPhone, iPad, Mac, and so on). In this book, we will explore working with Xcode 6.x and all the features that it offers to write code; build UI; and debug, build, and distribute your apps.
Xcode helps you to build native applications that run on and use the features of the current iOS and Mac OS. The current one as of Xcode 6.x is iOS 8 for mobile devices and Mac OS X 10.10 Yosemite for desktops. Xcode 6.x has backward compatibility for iOS 7.0 and OS X 10.9. While there is backward compatibility, new features are available mostly with the newer version or later.
At first, Xcode was available with all Mac OS X installation disks, but then Apple made it available as a purchase from the App Store. Now it is available on the App Store for free. The minimum requirement for Xcode 6 is that you need to have Mac OS X 10.9.x installed with at least 10 GB of disk space. To run the simulator with newer, larger resolutions, it is advisable that you have a large screen display. The retina MacBook Pro or the newer iMac 5K retina would be a very good suggestion to help you work and design at 1:1 resolution.
The method to install Xcode via the App Store eliminates all the setting up and creation of the correct directories, which are generally associated with the installation. This also ensures that all of the upgrades are applied appropriately. If there is an issue, performing a simple reinstallation is as simple as downloading it again from the App Store.
Tip
If you like to work with ß software, you could also consider installing beta versions of Xcode from your Apple Developer Portal. Generally, since Apple does not allow you to create apps with ß versions, unless you are an advanced user, it is advisable to steer clear and wait for the release versions.
Here is a screenshot of the Xcode installation via App Store:
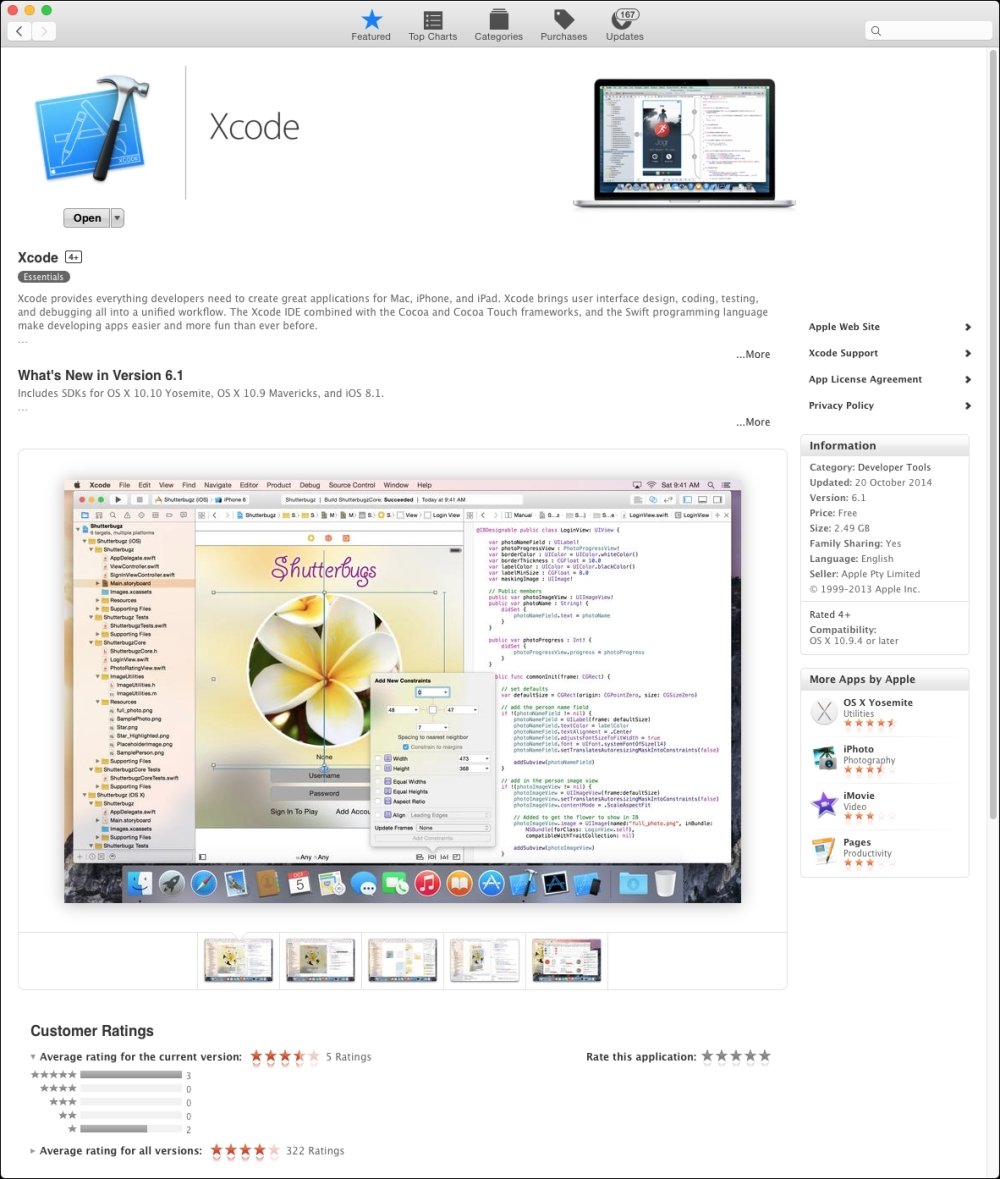
Xcode installation via App Store
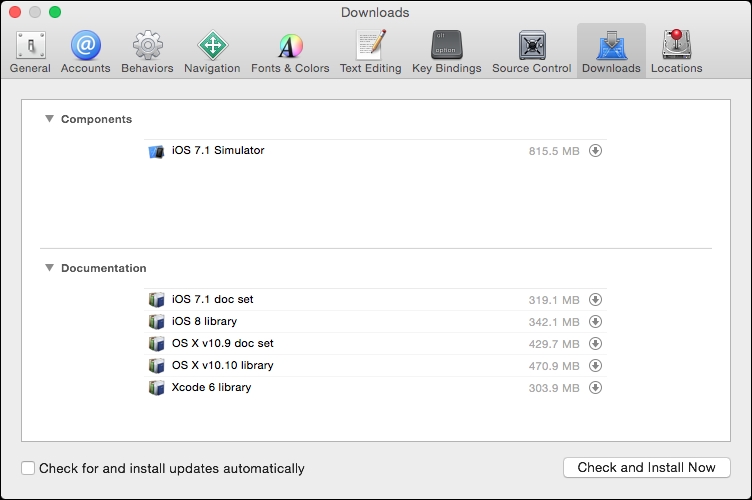
Upon first run, Xcode downloads some of the required components and utilities. These can be found under the Developer tools menu. Other components, utilities, and documentation can be downloaded via preferences. After these are installed, the API documentation and iOS simulators need to be downloaded:
You can build and test your iOS applications on the simulator from within Xcode and run OS X applications. To test your iOS app on a device or distribute the iOS or OS X app, you will have to enroll in the Apple Developer program for either iOS or Mac OS X, as appropriate, or both (this is a paid option).
The advantage of joining a developer program is that it provides access to pre-release software. It also offers access to the Apple forums, including two incident supports with Apple (per year).
Xcode is an all-inclusive IDE, and it offers a variety of tools required by a developer. IDE stands for Integrated Development Environment, which basically means that most of the tools required for a developer are available in this environment. The developer will not have to go outside of this environment to perform other tasks. Some basic features of an IDE include the ability to edit, write, and browse code and be able to run and debug the code from the program and return to the code editor when done. The Xcode environment is made up of the following components:
Editor: Xcode offers a code editor with syntax highlighting for some languages, such as C, C++, Objective-C, JavaScript, Ruby, AppleScript, and Java. With third-party add-ins, support has been added for other languages as well, such as Pascal and C#.
File View: Xcode also features file viewers for code, images, media, and data models.
Interface Builder: Xcode features an Interface Builder that allows you to create interfaces for your apps, mobiles, or desktops. This provides a drag-and-drop interface to lay out the components of your app.
Debugger: Xcode also features a debugger; earlier versions of Xcode used GDB, which has been replaced by the LLDB debugger since 4.3.
Versioning: Xcode has Git integration that allows for versioning and integrated source control.
Xcode has been around for a while, and it was at WWDC 2014 that Xcode 6 was introduced. There were a couple of new features that were introduced in Xcode, and we will explore some of them in this book along with the standard features.
The first important thing that Apple introduced is a new Language called Swift (detailed in Chapter 3, Playgrounds). Since the days of NeXT, when Steve Jobs returned to Apple, Macs has been using the Objective-C language to write applications for the Mac environment. With the introduction of iPhone, Apple introduced their PhoneSDK, which allowed developers to write apps for their phones using Objective-C. This was later named iOS, as the devices were not just phones. Like any language, Objective-C has its own set of followers and haters. With the uptake of iOS devices, many users wanted to try their hand at developing apps. However, Objective-C largely remained a hurdle so they considered other options. At WWDC 2014, Apple unveiled a new language they had been working on, called Swift. Swift is an easy-to-learn-and-use language that looked more like a scripting language than a structured C variant. The code looked smaller and more manageable.
The most important bit was that there was no more memory management in the form of alloc and retain statements. To add to this, the introduction to Swift by Apple mentioned, "Semi-colons are optional".
Apple also introduced a feature called Playgrounds. This allows you as the developer to quickly type in your commands in an editor, like you would write in a text editor or Microsoft Word. The Playground compiles, runs, and displays the results of each line of code that is typed. This topic is further detailed in Chapter 3, Playgrounds.
Before storyboards, there were XIB files that described the user interface or the form in XML format. Apple introduced the storyboard, which allowed users to define the relationship between the elements, mainly to direct the workflow. This was originally introduced only for iOS projects, but with Xcode 6, storyboards are now available for OS X projects too. This is detailed in Chapter 4, Interface Builder.
In earlier versions of Xcode, there was little control over debugging and testing controls you created. Now, Apple offers a way to interact with your controls while in design mode in Interface Builder.
Xcode now offers new functionality to allow you to create a single storyboard that would adapt to different screen sizes with the help of size classes and autolayout. They are detailed in Chapter 4, Interface Builder.
When debugging your code, Xcode can now display variables and objects visually. This helps make debugging much simpler and easy to use. It also offers functionality to provide custom previews for your own classes/objects while debugging. They are detailed in Chapter 5, Custom Controls.
Even the debugger has some new features added to it. Some of these allow you to test and optimize your code and eliminate errors, including visual debugging with a hierarchical view of the views and elements on the screen. This is detailed in Chapter 6, Debugging.
In addition to these, we will also cover some of the other features that were present in earlier versions, which are equally important in getting things done.
This short chapter talks about how Xcode fits in with your development requirements. Every year, Apple adds new features to Xcode (and hopefully continues). This time around, out of the many features added, one of the major new additions that has everyone talking is a language called Swift and Playgrounds. In our next chapter, we will have a detailed look at Xcode, its components, and UI.