


What You Need to Know Before Rigging and Animating
In order to ensure a smooth experience, we will first talk about the system requirements and how to download Character Animator. We will touch on the differences between the Starter and Pro versions of the app and make sure your equipment is compatible with Adobe Character Animator. Character Animator works differently from other animation apps in that you act out sequences using your webcam and microphone to record animation, so it’s important we have those pieces of hardware ready. Once your equipment is confirmed to be functioning, we can test some sample files out to get a handle on what the software is capable of. We will also take a look at Characterizer, an easy and fun way to quickly bring yourself into a scene.
In this chapter, we’re going to cover the following main topics:
- System requirements for Character Animator
- Downloading Character Animator
- Calibrating and setting a rest pose in Character Animator
- Playing with sample files and Characterizer
Technical requirements
The supporting files for this book are available at https://packt.link/GdFlZ.
System requirements for Character Animator
To get the most out of this book, it’s recommended you have the following:
- An updated copy of Adobe Character Animator
- A webcam
- A microphone
- A well-lit room to record in
Adobe Character Animator comes with a few requirements if you’re looking to maximize your project’s potential. A nice computer will allow for faster processes. This can be useful, especially as projects take up more resources.
While traditional methods used in other applications are achievable here to some extent (such as controlling animation using a mouse and keyboard), you will find it’s best to interact using a microphone and webcam. This not only allows for real-time expressions and lip-syncing but also full body tracking if desired. For a more detailed breakdown, here are Character Animator’s requirements according to Adobe: https://helpx.adobe.com/adobe-character-animator/system-requirements.html.

Figure 1.1: A preview of the requirements for Windows (the page contains Mac specs as well)
It’s advised you record in a well-lit room. This will ensure your webcam can pick up on your expressions. If you plan to take advantage of the body tracking feature, make sure you have enough room to move freely and safely. The camera will also need to be placed at a distance, but we will go over that in detail when we get to body tracking later on.
All the images in this book will showcase the Windows UI. However, the macOS and Windows versions are identical except for the UI and shortcuts. All the shortcuts given in this book will be for both Windows and macOS.
Downloading Character Animator
You can download Character Animator via the Adobe Creative Cloud or the Adobe website. The Pro version, which is what we will be using, requires a subscription that comes with a monthly fee. You can gain access to the app for free under the Starter UI, but this will limit your features and ability to follow along with the book.
If you wish to download Character Animator through the Adobe Creative Cloud, follow this link: https://www.adobe.com/creativecloud/desktop-app.html.
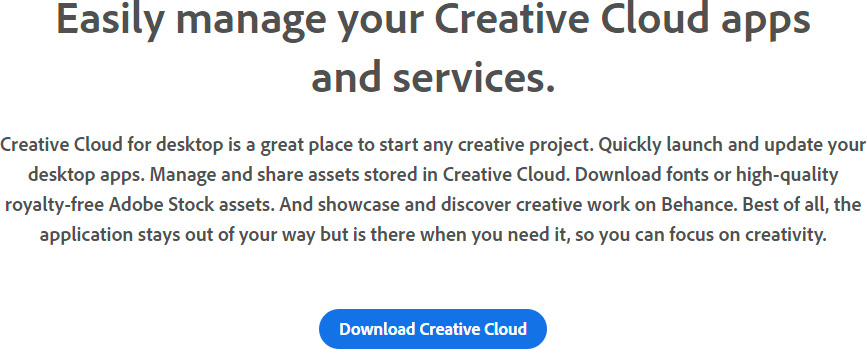
Figure 1.2: Downloading Creative Cloud for desktop not only grants access to Character Animator but also all of Adobe’s amazing apps
If you wish to download Character Animator without the Adobe Creative Cloud, follow this link and click Buy Now next to Character Animator: https://www.adobe.com/products/character-animator.html. Follow the on-screen instructions, download, and install. You will also be prompted to create an Adobe account if you don’t already have one.
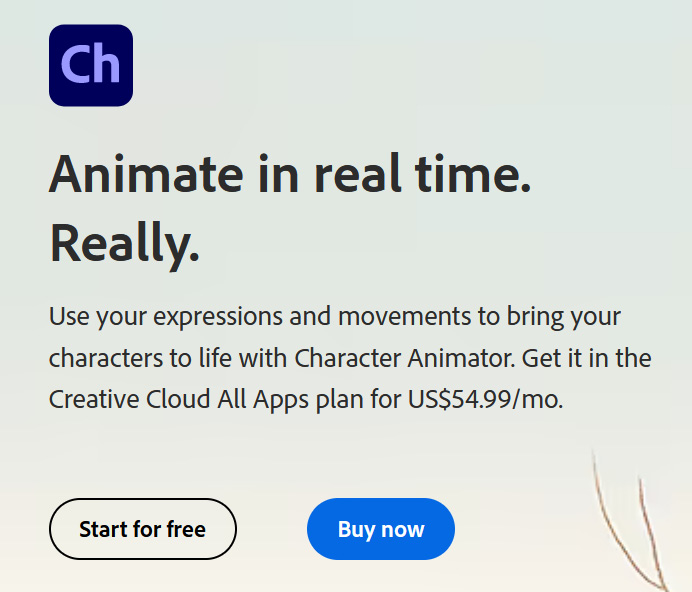
Figure 1.3: You can now use the app for free with Starter mode, but we will be using the Pro version for this book
This book is being written according to v23.0 and it’s recommended you update to the latest version of Character Animator before following along. To update, you can use the Adobe Creative Cloud, click Updates on the left-hand side of the panel, and look for Character Animator in the list.
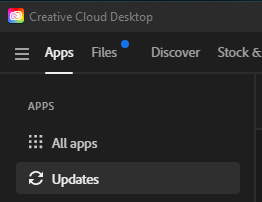
Figure 1.4: Under Apps, you will find Updates, the section that will check for any updates for installed Adobe apps
If the app has an update pending, you will see an Update button on the right. If the app is updated, you can directly open the app from the Creative Cloud using the Open button.
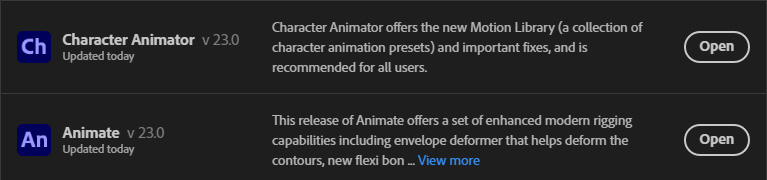
Figure 1.5: If updates are pending, an Update button will appear to the right of the app. If already updated, you can open the app from Creative Cloud for desktop
Once you find the app, you can choose to click on the Update button next to the listing if a new update is available. Alternatively, you can click Update All at the top of the panel to update all installed Adobe apps to the current version:

Figure 1.6: If using the Creative Cloud for desktop, click Update All on the left to ensure you’re up to date
Once you have successfully installed and launched the app, we can talk about the differences between the Pro and Starter UIs.
Character Animator Pro versus Starter
As of v23.0, you now have the option to use Character Animator for free under the Starter UI. This simplified format limits many of Character Animator’s useful features. It does have its uses, especially if you want to explore how the motion capture tool works, or if you quickly want to animate and export a preset character:

Figure 1.7: Starter mode is great for those curious about the functionality of Character Animator, but it lacks many great features
However, for the purposes of having more control and tools, it’s recommended you purchase a copy of the Pro version to get the most out of this book. With the Pro version, you can also switch to the Starter UI, if you feel the need. You can do this by toggling the UI button at the top right:

Figure 1.8: Clicking PRO will allow you to switch to STARTER mode
Before you confirm your choice, you will also be given an explanation of how Starter mode differs from Pro.
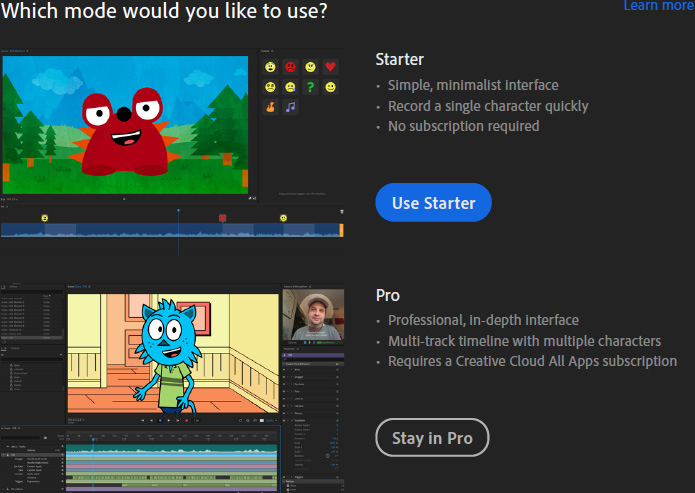
Figure 1.9: Here is the official breakdown of the modes according to Character Animator
The Starter mode is great if you want to get your feet wet with the basics of the app, but Character Animator offers a lot of features that can only be found in the Pro version, and that’s the version of the app we will be using for this book. With that said, let’s look at how to calibrate our equipment for optimal animation.
Calibrating equipment in Character Animator
Before we go any further, let’s test out our webcams and microphones to ensure everything is in working order. We will also look at how Character Animator saves projects, which is different from most mainstream animation software. At the end of this section, we will have covered the following:
- Creating a new project
- Saving project versions
- Loading and renaming project versions
- Testing and calibrating your webcam and microphone
Launch the Character Animator app. Once loaded, if opening the app for the first time, a welcome screen showcasing sample files and other options will display. If you don’t see this, click on the Home button on the top left:
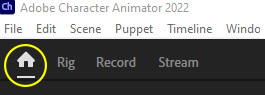
Figure 1.10: The Home button is always on the top left in case you get lost
Now, let’s create a new project and dive deeper.
Creating a new project
While playing with Sample Files is beneficial, let’s focus on the webcam and microphone settings first:
- Click on the New Project button and it will prompt you to save the project file.
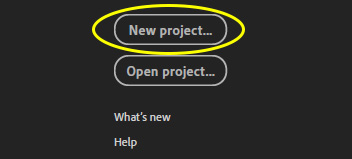
Figure 1.11: You can easily open or create new projects from the home screen
- Locate a safe place on your computer and save the file as
ch_book_project. - Once saved, a new blank workspace will pop up.
We will use this one project file for the duration of this chapter.
Saving project versions
Character Animator saves automatically any time we change the project file. While this offers peace of mind on some level, you may find it beneficial now and then to save a state in the History panel by going to File > Save Project Version (Ctrl + S or ⌘ + S).
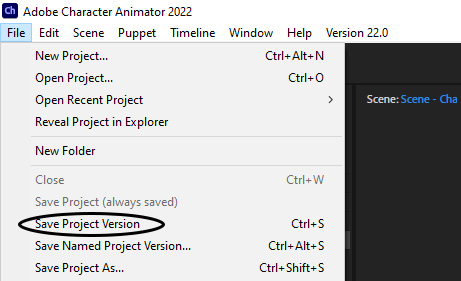
Figure 1.12: Manually saving a project version
This will create a saved state of the project in the History panel that you can jump back to at any point.
Loading and renaming project versions
Let’s take a closer look at the History panel:
- To access the History panel, go to Window > History. We can reinstate the versions saved here.
- To load a state, simply double-click on it. Using versions is a great way to create backups or states of your file in case future changes cause errors or undesired results.
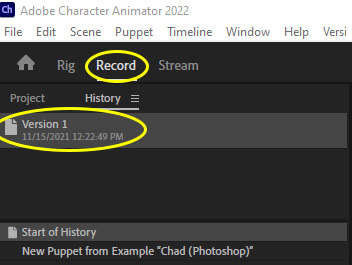
Figure 1.13: Double-clicking on any saved version will restore that file’s state
- You can right-click on Version 1 and choose Rename “Version 1” from the list if you wish to create a more descriptive save state.
- You can also create a save state with a new name by going to File > Save Named Project Version (Ctrl + Alt + S or ⌘ + ⌥ + S).
If you prefer to separate project files entirely as you save backups, you can also duplicate the project file itself by going to File > Save Project As (Ctrl + Shift + S or ⌘ + Shift + S).
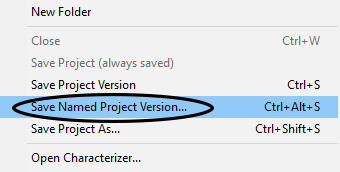
Figure 1.14: Creating a backup with a new name in one step
For the main project in this book, we will use one project file with several versions available via the History panel. This will allow you to go through the rigging and recording example files step by step as we call them out in the book. It’s also less messy than creating multiple project files.
Testing your webcam
Getting back to our new file, this blank screen we are looking at is the Record tab. It’s blank because we have yet to insert any puppets into this project. We will get there in due course:
- If you’re not on the Record tab, you can access it by clicking Record in the top left:
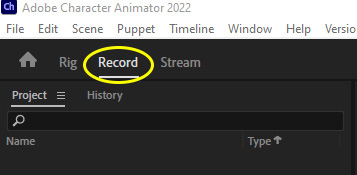
Figure 1.15: The Record tab is always accessible at the top
- Direct your attention to the top right. The Camera & Microphone tab should be visible. If not, go to Window > Camera & Microphone.
- Click on the Webcam button at the bottom of the panel. This should activate your connected webcam and show a preview in the window:
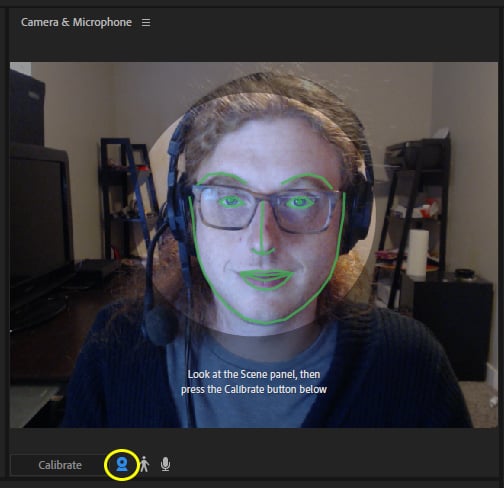
Figure 1.16: Previewing by clicking the webcam icon
- What’s important next is situating your face within the highlighted area. You will also want to look straight at the camera, keeping your expression relaxed and neutral.
- Once you have situated yourself, click the Calibrate button below the preview window:
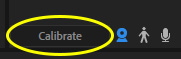
Figure 1.17: The Calibrate button lies below the preview window
- This will allow the app to detect your face more accurately and know when it should be neutral during your emotions and actions. Rest Pose is used to refer to this neutral state, as well.
Test the camera by turning your head left and right and moving your head within the preview space. Blinking, raising and lowering your eyebrows, and opening and closing your mouth should also track. If the green tracking lines follow along, calibration is complete!
Testing your microphone
You can enable and disable your microphone by clicking on the microphone button at the bottom. Enabling it will allow you to preview your audio level on the histogram, but nothing else will happen since no puppets are present.
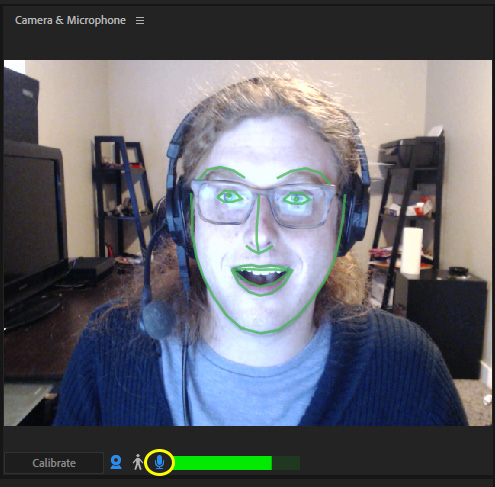
Figure 1.18: Clicking on the microphone will reveal the histogram, a meter used to judge audio levels
Now, let’s say you have multiple microphones or maybe something isn’t detecting correctly. You can configure your audio hardware by going to Edit > Preferences (Ctrl + K) on Windows or clicking on the Apple logo and choosing Preferences (⌘ + ,) on macOS. Audio Hardware, the top option on the left, will give you access to all audio equipment connected to the computer.
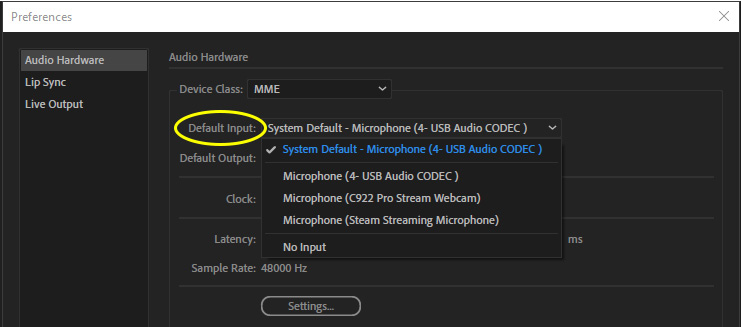
Figure 1.19: Setting up your audio hardware
Once you have selected your desired input and output audio choices, click OK and try to test the mic again to ensure the histogram below the preview is detecting audio. With your equipment now detected and calibrated, let’s play with some sample files!
Playing with samples and the characterizer
This is a good way to experience how Character Animator functions. It also allows us to see if any further calibration needs adjusting. We will also use Characterizer, which is an easy and quick way to bring an animated version of yourself, or a picture of someone, into the production. Here’s what we will be covering specifically:
- Playing with a sample rig
- Recording animation
- Animating with Characterizer
Playing with a sample rig
To begin, let’s go back to the home screen:
- To do this, click on the Home button on the top left of the app. We want to direct our attention back to the sample files being showcased.
- Let’s choose the first puppet on the list. Chad, which is the name of the puppet, is a simple head rig that can track our head, mouth, and eyes.
- When you select the puppet, it will bring you to the Recording tab with the Chad head in the workspace:
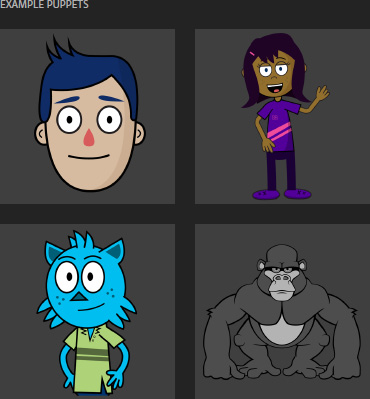
Figure 1.20: Sample puppets
- Let’s turn the webcam and microphone on by clicking on the webcam and microphone buttons under the upper-right preview window. If you need to calibrate again, do that.
- Now, try opening your mouth. The puppet should correspond and show an open-mouth pose. The same goes for head tilts, eyebrows, eye blinks, and pupils.
It tracks facial features through the camera, allowing us to animate the head (although nothing is being recorded on the timeline yet). This is useful when rigging a puppet, as we can test the actions before committing any animation to the timeline:
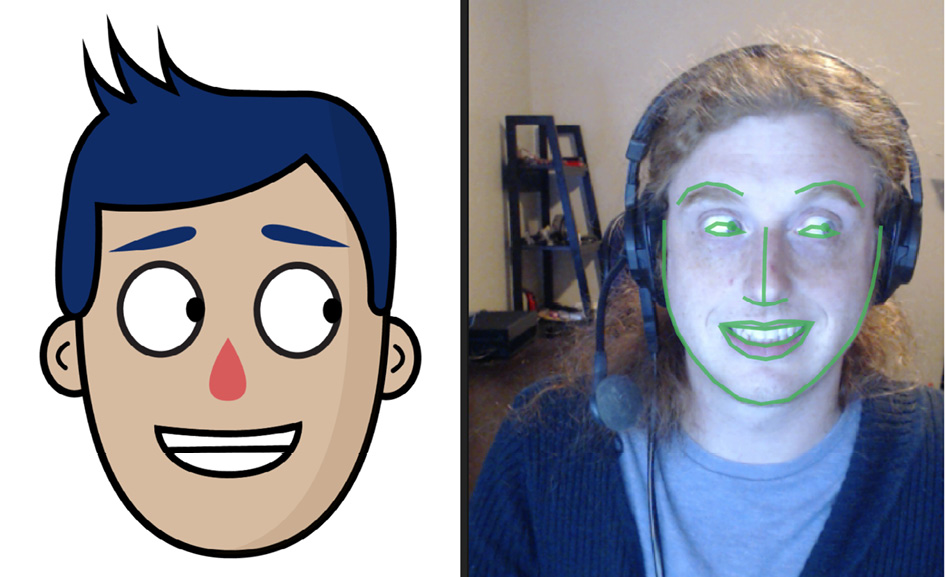
Figure 1.21: Looking right and smiling causes the puppet to do the same thing
Now, try saying something and pay attention to the puppet’s mouth. The puppet should approximate the phonemes you are producing and try to fill in the poses that most make sense:
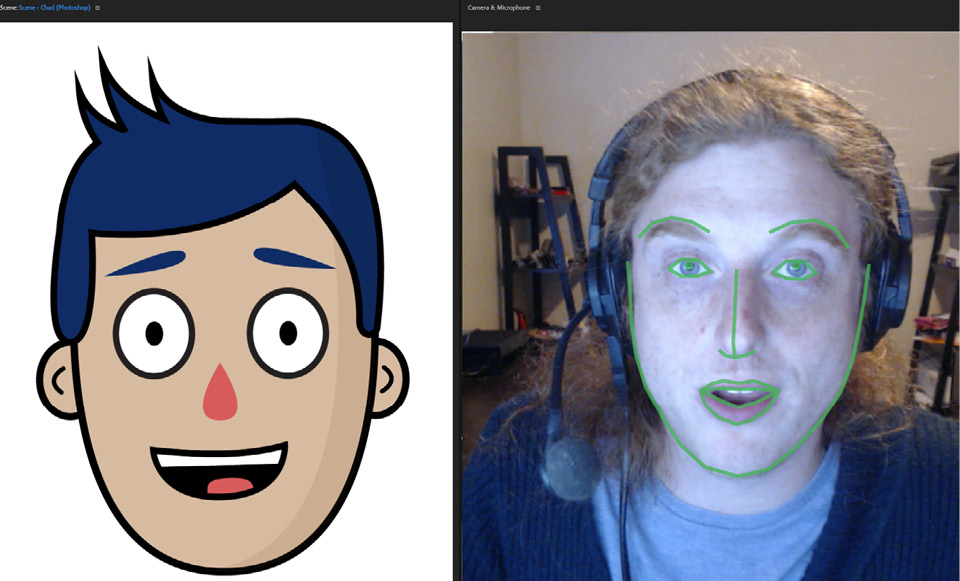
Figure 1.22: The puppet should track your voice, creating phonemes to lip-sync
If the puppet isn’t detecting your video or audio, go back to Preferences and ensure your input and output are correct.
Recording animation
If you’d like to try recording some animation, you will find a red record (Ctrl + R or ⌘ + R) button below the puppet preview. Clicking this will start a 3-second countdown and start moving the timeline and any movement or words will record:

Figure 1.23: Your recording will count down once you hit the red record button
You can hit the stop button, scroll the timeline scrubber back to the beginning, and hit play. You will see what you just did play back:
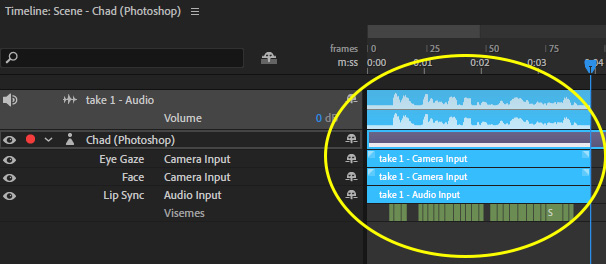
Figure 1.24: All of this content was created through the webcam and mic
We can also edit the timeline, allowing us to hone in and alter segments. We can even work with multiple characters, sets, and props! All of this will become clearer later on.
Animating with Characterizer
To begin, go to File > Open Characterizer. A new window will open up with a big plus symbol button with Create New Capture… written below it. You may also see other captured projects if any work has been done in this panel before. Click on the plus symbol to get started:
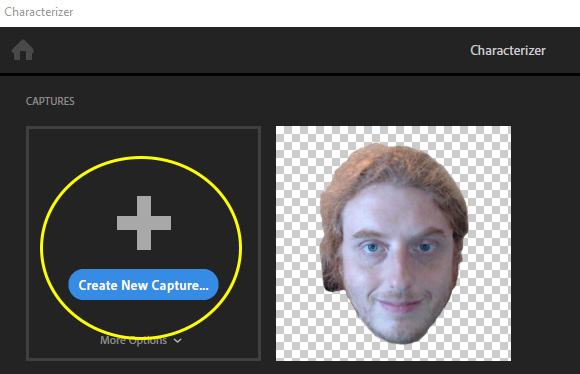
Figure 1.25: Clicking on the Create New Capture… button to begin
A new window will show your camera preview and some on-screen instructions will be present. You may also hear a narrator explaining the process. Be sure your head is in the center highlighted area. Face forward and then hit Start. You will hear an instructor prompting you to do a few tasks: close your eyes, smile, frown and say various words. What this is doing is capturing all the phases needed to create animation for your head in Character Animator.
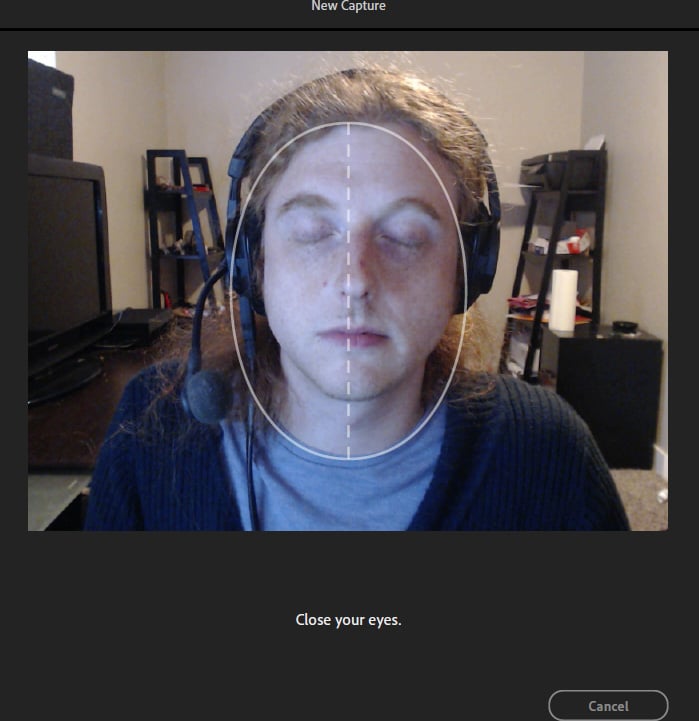
Figure 1.26: Just follow the prompts on the screen and Character Animator will do the rest
On the next screen, you can page through the poses that the app has generated. If anything is amiss or doesn’t look correct, you can click on the back button on the top left and redo the process.
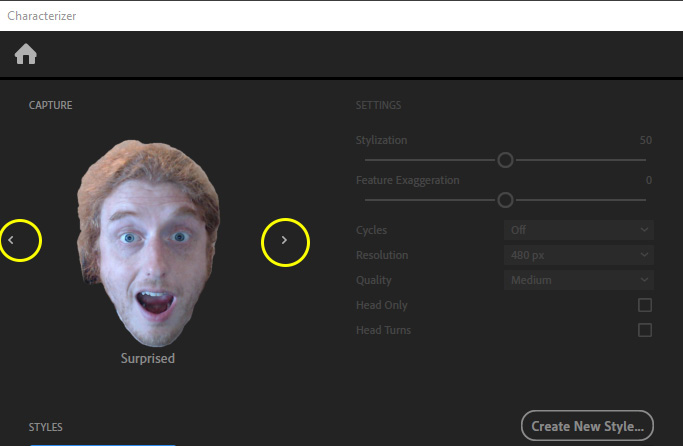
Figure 1.27: You can page through each pose to make sure everything is correct
Once satisfied with the poses, you can decide whether you want to stylize your capture. Each style option allows you to tweak various aspects, such as Stylization, Feature Exaggeration, sketch-like animation effects, and much more. Once satisfied, you can click Generate and it will place the puppet into the Recording workspace.
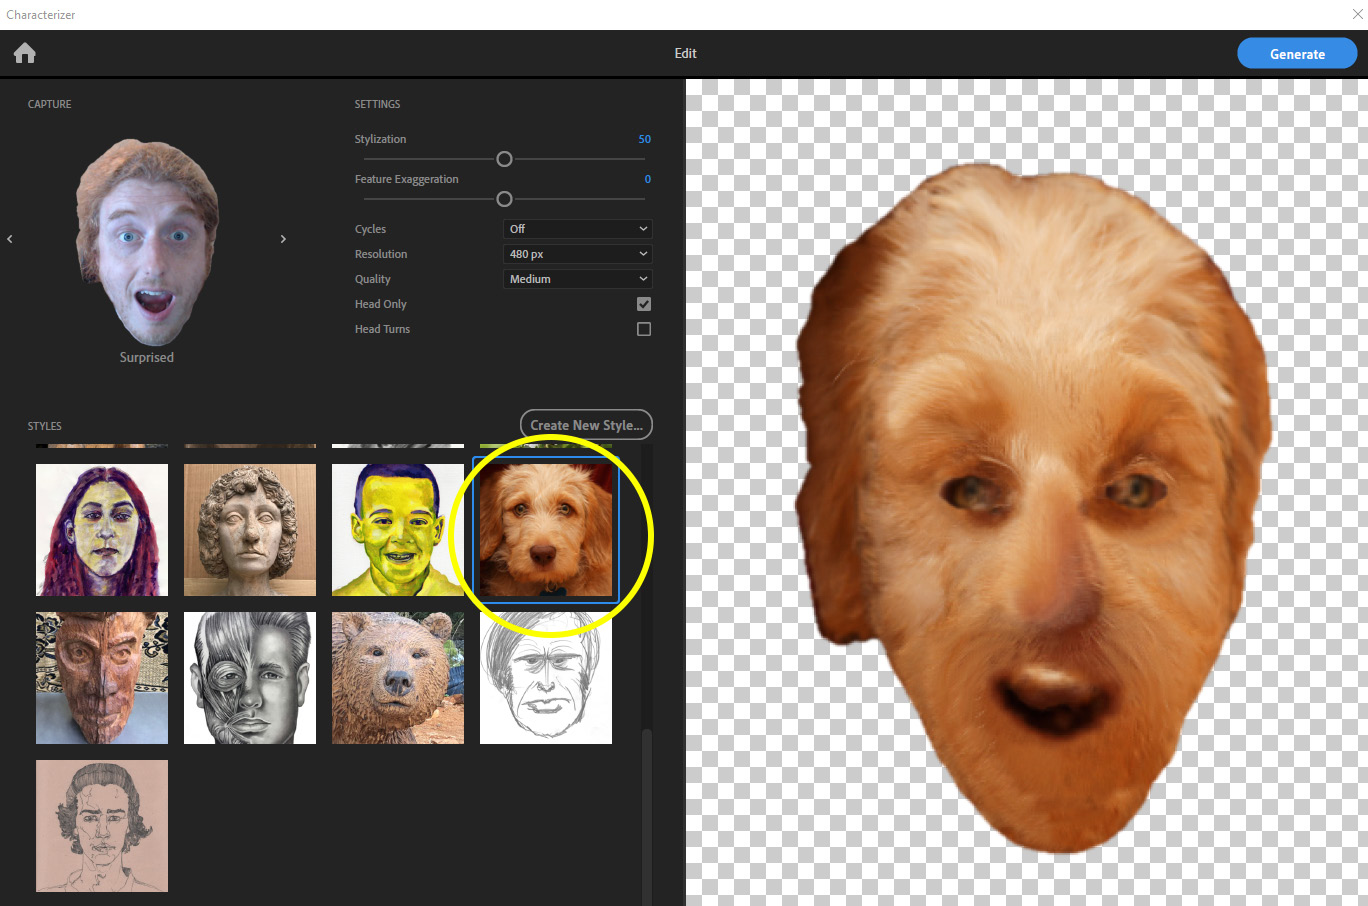
Figure 1.28: You can stylize your character in a variety of fun ways
Other things you can do is import outside images to create the character and import new styles. For this book, we are going to focus on using original artwork and rigs. But it’s good to know Characterizer is there, as you never know – a future project could be perfect for it.
Summary
Feel free to play around until you’re comfortable with the UI and the Recording tab. What’s important here is you know how to do the following:
- Download the app and use the Pro UI
- Make new projects
- Save versions
- Calibrate your equipment
Up next, we’re going to take a look at some of the other animation apps in Adobe Creative Cloud, how they differ, and how we can combine software to create unique effects.