Connecting to a network should be as easy as plugging in a cable. The question is, what can we do on the Raspberry Pi after we are connected to the Internet or local network? This is why it is essential to learn about the hardware prerequisites and capabilities of the Raspberry Pi, so that your idea is theoretically possible to accomplish. Also, knowing your hardware will make troubleshooting problems much easier later in the book.
The most common problems are related to power. These problems can cause the Raspberry Pi to restart, or may show up as a rainbow screen during the boot process (if you have an external monitor connected).
This chapter is all about identifying your Raspberry Pi and the peripherals that you are using or may want to use with it. There are three main pieces of information you should know about your Raspberry Pi: Model, PCB Revision, and Revision.
From here on, I will refer to the Raspberry Pi as "Pi" for simplicity.
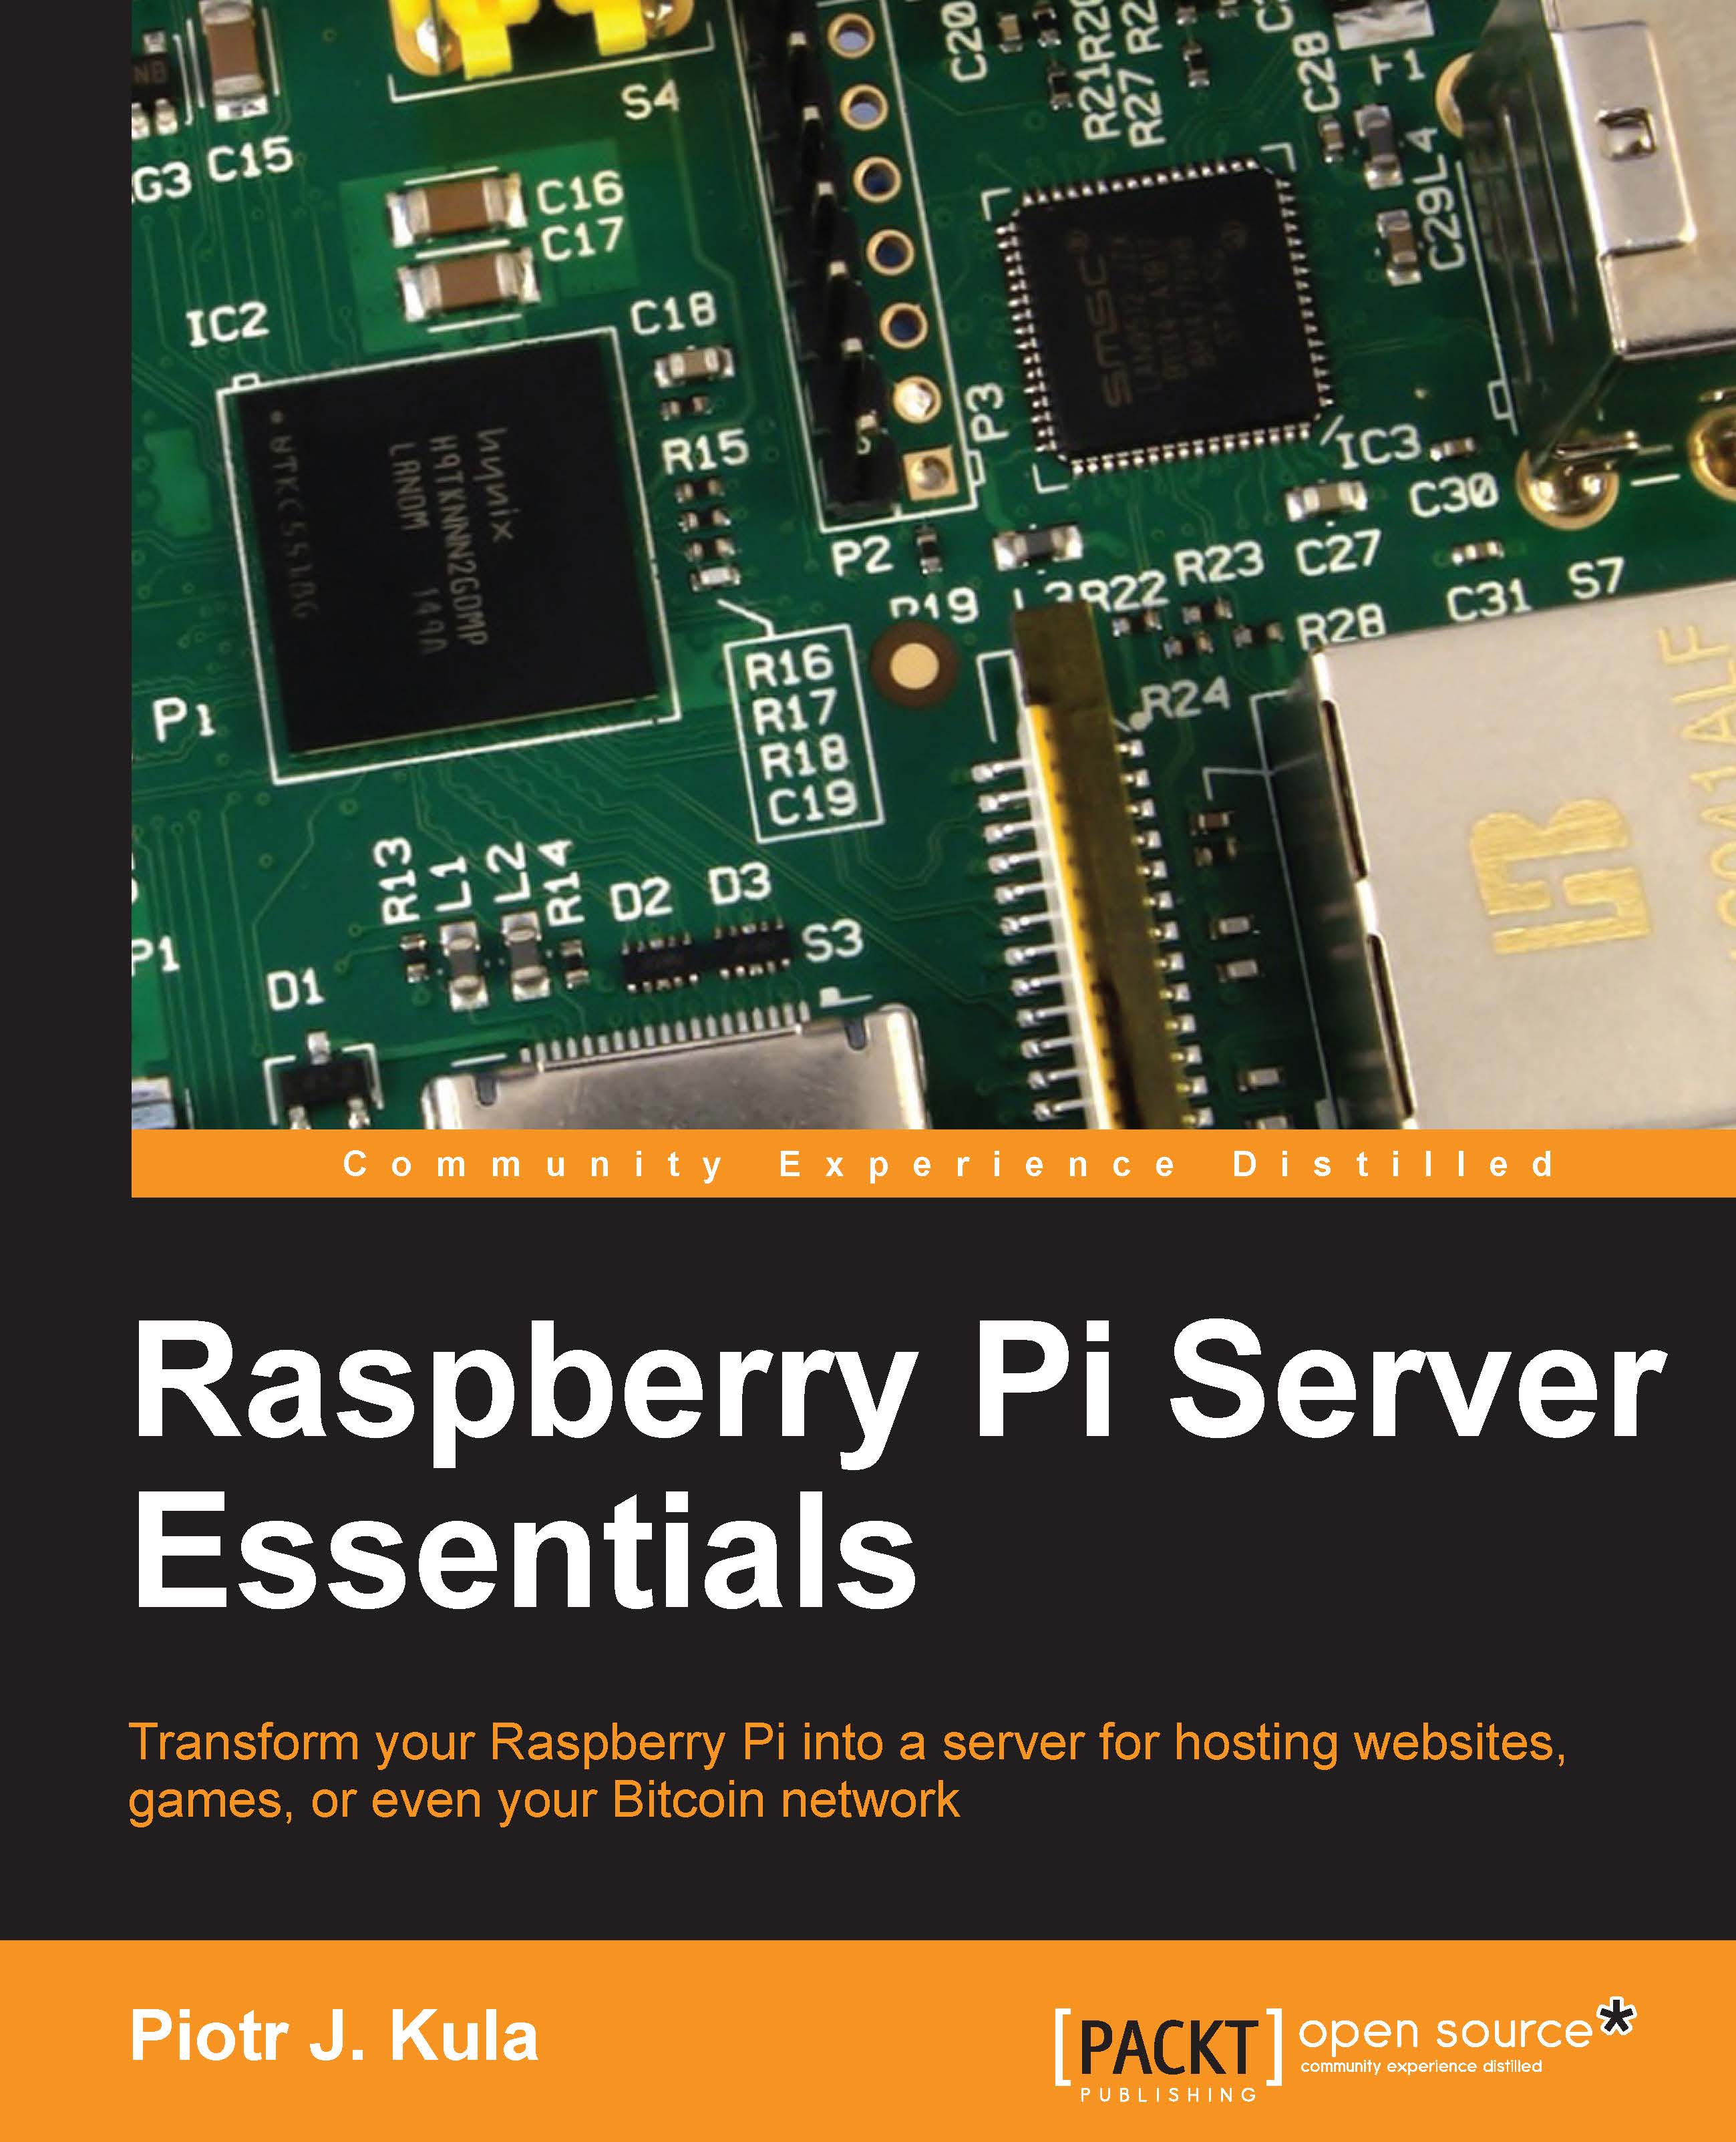
This book will assume that you are using Model B with at least PCB Version 1 and Revision 3. Model B has 512 megabytes of RAM and a built-in LAN port. You also need an SD card of at least 4 GB, but 8 GB is recommended.
The Pi, at the most basic level, needs only a power supply and an SD card to run; but to configure, it is recommended to have an HDMI cable, a compatible screen or television, and a USB keyboard. Even though you might have bought a Pi as a prepackaged kit, it does not always mean that the supplier has chosen the correct peripherals to go with it. These peripherals are important to achieve optimal performance and maximize its lifetime.
The most common power supply is a 1 AMP power supply, which is commonly supplied with smart phones. These chargers are made from good quality components and can easily handle the stress of additional power or power spikes. You should also pay attention to the USB cable that you are using. Some cables are cheaply produced and the copper wire inside them is very thin, and so they struggle to deliver a full 1 AMP current when needed. The original cable provided with the 1 AMP power supply works best. So, try to avoid buying cheap cables.
When you purchase a powered USB hub, they are usually supplied with a 2 AMP power supply. This is enough to power USB devices such as a Wi-Fi adapter, a USB hard drive, a few other peripherals, and even the Pi itself. For basic usage, a computer's USB port will suffice, but you may experience problems. So, it is recommended to avoid using these USBs as a power source.
SD cards may all look alike, but the actual controllers and memory chips vary in speed. The most trusted memory cards are genuine memory cards. But be careful, as the market is flooded with fake brands, and they usually use the slowest and cheapest components. Some even have the incorrect size. There are various speed classes, where Class 4 is the slowest and should be used minimally with the Pi class, and Class 10 is the fastest. The speed of the SD card should not be treated as the main performance gauge. Instead, we should use external storage devices such as hard drives, USB memory sticks, or Network Attached Storage (NAS) to do intensive storage operations. This book assumes that you are using at least an 8 GB, Class 4, genuine SD card. Tweaking performance requires a lot of time and is not covered in this book. The following figure shows an original HTC charger and cable, together with an original Kingston 8 GB Class4 SD card that was used during the writing of this book:

The Pi is branded as a computer, and it is expected that we can connect various different devices to it. Raspbian is based on Debian. A majority of drivers are available within Raspbian and are getting larger with each new update. You might have some old USB peripherals lying around, for example, a joystick. If you can find a driver for any other Linux platform, it should be possible to make it work with Raspbian. Plug it in, use the lsusb
command line, and check to see if it has been detected. If you manage to get it working with your knowledge, you should share your knowledge on a forum for other users; but, the process is not covered in this book.
You should consider buying these peripherals and dedicating them to your Pi. They will really make it easier to set everything up and are even used for long term.
As of the time of writing this book, the current Raspbian image supports a variety of wireless adapters—without the need to install any extra drivers. Many of the mini, nano, or micro versions run directly off the Pi's USB ports and do not require a power USB hub.
Because the Pi is limited to two USB ports, it might be wise to have a compatible, powered USB hub. Powered being the key word here, as this will allow you to plug in any USB device or several devices at the same time without affecting the Pi's power stability. As of this writing, Raspbian is not fully compatible with USB 3.0 hubs yet.
Most wired keyboards and mice will run directly off the Pi (since Revision 3). Many Bluetooth keyboards and mice also work directly off the Pi's USB ports, but require initial setup using a wired keyboard. Some wireless keyboards, such as the Microsoft 3000 series, do not need any configuration as they emulate a wired keyboard and can be used during boot time.
As you grow more familiar with your Pi, you will think up much bigger ideas. With such ideas, you might need a few more useful devices to help you out.
You can connect to the worldwide network by using a 3G dongle. These require a lot of power, and they need to run from a powered hub to operate at full speed. But, they are a really easy way to connect your Pi to the Internet, even in the most remote places of your country. As long as you have the basic voice signal, you should always be able to use GPRS (single channel 57.5 KBps or dual channel 115 KBps). This can be enough to send plenty of logging data as text. Some countries offer free text messages, and these can also be used to send and receive a minimum amount of data. If you plan to run a server, it would be recommended to use LAN or Wi-Fi connected to an ADSL/DSL connection instead.
The Pi has its own sound hardware, which is really good at giving you high definition sound over HDMI or analog sound via its RCA connection (you cannot use both). You might find yourself in a situation where you would like to record audio from a line input or a microphone; you could then use any USB 1.1 or USB 2.0 device.
Infrared (IR) receivers are a great way to control your Pi using conventional remote controls. The FLIRC USB IR remote dongle is a great way for you to start doing this.
This is the ultimate way to turn your Pi into a full DVR system. You can record, playback, or pause live TV from HD satellite or Digital TV. You can also listen to your favorite radio channels.
The Pi has a port for its own dedicated HD camera module. Owning one of these cameras is a real treat, but they do not have proper V4L (Video for Linux) support like most USB cameras. This means that doing some easy tasks can be much more complicated. There is a chapter dedicated to this later in the book.
These come in handy if you work with various types of cards. There is limited support on the generic types; but, the USB 3.0 USRobotics all-in-one card works really well, and you can mount all six cards at the same time.
WyoLum is a startup business that creates useful add-ons for various applications. Specifically, the AlaMode is an Arduino-compatible board with a real-time clock and microSD slot that sits on top of the Pi. You can communicate with Arduino using the Pi's dedicated Universal Asynchronous Receiver/Transmitter (UART), and it can run on the Pi's power source. If you like electronic projects and are already familiar with Arduino, this is worth looking at. You can even use it to flash other Arduino compatible chips or upload firmware to run it on its own!
Though you may not like to downgrade from HDMI to VGA, you can purchase inline HDMI to VGA converters from your favorite online auction shops or electronic stores. You must make sure that you buy an ACTIVE converter, which is slightly more expensive than the passive converter. Active means that it contains a microcontroller that uses power from the HDMI port to convert the digital signal into the VGA standard. The Raspberry Pi is capable of powering these types of devices.
You might have some of these lying around in your gadgets box. Hopefully, reading about some of these less-used devices might spark some creative ideas.
Microsoft's Xbox 360 controller works as a mouse in X using the Arch Linux distribution. Other joysticks might need a ported driver that can be found on Internet forums.
You can purchase simple USB to SATA controllers that allow you to attach SATA hard drives by using the dedicated power supplies. The real fun begins when you use hardware RAID-based USB to SATA controllers that can be chained in various configurations. This can give you massive storage, high redundancy, and maximum performance. Be careful though, as the maximum throughput speed you can achieve is governed by the bandwidth of USB 2.0. In theory, this is a maximum speed of 60 MBps; but it is shared by all the devices on the controller and not per port. There is more information on this later in the book.
The CAN bus is the standard used in all modern motor vehicles. It is a standard port that gives mandatory data that can be interpreted by anybody. For example, throttle value, misfiring of cylinders, or air to fuel ratio. PEAK-System has a variety of peripherals and software that are compatible with the Pi. If you have access to the manufacturer-specific codes, you can even adjust engine mappings with these tools.
A compatible device called TellStick runs well as a third-party home automation device for the Pi. But as an advanced Linux user, you should strive to make your own applications; the best add-on for this is the AlaMode from WyoLum.
There are many distributions that can run on the Pi. Some are specific real-time operating systems like RISC OS, or mainstream operating systems such as Google's Android. Also, the Raspberry foundation has an image called New Out Of Box Software (NOOBS) that contains four different distributions: Raspbian, PiDora, and two flavors of XBMC.
In this book, we will be using Raspbian. It is supported by the foundation, has the best compatibility, and is easy to use. Raspbian is based on Debian, and it is similar to many other Linux operating systems.
The following steps will show you how to install Raspbian on the Raspberry Pi:
For Windows and Macintosh users, it is recommended by the Raspberry Pi foundation to use the SD Formatter from http://www.sdcard.com.
For Windows, perform the following steps:
Install the SD card formatting tool.
In the Option menu, set the Format size adjustment option to ON.
Make sure that you select the correct SD card.
Click on the Format button.
For Macintosh, perform the following steps:
Install the SD card formatting tool.
Select Overwrite Format.
Make sure that you select the correct SD card.
Click on the Format button.
For Linux, perform the following steps:
It is recommended to use the GParted or Parted tool in Linux.
Format the entire disk as FAT.
You should download the latest NOOBS archive from http://www.raspbian.org/.
Unzip the archive.
Copy the extracted files on to the formatted SD card.
Insert the SD card into the Pi, plug in your HDMI or other video cable with a compatible keyboard, and power it up.
The Pi will boot up and present a list of operating systems. Select Raspbian.
If your display is blank, try to press the numeric keys given in the following list when the Pi is booted up:
[1] - HDMI Mode
[2] - HDMI Safe mode
[3] - Composite PAL
[4] - Composite NTSC
The Pi has two identifiable microchips on the PCB, which are described as follows:
The BCM2835 is actually a high performance OpenGL ES GPU (VideoCore IV) with a built-in 700 MHz ARM6 processor by its side. It is a System on Chip (SoC), which means that there is a small amount of space for code that executes when it gets turned on. This is known as Stage 1 in the boot process.
Some network actions need to be done during the boot process, and it is good to understand the various stages in case you need to troubleshoot something. The boot process is as follows:
Stage 1 begins on the GPU and executes the code SoC firmware, which starts to load the Stage 2 code to the L2 cache.
Stage 2 reads
bootcode.bin
from the SD card. It initializes Synchronous Dynamic Random Access Memory (SDRAM) and loads Stage 3.Stage 3 is the
loader.bin
file. This loadsstart.elf
, which starts the GPU.During
start.elf
, it prepares to loadkernel.img
.Then, the kernel image reads
config.txt
,cmdline.txt
, andbcm2835.dtb
.If the
.dtb
file exists, it is loaded at 0 × 100 and the kernel is loaded at 0 × 8000 in memory.The kernel image is the first binary that runs on the ARM CPU, and it can be compiled with the custom support for a specific hardware.
The operating system starts to load.
All the source code in Stages 1 to 3 are closed source and protected by Broadcom. These closed source files are compiled and released by Broadcom only. You can update them on your SD card by running a firmware upgrade in Raspbian, which is covered later.
The kernel.img
file connects the application to the hardware. Any computer with an operating system has a kernel of some sort. It is possible to compile your own kernel in Linux, and it might be the first file that you might want to amend yourself. This allows you to change the boot screen, load custom drivers, or perform other tasks that you might need. This is an advanced task and is not covered in this book.
The BCM2835 processor also has dedicated audio hardware together with audio and video encoding/decoding. This allows the Pi to playback HD (MPEG-4) content such as videos or games. You can buy additional encoder/decoder licenses for extra functionality like MPEG-2 used in DVD video encoding and VC-1 that is used by Microsoft's WMV formats. The SD card is also directly interfaced by the Broadcom chip using the dedicated hardware inputs/outputs and interrupts.
All that dedicated hardware means that while some sections of the chip are fully utilized, the ARM CPU will be idle or hardly used. This will allow you to compute other transactions synchronously, and this is what makes the Raspberry Pi truly a unique, single board, credit-card-sized computer!
All this hardware crammed into one tiny space has its drawbacks. Some are deliberate and others are not. You should consider that these are theoretical calculations and that the real-world performance may vary. Usually, it is slower than the theoretical estimation.
It may be disappointing that the Raspberry Pi foundation decided to use a 100 MBps LAN chip instead of a gigabit one. But, we need to crunch some numbers to justify this decision. Let's convert megabits to more familiar megabytes. To get to "megabytes per second" from "megabits per second", we divide 100 MBps by 8 (there are 8 bits in a byte). This equates to 12.5 megabytes per second at 100 percent LAN capacity. For a single user, this is only roughly 20 percent of what the USB hub can handle. That means that, by design, this is an unchangeable bandwidth limitation for networking.
If you plan to share files with several users at the same time, each new user will bump down the other user's bandwidth to accommodate their own. As a work-around, you could add a gigabit USB LAN peripheral to increase the bandwidth. But, due to the speed constraints of the USB hub, you will only use approximately 48 percent of the gigabit LAN. To make matters worse, the hard drives running on the USB port will start to fight for bandwidth. The USB Controller has to share 480 MBps across all the four ports! One port is used by the 100 MBit network card, and the other connects the hub to the GPU. For one user, this means a maximum bandwidth of 240 MBps. Why 240 MBps? This is because 240 MBps goes to LAN and 240 MBps goes to the hard drive; and theoretically, there is no USB bandwidth left for anything else.
This can be a problem for a multiuser environment, but for home use, you would not run into any major problems as the bandwidth can accommodate HD video streams while serving other clients. This is why the cheaper 100 MBit version was used.
As it was made clear by the bottlenecks found with LAN, the worst thing about USB bottlenecks is that there is no way to work around this problem! This is because the USB Controller connects to the Broadcom chip and the LAN chip on the PCB, without any possibility of expanding or replacing this chip.
The Pi does not come with a real-time clock, so timekeeping is left to Internet-based time servers. For most people, this might not cause a problem. But if you want to create a remote, disconnected device that depends on events that are recorded at various times of the day, you might be left a little bewildered.
One easy and reliable way to do this is to connect a USB or I2C RTC that runs on a small battery. There is an easier and free option though, but it is not as accurate. You may want to install the fake-hwclock
package. All you need to do is set the time once and the software will keep track of time by using a file. If you have a power outage, the software will read the file and set the time back to the last known time. The drawback is that you lose that time as there is no way to determine how long the outage lasted.
One of the most popular questions found on the Internet is how to increase the Pi's performance! This is because the Pi has been labeled as a small computer which directly associates with modern day desktop computers. This makes a lot of people think that the Pi will perform as efficiently as a full, multi-core computer.
The purpose of understanding the architecture is vital to a successful, long term project. The Pi works "like" any other computer, but it was designed purely for experimental and learning purposes. It should not be used in production environments, but it is an extremely attractive alternative.
It is an excellent platform for sharing media between friends at school. It is fantastic for streaming HD media on your TV, and it is robust enough for some standalone applications.