


 Download code from GitHub
Chapter 1: Getting Started with FastAPI
FastAPI is the Python web framework that we are going to use in this book. It is a fast, lightweight modern API and has an easier learning curve when compared to other Python-based web frameworks, such as Flask and Django. FastAPI is relatively new, but it has a growing community. It is used extensively in building web APIs and in deploying machine learning models.
In the first chapter, you will learn how to set up your development environment and build your first FastAPI application. You will begin by learning the basics of Git – a version control system – to equip you with the knowledge of storing, tracking, and retrieving file changes as you build your application. You will also learn how to handle packages in Python using pip, how to create isolated development environments with Virtualenv, and the basics of Docker. Lastly, you will be introduced to the basics of FastAPI by building a simple Hello World application.
An understanding of the technologies previously mentioned is required to build a full-blown FastAPI application. It also serves as an addition to your current skillset.
At the completion of this chapter, you will be able to set up and use Git, install and manage packages using pip, create an isolated development environment with Virtualenv, use Docker, and most importantly, scaffold a FastAPI application.
This chapter covers the following topics:
- Git basics
- Creating isolated development environments with Virtualenv
- Package management with pip
- Setting up and learning the basics of Docker
- Building a simple FastAPI application
Technical Requirement
You can find the code files for this chapter on GitHub at https://github.com/PacktPublishing/Building-Python-Web-APIs-with-FastAPI/tree/main/ch01
Git basics
Git is a version control system that enables developers to record, keep track, and revert to earlier versions of files. It is a decentralized and lightweight tool that can be installed on any operating system.
You will be learning how to use Git for record-keeping purposes. As each layer of the application is being built, changes will be made, and it’s important that these changes are kept note of.
Installing Git
To install Git, visit the downloads page at https://git-scm.com/downloads and select a download option for your current operating system. You’ll be redirected to an instructional page on how to install Git on your machine.
It is also worth noting that Git comes as a CLI and a GUI application. Therefore, you can download the one that works best for you.
Git operations
As mentioned earlier, Git can be used to record, track, and revert to earlier versions of a file. However, only the basic operations of Git will be used in this book and will be introduced in this section.
In order for Git to run properly, folders housing files must be initialized. Initializing folders enables Git to keep track of the content except otherwise exempted.
To initialize a new Git repository in your project, you need to run the following command in your terminal:
$ git init
To enable tracking of files, a file must first be added and committed. A Git commit enables you to track file changes between timeframes; for example, a commit made an hour ago and the current file version.
What Is a Commit?
A commit is a unique capture of a file or folder status at a particular time, and it is identified by a unique code.
Now that we know what a commit is, we can go ahead and commit a file as follows:
$ git add hello.txt
$ git commit -m "Initial commit"
You can track the status of your files after making changes by running the following command:
$ git status
Your terminal should look similar to the following:
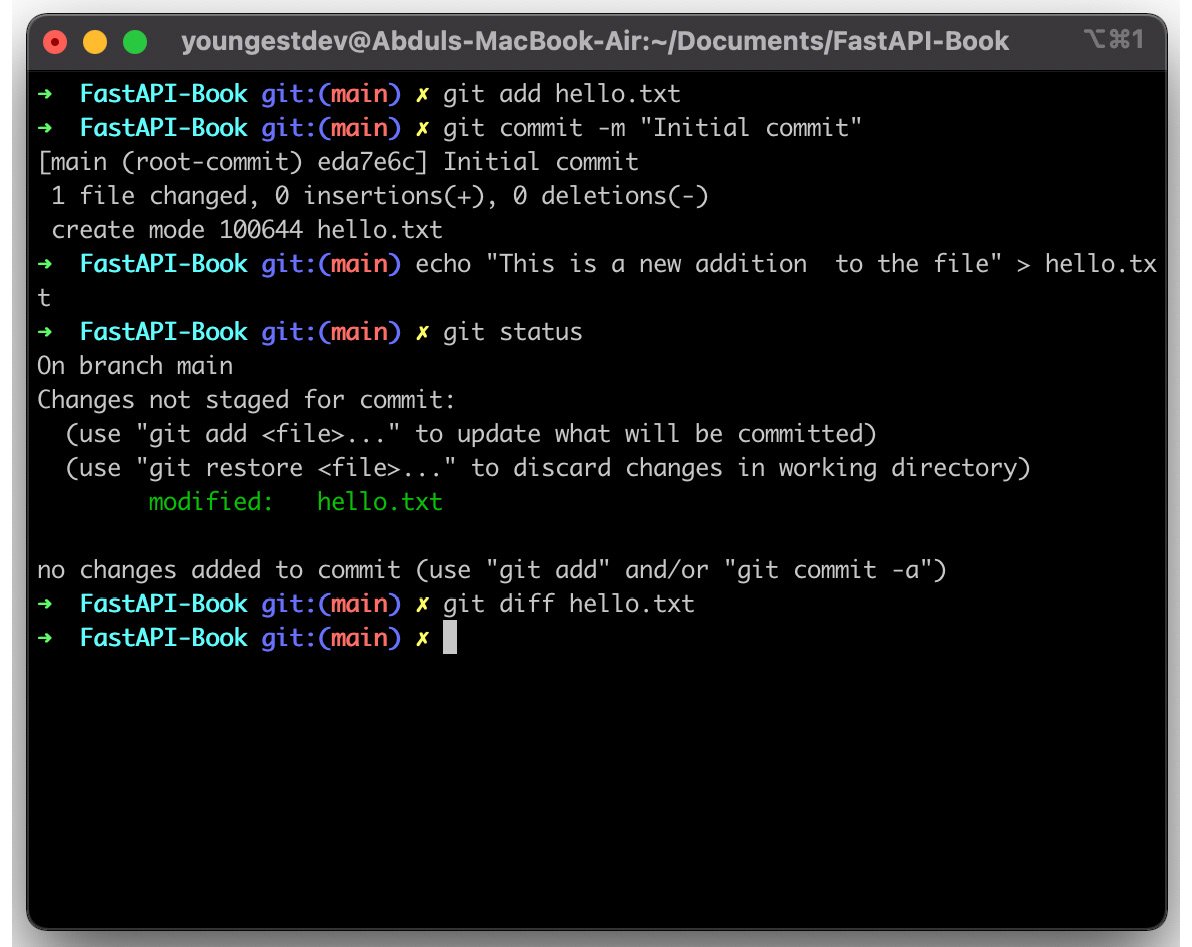
Figure 1.1 – Git commands
To view the changes made to the file, which can be additions or subtractions from the file contents, run the following command:
$ git diff
Your terminal should look similar to the following:
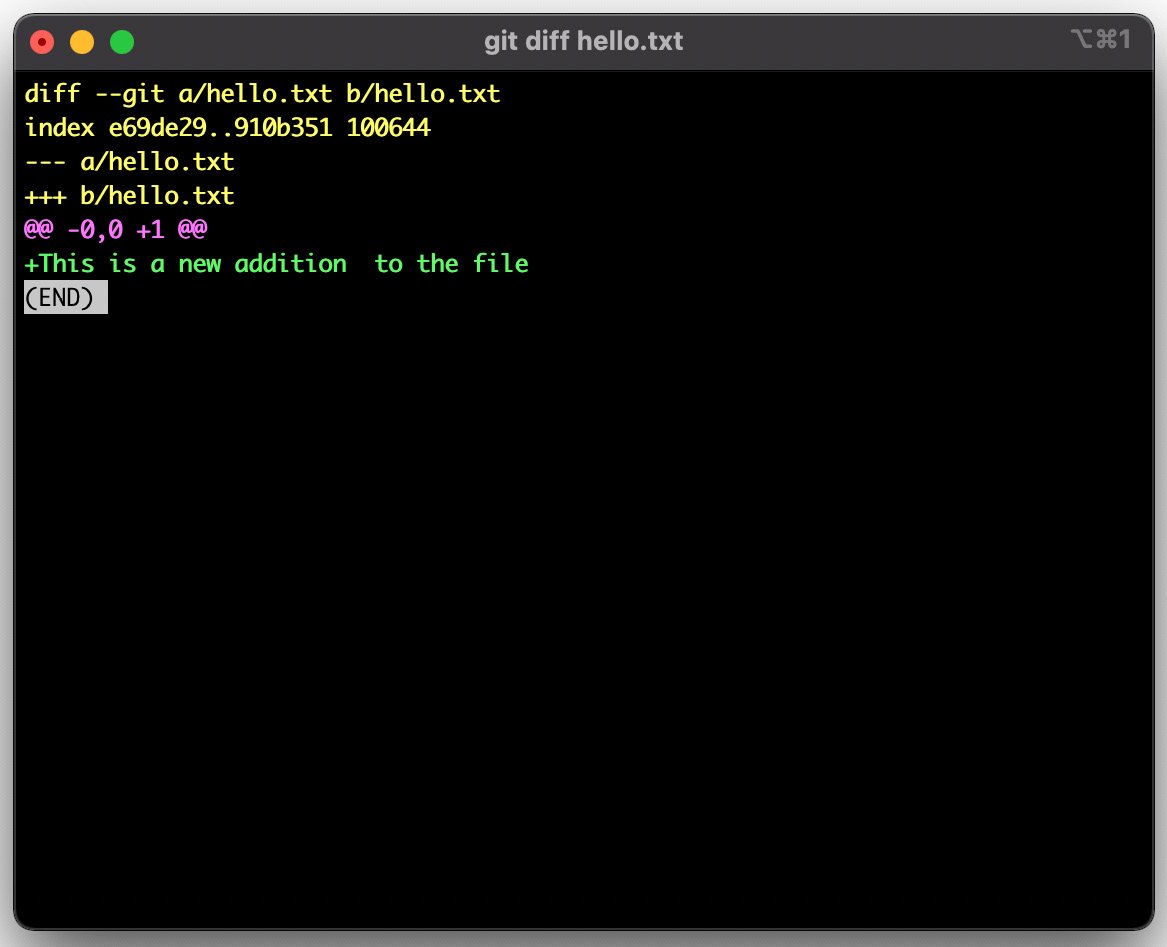
Figure 1.2 – Output from the git diff command
It is good practice to include a .gitignore file in every folder. The .gitignore file contains the names of files and folders to be ignored by Git. This way, you can add and commit all the files in your folder without the fear of committing files like .env.
To include a .gitignore file, run the following command in your terminal:
$ touch .gitignore
To exempt a file from being tracked by Git, add it to the .gitignore file as follows:
$ echo ".env" >> .gitignore
Common files contained in a .gitignore file include the following:
- Environment files (*
.env) - Virtualenv folder (env, venv)
- IDE metadata folders (such as
.vscodeand.idea)
Git branches
Branches are an important feature that enables developers to easily work on different application features, bugs, and so on, separately before merging into the main branch. The system of branching is employed in both small-scale and large-scale applications and promotes the culture of previewing and collaborations via pull requests. The primary branch is called the main branch and it is the branch from which other branches are created.
To create a new branch from an existing branch, we run the git checkout -b newbranch command. Let’s create a new branch by running the following command:
$ git checkout -b hello-python-branch
The preceding command creates a new branch from the existing one, and then sets the active branch to the newly created branch. To switch back to the original main branch, we run git checkout main as follows:
$ git checkout main
Important Note
Running git checkout main makes main the active working branch, whereas git checkout -b newbranch creates a new branch from the current working branch and sets the newly created branch as the active one.
To learn more, refer to the Git documentation: http://www.git-scm.com/doc.
Now that we have learned the basics of Git, we can now proceed to learn about how to create isolated environments with virtualenv.
Creating isolated development environments with Virtualenv
The traditional approach to developing applications in Python is to isolate these applications in a virtual environment. This is done to avoid installing packages globally and reduce conflicts during application development.
A virtual environment is an isolated environment where application dependencies installed can only be accessed within it. As a result, the application can only access packages and interact only within this environment.
Creating a virtual environment
By default, the venv module from the standard library is installed in Python3. The venv module is responsible for creating a virtual environment. Let’s create a todos folder and create a virtual environment in it by running the following commands:
$ mkdir todos && cd todos
$ python3 -m venv venv
The venv module takes an argument, which is the name of the folder where the virtual environment should be installed into. In our newly created virtual environment, a copy of the Python interpreter is installed in the lib folder, and the files enabling interactions within the virtual environment are stored in the bin folder.
Activating and deactivating the virtual environment
To activate a virtual environment, we run the following command:
$ source venv/bin/activate
The preceding command instructs your shell to use the virtual environment’s interpreter and packages by default. Upon activating the virtual environment, a prefix of the venv virtual environment folder is added before the prompt as follows:

Figure 1.3 – Prefixed prompt
To deactivate a virtual environment, the deactivate command is run in the prompt. Running the command immediately exits the isolated environment and the prefix is removed as follows:
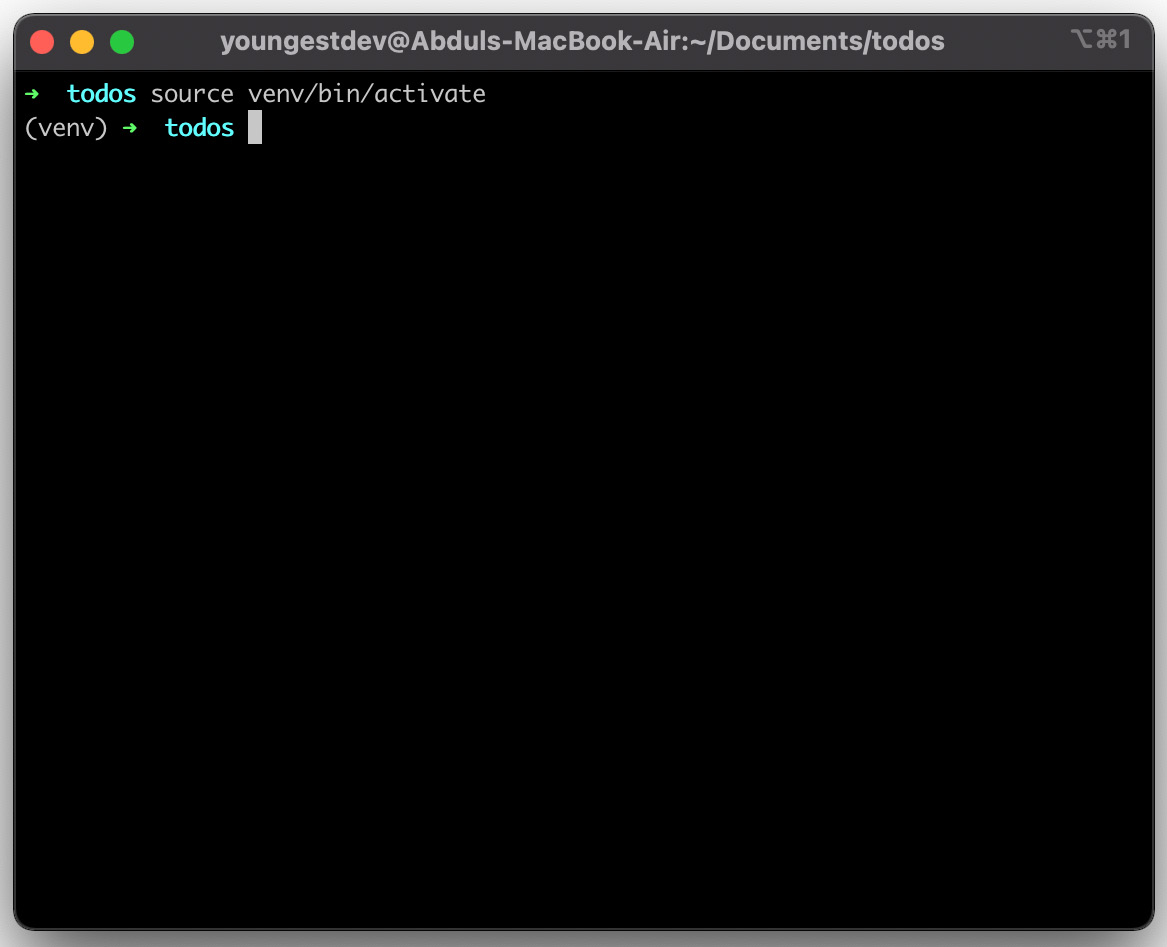
Figure 1.4 – Deactivating a virtual environment
Important Note
You can also create a virtual environment and manage application dependencies using Pipenv and Poetry.
Now that we have created the virtual environment, we can now proceed to understand how package management with pip works.
Package management with pip
A FastAPI application constitutes packages, therefore you will be introduced to package management practices, such as installing packages, removing packages, and updating packages for your application.
Installing packages from the source can turn out to be a cumbersome task as, most of the time, it involves downloading and unzipping .tar.gz files before manual installation. In a scenario where a hundred packages are to be installed, this method becomes inefficient. Then, how do you automate this process?
Pip is a Python package manager like JavaScript’s yarn; it enables you to automate the process of installing Python packages – both globally and locally.
Installing pip
Pip is automatically installed during a Python installation. You can verify whether pip is installed by running the following command in your terminal:
$ python3 -m pip list
The preceding command should return a list of packages installed. The output should be similar to the following figure:
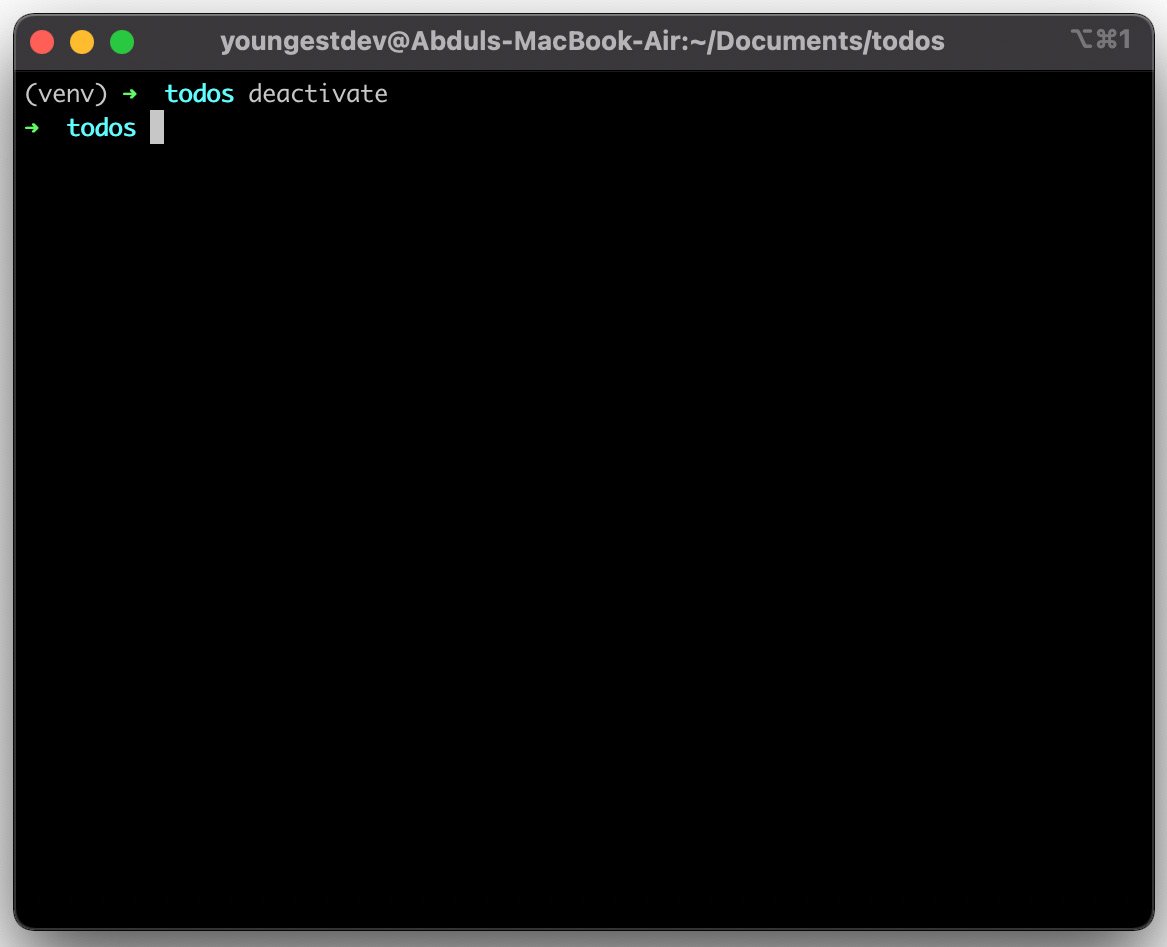
Figure 1.5 – List of installed Python packages
If the command returns an error, follow the instructions at https://pip.pypa.io/en/stable/installation/ to install pip.
Basic commands
With pip installed, let’s learn its basic commands. To install the FastAPI package with pip, we run the following command:
$ pip install fastapi
On a Unix operating system, such as Mac or Linux, in some cases, the sudo keyword is prepended to install global packages.
To uninstall a package, the following command is used:
$ pip uninstall fastapi
To collate the current packages installed in a project into a file, we use the following freeze command:
$ pip freeze > requirements.txt
The > operator tells bash to save the output from the command into the requirements.txt file. This means that running pip freeze returns an output of all the currently installed packages.
To install packages from a file such as the requirements.txt file, the following command is used:
$ pip install -r requirements.txt
The preceding command is mostly used in deployment.
Now that you have learned the basics of pip and have gone over some basic commands, let’s learn the basics of Docker.
Setting up Docker
As our application grows into having multiple layers, such as a database, coupling the application into a single piece enables us to deploy our application. We’ll be using Docker to containerize our application layers into a single image, which can then be easily deployed locally or in the cloud.
Additionally, using a Dockerfile and a docker-compose file eliminates the need to upload and share images of our applications. New versions of our applications can be built from the Dockerfile and deployed using the docker-compose file. Application images can also be stored and retrieved from Docker Hub. This is known as a push and pull operation.
To begin setting up, download and install Docker from https://docs.docker.com/install.
Dockerfile
A Dockerfile contains instructions on how our application image is to be built. The following is an example Dockerfile:
FROM PYTHON:3.8
# Set working directory to /usr/src/app
WORKDIR /usr/src/app
# Copy the contents of the current local directory into the container's working directory
ADD . /usr/src/app
# Run a command
CMD ["python", "hello.py"]
Next, we’ll build the application container image and tag it getting_started as follows:
$ docker build -t getting_started .
If the Dockerfile isn’t present in the directory where the command is being run, the path to the Dockerfile should be properly appended as follows:
$ docker build -t api api/Dockerfile
The container image can be run using the following command:
$ docker run getting-started
Docker is an efficient tool for containerization. We have only looked at the basic operations and we’ll learn more operations practically in Chapter 9, Deploying FastAPI Applications.
Building a simple FastAPI application
Finally, we can now get to our first FastAPI project. Our aim in this section is to introduce FastAPI by building a simple application. We shall cover in-depth operations in subsequent chapters.
We’ll begin by installing the dependencies required for our application in the todos folder we created earlier. The dependencies are the following:
fastapi: The framework on which we’ll build our application.uvicorn: An Asynchronous Server Gateway Interface module to run our application.
First, activate your development environment by running the following command in your project directory:
$ source venv/bin/activate
Then, install the dependencies as follows:
(venv)$ pip install fastapi uvicorn
For now, we’ll create a new api.py file and create a new instance of FastAPI as follows:
from fastapi import FastAPI
app = FastAPI()
By instantiating FastAPI in the app variable, we can proceed to create routes. Let’s create a welcome route.
A route is created by first defining a decorator to indicate the type of operation, followed by a function containing the operation to be carried out when this route is invoked. In the following example, we’ll create a "/" route that only accepts GET requests and returns a welcome message when visited:
@app.get("/")
async def welcome() -> dict:
    return { "message": "Hello World"}
The next step is to start our application using uvicorn. In your terminal, run the following command:
(venv)$ uvicorn api:app --port 8000 --reload
In the preceding command, uvicorn takes the following arguments:
file:instance: The file containing the instance of FastAPI and the name variable holding the FastAPI instance.--port PORT: The port the application will be served on.--reload: An optional argument included to restart the application on every file change.
The command returns the following output:
(venv) ➜  todos uvicorn api:app --port 8080 --reload
INFO:     Will watch for changes in these directories: ['/Users/youngestdev/Documents/todos']
INFO:     Uvicorn running on http://0.0.0.0:8080 (Press CTRL+C to quit)
INFO:     Started reloader process [3982] using statreload
INFO:     Started server process [3984]
INFO:     Waiting for application startup.
INFO:     Application startup complete.
The next step is to test the application by sending a GET request to the API. In a new terminal, send a GET request using curl as follows:
$ curl http://0.0.0.0:8080/
The response from the application logged in your console will be the following:
{"message":"Hello World"}
Summary
In this chapter, we have learned how to install the tools required to set up our development environment. We have also built a simple API as an introduction to FastAPI and learned how to create a route in the process.
In the next chapter, you will be introduced to routing in FastAPI. First, you will be introduced to the process of building models to validate request payloads and responses using Pydantic. You will then learn about Path and Query parameters as well as request body, and finally, you will learn how to build a CRUD todo application.