Chapter 1: Amazon Honeycode – Day One
Amazon Honeycode's key value proposition is to enable users to build and deploy mobile and web applications with minimal to zero need of programming. Therefore, we'll start this book by enabling you to discover this power and value right at the first step.
You will first create your Honeycode account, and then in less than 2 minutes, you will be able to create and use a simple To-Do app that runs on both mobile devices and on laptops/desktops following some simple steps and a few clicks.
Are you wondering what Amazon Honeycode is? What are the key features, major components, and where are the other details that are typically covered at the start of a book? Do not worry – we have you covered in Chapter 2, Introduction to Honeycode. However, before all those details, let's zoom through the core product and learn what it has to offer.
In this chapter, we're going to cover the following main topics:
- Creating the first application
- Running the application on the web and mobile devices
Technical requirements
In order to follow this and all the subsequent chapters in this book, you'll need to have access to Amazon Honeycode, which requires a laptop with a web browser, preferably Google Chrome, and optionally a mobile device running either a Honeycode-supported version of Android (it currently requires Android 8.0 or upward) or iOS (it currently requires iOS 11 or later).
Creating the first application
In this section, we'll create a Free Tier account on Amazon Honeycode and then quickly create a to-do application.
Creating an account on Amazon Honeycode
To create an account on Amazon Honeycode, let's follow these steps:
- We will start by using our browser to navigate to www.honeycode.aws and click on the Try for free button at the top-right corner of the page. Provide your details in the form, verify the email, and complete the signup.
- On the first login, you will be greeted with a Welcome to Honeycode! popup. It is up to you whether you want to provide the requested data review the content of the popup or skip it. In our next chapter, we'll cover in detail the information provided on the pop-up screens:
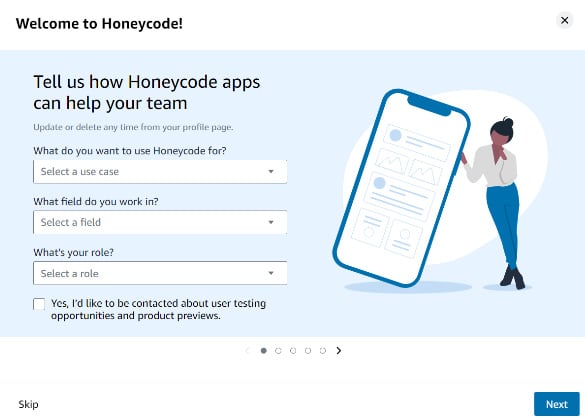
Figure 1.1 – The first Welcome to Honeycode! pop-up screen
- After logging in and skipping through the popups and nudges, we land on a screen that is called DASHBOARD (there'll be more on the dashboard in Chapter 2, Introduction to Honeycode), which is the place where we'll start creating our To-Do application:
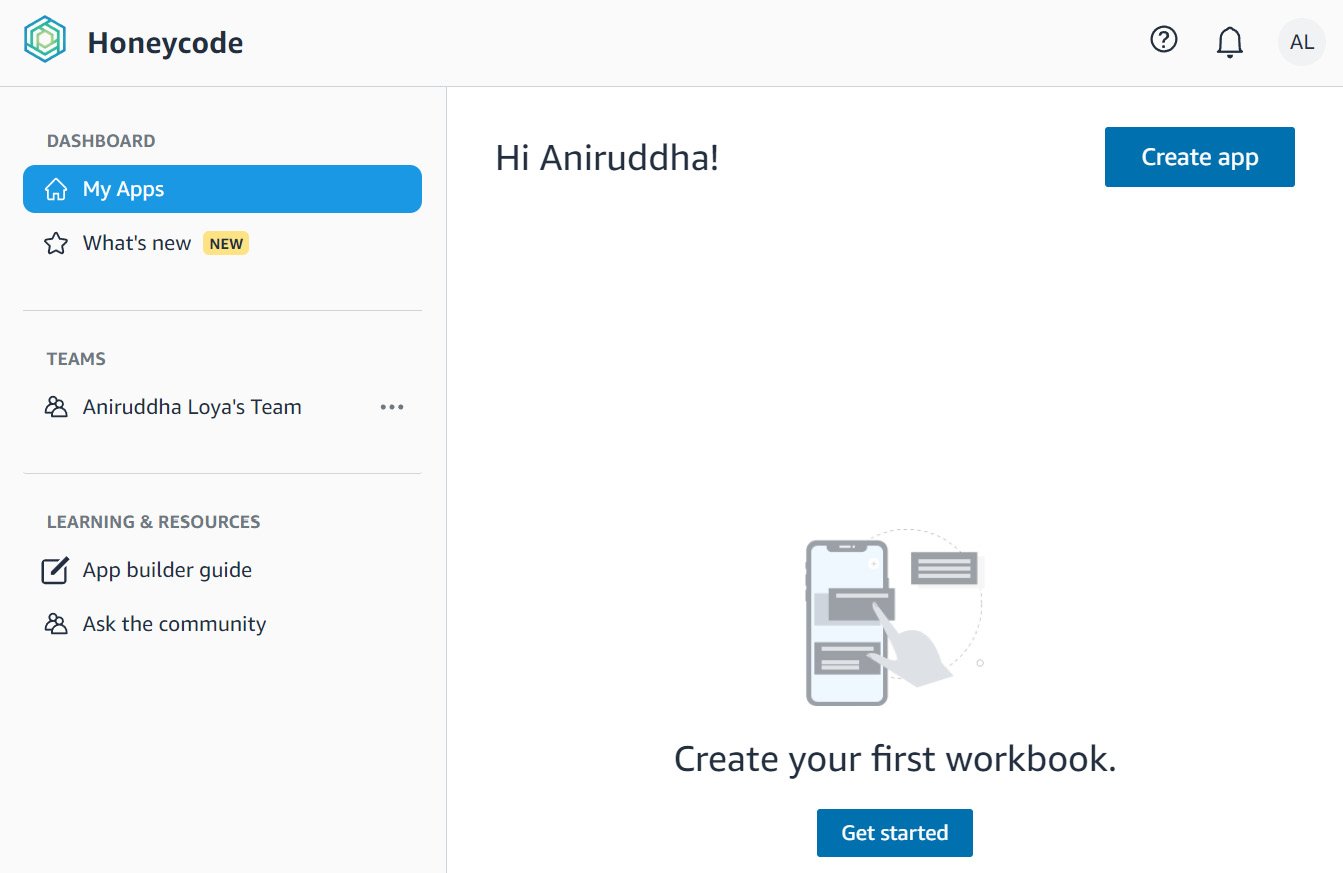
Figure 1.2 – An empty dashboard on the first login
Creating a To-Do application
Let's understand how to create a To-Do application with the following steps:
- On the DASHBOARD screen, locate the Create app button in the top-right corner and click it.
- This loads a popup with quite a number of options for us. Under the USE A TEMPLATE header, locate a tile with the Simple To-Do label and click it:
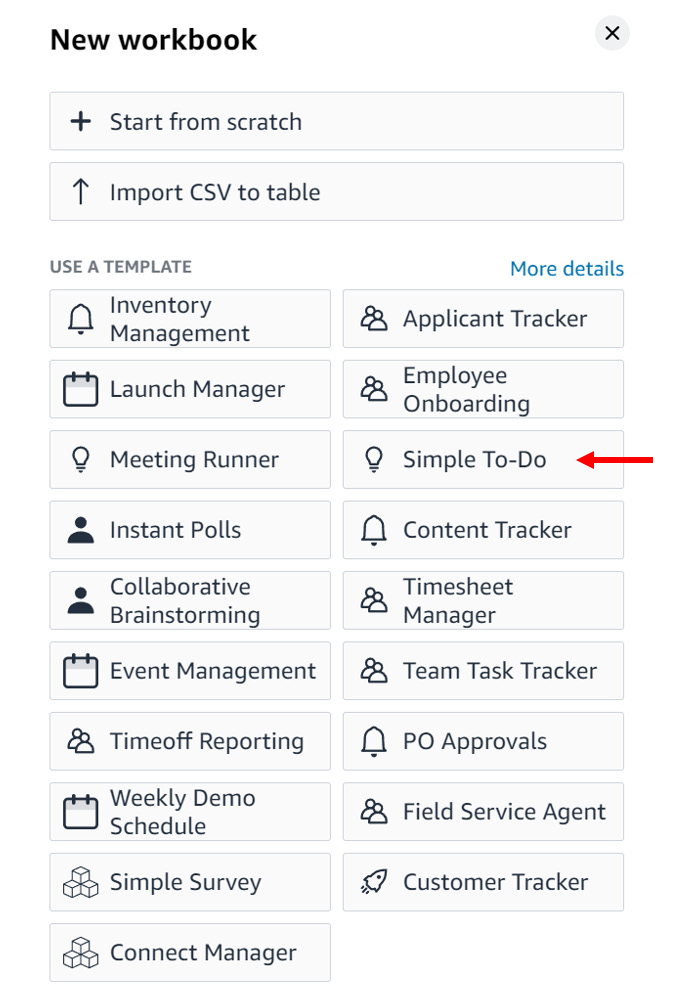
Figure 1.3 – Selecting the Simple To-Do application template
- Next comes a popup to name the workbook and choose a team. For now, let's leave the default values and click on the Create button:
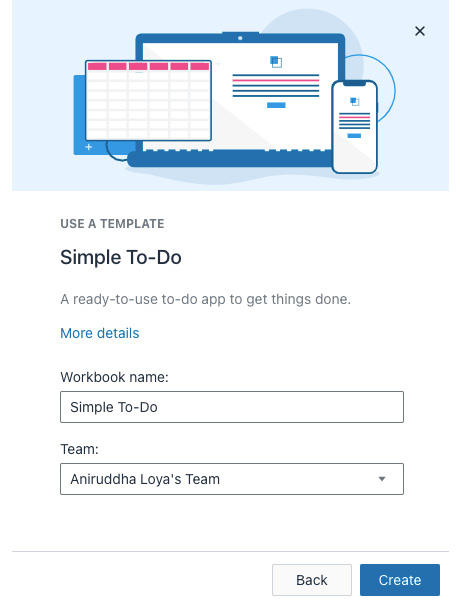
Figure 1.4 – Providing a workbook name and team details to create the workbook
- This creates and loads our Simple To-Do workbook and, given it is our first time using it, another set of popups with links and information about the components of the workbook.
It is up to you whether you want to review the links and follow the popups or skip them.
- After reviewing or skipping the popups, click on the Honeycode icon in the top left, which navigates back to the dashboard.
- Your Honeycode dashboard now has the newly created Simple To-Do app:

Figure 1.5 – The dashboard showing the newly created application
And that's it. In six simple steps, you have created your first Honeycode application that is ready to be used. In the next section, we'll learn how to start using this application through browsers and mobile devices.
Running the application on the web and a mobile
In the previous section, we created the Amazon Honeycode account and used it to log in and create our first application – To-Do. In this section, we'll learn how to run this application on the web and mobile devices.
Running our To-Do application on a web browser
Let's see how to run the To-Do app:
- If not already logged in, log in to your Honeycode account.
- Locate the To do application in DASHBOARD and click on it:

Figure 1.6 – Launching the To-Do web application from the dashboard
And there we have our To-Do application ready to use. Try it out by adding a new task, marking tasks complete, and reviewing the screens:

Figure 1.7 – The To-Do application running in a web browser
Running our To-Do application on a mobile device
The next set of steps will require a mobile device running either a Honeycode-supported version of Android (it currently requires Android 8.0 and upward) or iOS (it currently requires iOS 11 or later). For the purpose of illustration, the screenshots in this section are taken from an iPhone, so there might be some differences in look and feel on Android devices:
- Go to the app store on your mobile device, search for
Amazon Honeycode, and download it. - Log in using the credentials of the Honeycode account we created in the first section.
- The Apps screen loads with the To-Do app we created. Tap on it to launch the app:

Figure 1.8 – The To-Do application on a mobile
And there we have our To-Do application ready to use. Try it out by adding a new task, marking tasks complete, and reviewing the screens:

Figure 1.9 – The To-Do application running on a mobile device
Bonus
Open both the web and mobile applications. Make a change in one and note that the change is reflected in the other app in near real time. In a later chapter, we will learn more about how this sync hronization enables real-time collaboration among the team members using Honeycode apps and across different platforms and devices too.
Summary
In this chapter, in less than 10 steps, we created and tested a new mobile and web application without writing a single line of code.
Now that we know the power of Honeycode and, more importantly, how to navigate and run apps on both mobile devices and the web, it's time to dive into the details of different aspects and terminology associated with Honeycode.
In the next chapter, we'll use our Simple To-Do workbook and the To-Do app to get ourselves acquainted with Honeycode.