Creating projects
Now that we have Unity installed, we can start creating our game. To do so, we first need to create a project, which is basically a folder containing all the files that your game will be composed of. These files are called assets and there are different types of them, such as images, audio, 3D models, script files, and so on. In this section, we will see how to manage a project, addressing the following concepts:
- Creating a project
- Project structure
Creating a project
As with Unity installations, we will use Unity Hub to manage projects. We need to follow these steps to create one:
- Open Unity Hub and click on the Projects button, and then click on NEW, as illustrated in the following screenshot:

Figure 2.12 – Creating a new project in Unity Hub
- Pick the Universal Render Pipeline template, then a project name and a location, and hit Create. We will be creating a 3D game with simple graphics, prepared to run on every device Unity can be executed on, so the Universal Render Pipeline (or URP) is the better choice for that. In Chapter 6, Materials and Effects with URP and Shader Graph, we will be discussing exactly why. The process can be seen in the following screenshot:
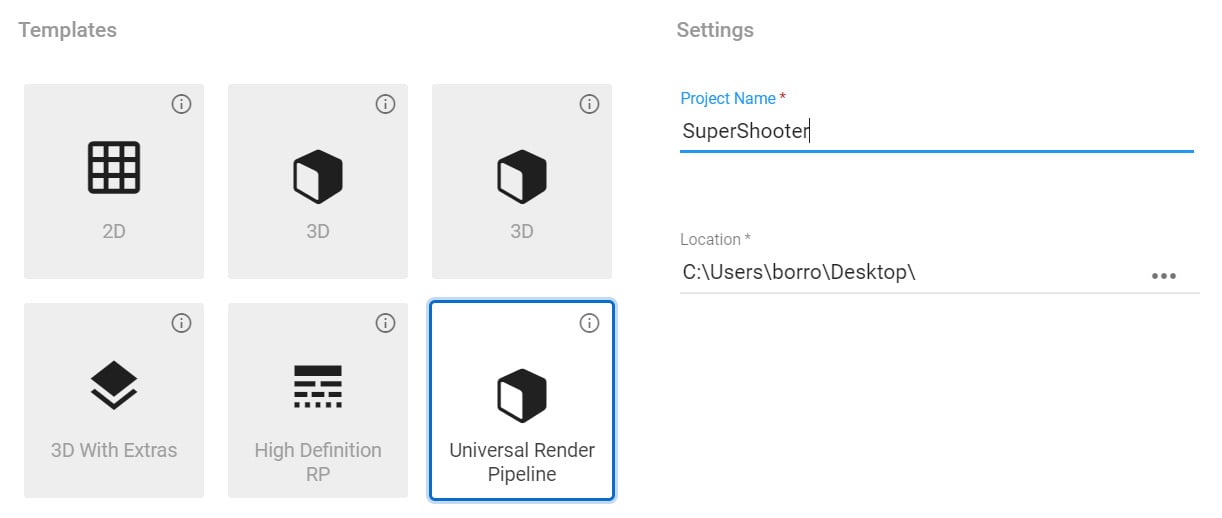
Figure 2.13 – Selecting the Universal Render Pipeline template
Important Note:
Try to put the project in Dropbox, Google Drive, or any cloud-synchronized folder to make sure you always have the project at hand. This project will grow, so make sure you have enough space in that folder. If you don't have enough space in your hosting service, just skip this. If you know how to use Git, that would be a better option.
- Unity will create and automatically open the project. This can take a while, but after that, you will see a screen similar to the one shown in the following screenshot:
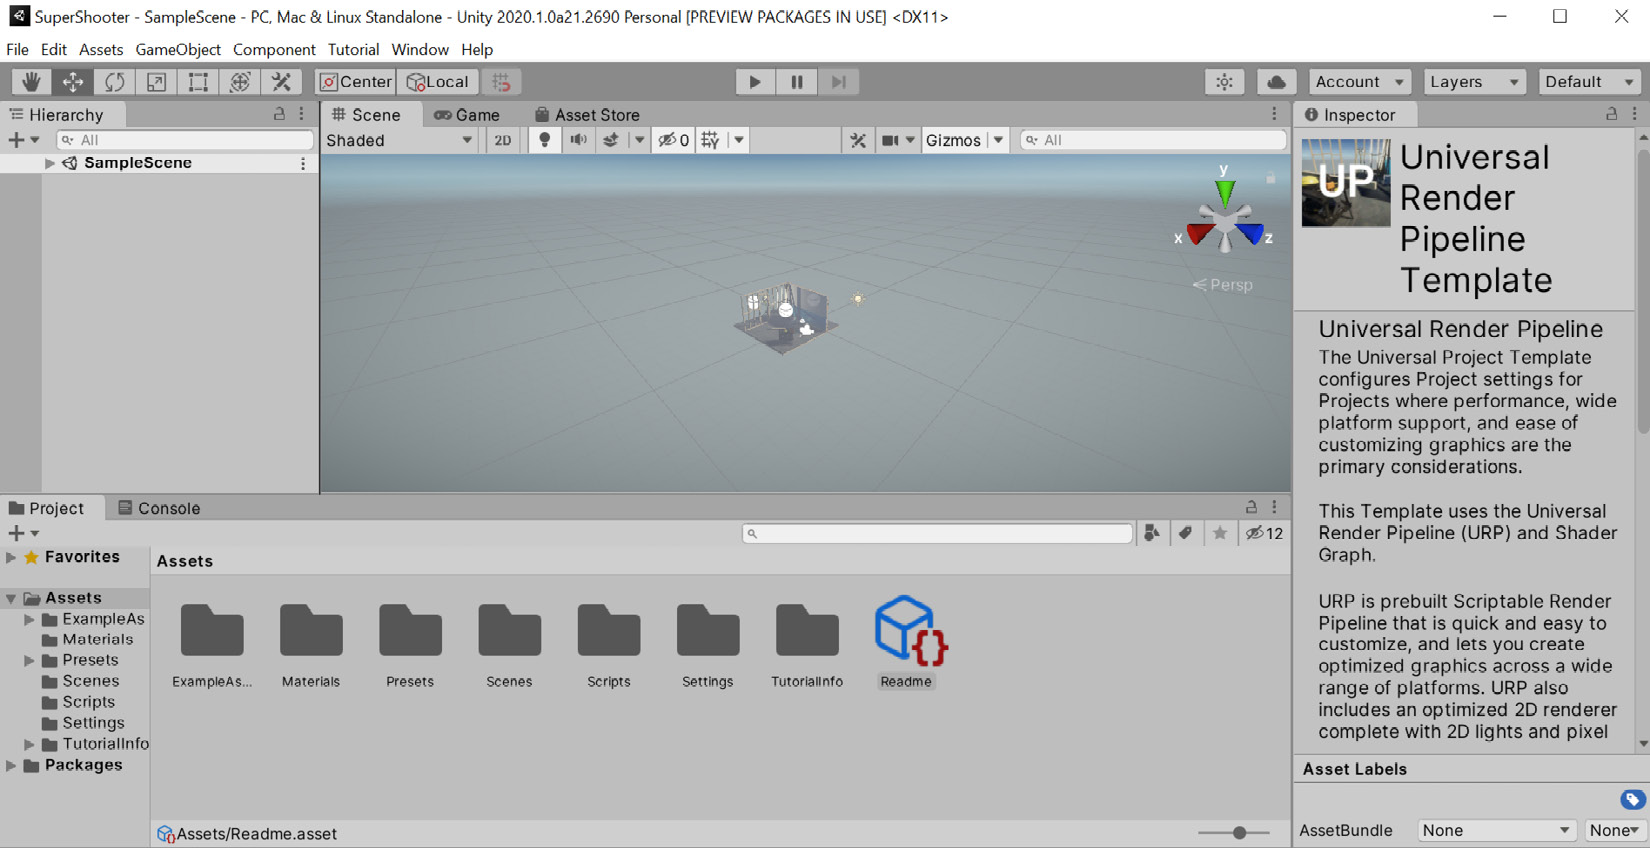
Figure 2.14 – The Unity Editor window
- Try closing the window and opening it again, then going back to Unity Hub and picking the project from the list, as follows:
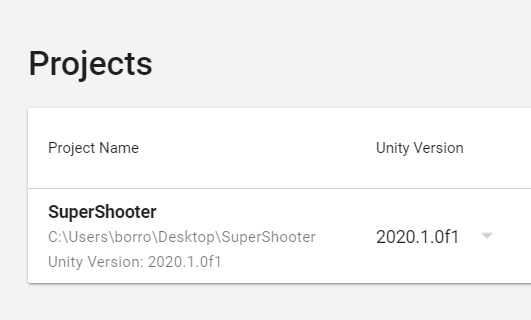
Figure 2.15 – Reopening the project
Now that we have created the project, let's explore its structure.
Project structure
We have just opened Unity but we won't start using it until the next chapter. Now, it's time to see how the project folder structure is composed. To do so, we need to open the folder in which we created the project. If you don't remember where this is, you can do the following:
- Right-click the
Assetsfolder in the Project panel, located in the bottom part of the editor. - Click the Show in Explorer option. If you are using a Mac, the option is called Reveal in Finder. The following screenshot illustrates this:
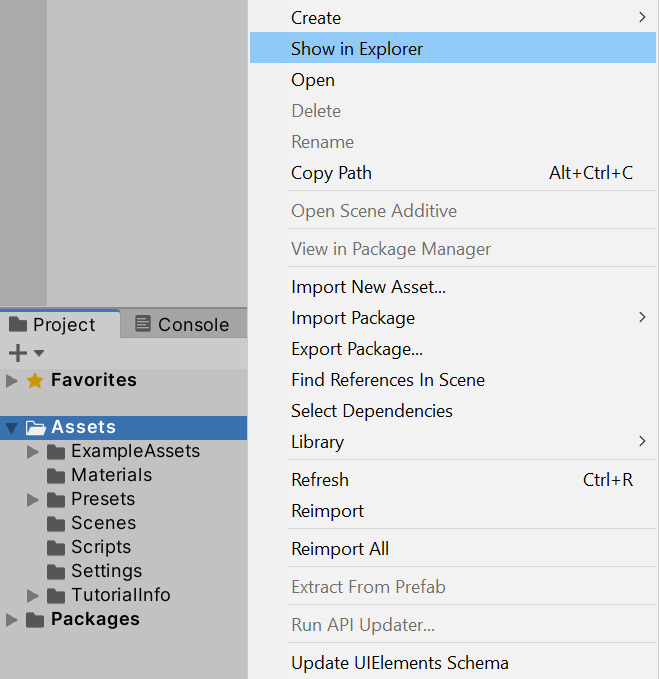
Figure 2.16 – Opening the project folder in Explorer
Then, you will see the following folder structure:
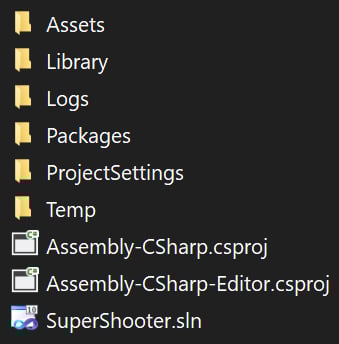
Figure 2.17 – Unity project folder structure
If anytime you want to move this project to another PC or send it to a colleague, you can just compress all those files and send it to them as a ZIP file, but not all the folders are necessary all of the time. The important folders are Assets, Packages, and ProjectSettings. The Assets folder will hold all the files we will create and use for our game, so this is a must. We will also configure different Unity systems to tailor the engine to our game. All the settings related to this are in the ProjectSettings folder. Finally, we will install different Unity modules or packages to expand its functionality, so the Packages folder will hold which ones we are using, for Unity to be aware of that. It's not necessary to copy the rest of the folders if you need to move the project elsewhere, but let's at least discuss what the Library folder is.
Unity needs to convert the files we will use into its own format in order to operate, and an example would be audio and graphics. Unity supports MPEG Audio Layer 3 (MP3), Waveform Audio File Format (WAV), Portable Network Graphics (PNG), and Joint Photographic Experts Group (JPG) files (and much more), but prior to using them, they need to be converted into Unity's internal formats. Those converted files will be in the Library folder. If you copy the project without that folder, Unity will simply take the original files in the Assets folder and recreate the Library folder entirely. This process can take time, and the bigger the project, the more time involved.
Take into account that you want to have all the folders Unity created while you are working on the project, so don't delete any of them while doing so, but if you need to move an entire project, you now know exactly what you need to take with you.