


Adding Our First Table View
Now, let's add a UITableView into our UIViewController:
Open
Explore.storyboard.In the Utilities panel, in the filter field, type
tableview; then, drag the Table View onto the scene:
Select the Pin icon and enter the following values:
Set all values under Add New Constraints to
0Constrain to margins:
uncheckedUpdate Frames:
Items of New Constraints
Now click on Add 4 Constraints.
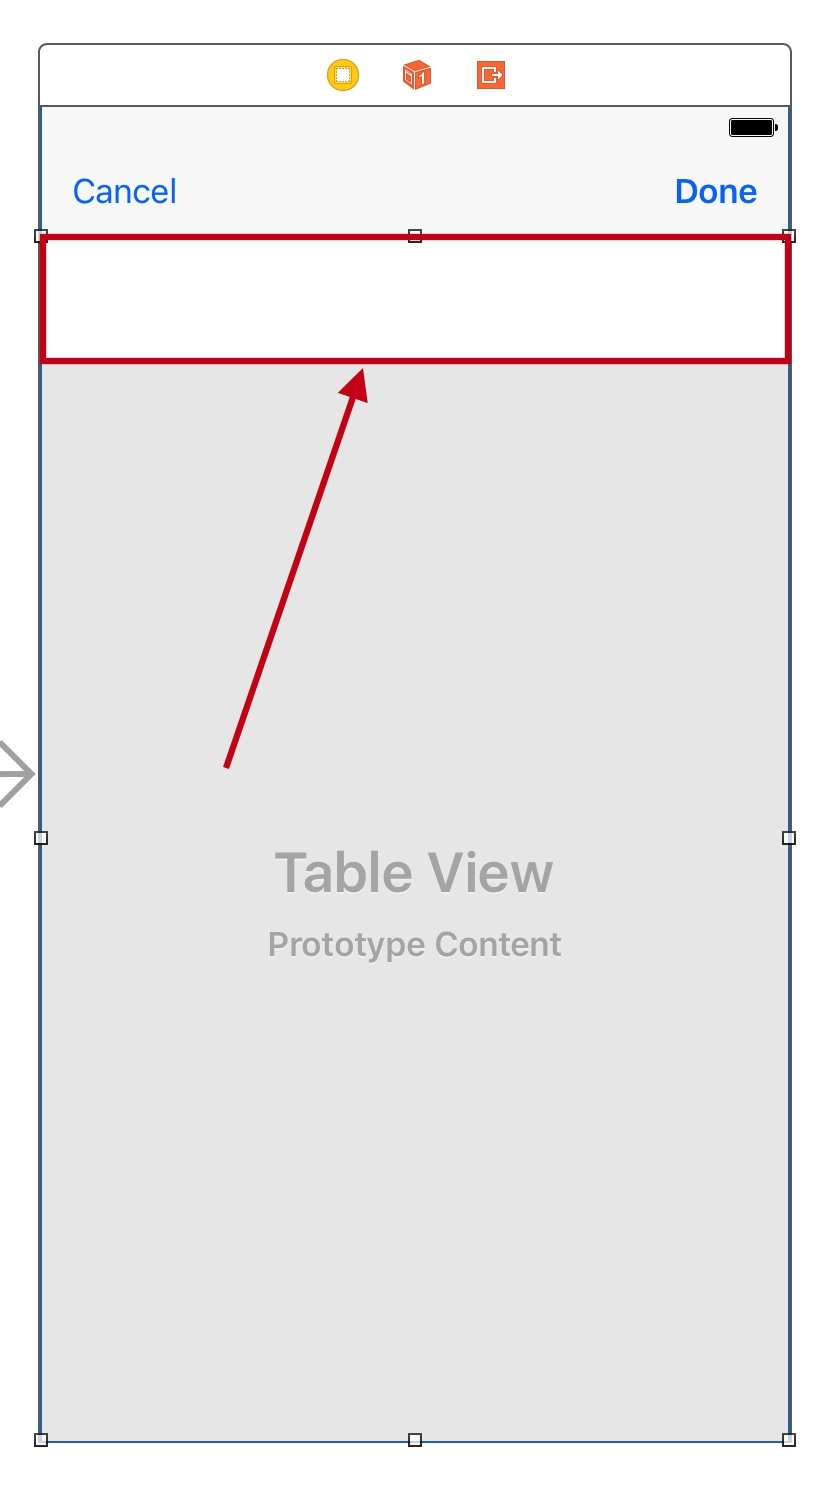
Updating Our Edges
We now need to correct the gap at the top of our Table View:
With the View Controller selected (as opposed to the Table View), select the Attributes Inspector in the Utilities panel.
Scroll down to Extend Edges and uncheck both Under Top Bars and Under Bottom Bars.
Creating Our View Controller Class
Now that we have our UI set up, we need to get our data to display inside of our Table View. Before we start, create three new folders inside of the Location folder—Controller, View, and Model. As we have previously done, right-click on the Location folder and hit New Group in order...


