Installing Unity
Okay; after all of that, you've decided to go with Unity—great decision! Now, where do we start? Let's start with a simple but necessary first step: installing Unity. It seems like a straightforward first step, but we can discuss a little bit about the proper ways to install it. In this section, we will be looking at the following concepts:
- Unity technical requirements
- Unity versions
- Installing Unity
To run Unity 2020, your computer will need to met the next requirements:
- If you use Windows, you need Windows 7 SP1 or higher, 8 or 10. Unity will run only on 64-bit versions of those systems; there is no 32-bit support.
- For Mac you need macOS High Sierra 10.13 or higher.
- For Linux you need exactly Ubuntu 16.04 or 18.04 or CentOS 7.
- Your CPU needs to support 64 bits and SSE2 (most CPUs support it).
- A graphics card with DirectX 10 support (most modern GPUs support it) on Windows, Metal support on Mac and Open GL 3.2+ or Vulkan support on Linux.
Now that we know the requirements, let's discuss the Unity versioning system.
Unity versions
In previous versions of Unity, we used to simply download the installer of a specific Unity version and hit Next until it was installed. But when you use Unity professionally, you need to have several versions of Unity installed because you will be working on different projects made with different versions. You may be wondering why you can't just use the latest Unity version for every project, but there are some problems with that.
In new versions of Unity, there are usually lots of changes about how the engine works, so you may need to rework lots of pieces of the game to upgrade it. Also, you may be using plugins that just haven't adapted to updates yet, so those will stop working. In my personal projects, I am used to doing project upgrades; but just for learning purposes, in a project that has a specific release date, it can take lots of time to upgrade the whole project, and that can push the release date back a lot. Maybe you need a specific feature that comes with an update that will help you a lot. In such a case, the cost of upgrading may be worthwhile, but take into account that most of the time, this doesn't happen.
Managing different projects made with different Unity versions, installing and updating new Unity releases, and so on used to be a huge hassle, but Unity Hub was created just to help us with this, and it has become the default way to install Unity. Let's see more about it.
Installing Unity with Unity Hub
Unity Hub is a small piece of software you install before installing Unity. It centralizes the management of all your Unity projects and installations. You can get it from the Unity official site. The steps to download it change frequently, but at the time of writing this book, you need to do the following:
- Go to unity.com.
- Click on the Get started blue button, as shown in the following screenshot:

Figure 2.1 – The Get started button on the Unity site
- Click on the Individual tab and on the Get started button under the Personal section, as illustrated in the following screenshot:
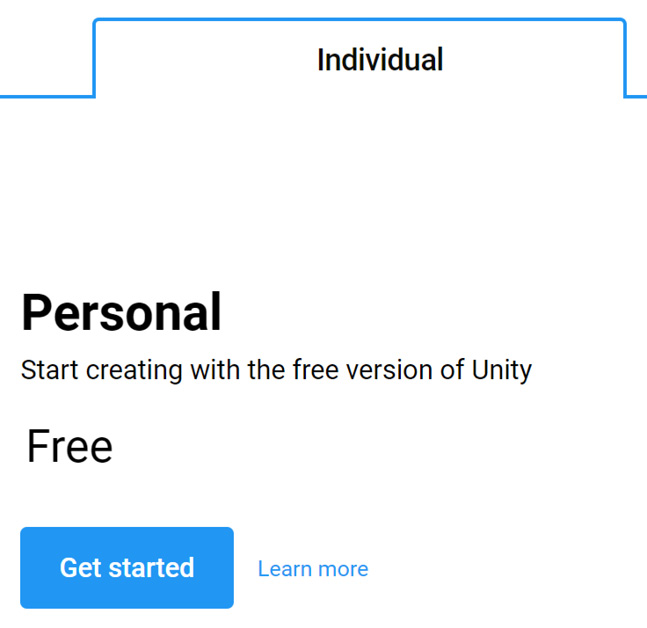
Figure 2.2 – Choosing an individual/free license
- Click on the Start here button in the New Users section, as illustrated in the following screenshot:

Figure 2.3 – Starting the download
- Accept the terms and conditions, as illustrated in the following screenshot:

Figure 2.4 – Agreeing to the privacy policy
- Execute the downloaded installer.
Consider that we are using Unity Hub 2.3.2, the latest version at the moment of writing this book. If you use a newer one some steps might change, but the main concepts usually remain. Now that we have Unity Hub installed, we must use it to install a specific Unity version. You can do this with the following steps:
- Start Unity Hub.
- It may ask you to create a Unity account. If so, just create one and log in with that account. If not, click the person icon at the top-right part of the window and select Sign in to have the option to log in or create an account, as illustrated in the following screenshot:
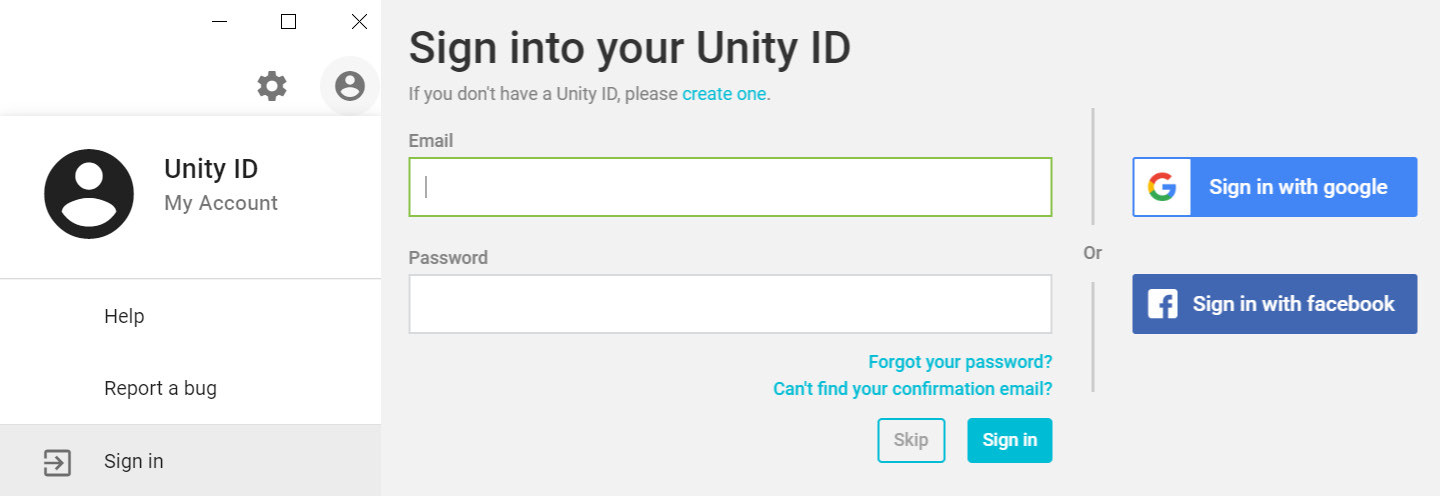
Figure 2.5 – Logging in to Unity Hub
- Follow the steps on the installer and then, you should see the following screen:
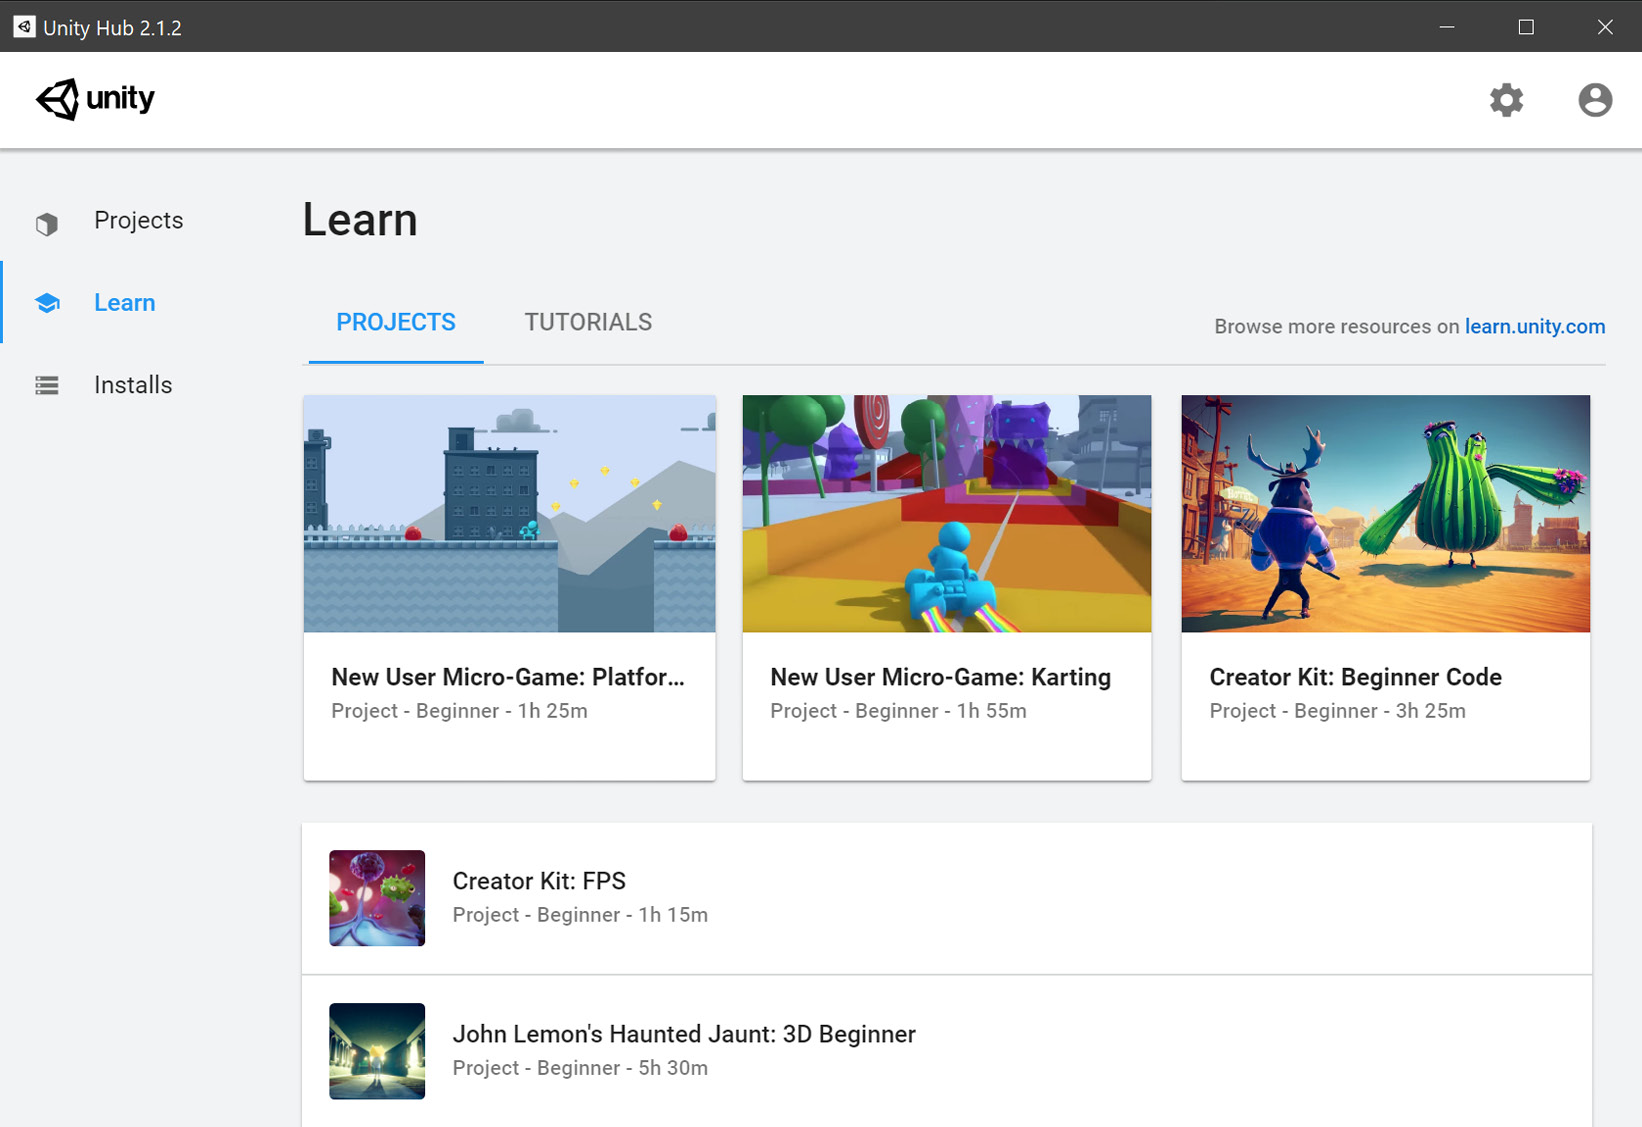
Figure 2.6 – Unity Hub window
- Newer versions of Unity guides you through the Unity Installation and first project creation. In that case skip the next steps, but if you already have Unity installed, please follow them
- Click on the Installs button and check if you have Unity 2020 listed there. If not press the ADD button. Make sure the latest Unity 2020 release (in my case Unity 2020.1.0f1) is selected, and then click on the NEXT button. Your screen may show a newer version than mine, so don't worry about that. The process is illustrated in the following screenshot:
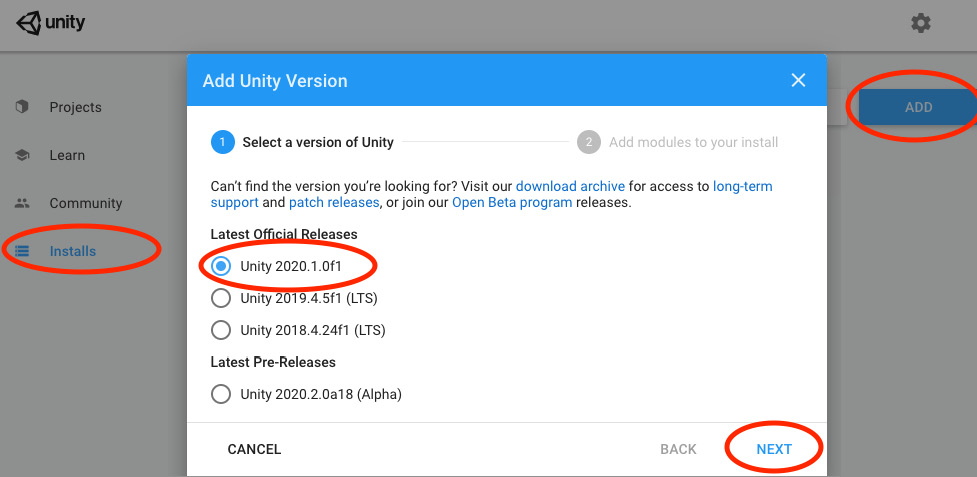
Figure 2.7 – Picking the Unity version to install
Important Note:
This is the program we will use in Chapter 13, Introduction to Scripting with C#, to create our code. We do not need the other Unity features right now, but you can go back later and install them if you need them.
- A feature selection window will show up. Make sure Microsoft Visual Studio Community is checked. At the time of writing this book, the latest version is 2019, but a newer one could work just as well. Now, click the NEXT button. The process is illustrated in the following screenshot:

Figure 2.8 – Selecting Visual Studio
- Accept Visual Studios terms and conditions, as illustrated in the following screenshot:

Figure 2.9 – Accepting Visual Studio's terms and conditions
- You will see the selected Unity version downloading and installing in the list. Wait for this to finish. In the following screenshot, you will see that I have other Unity versions installed, but you will only be seeing one version, which is fine:
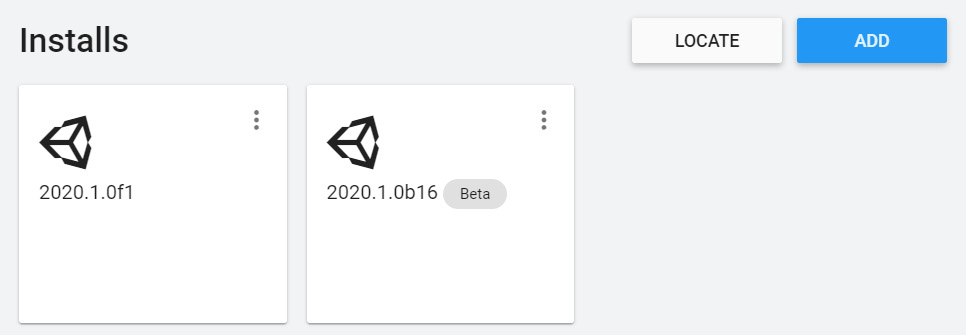
Figure 2.10 – All Unity installations I currently have on my machine
- After Unity has finished installing, Visual Studio Installer will automatically execute. It will download an installer that will download and install Visual Studio Community 2019, as illustrated in the following screenshot:
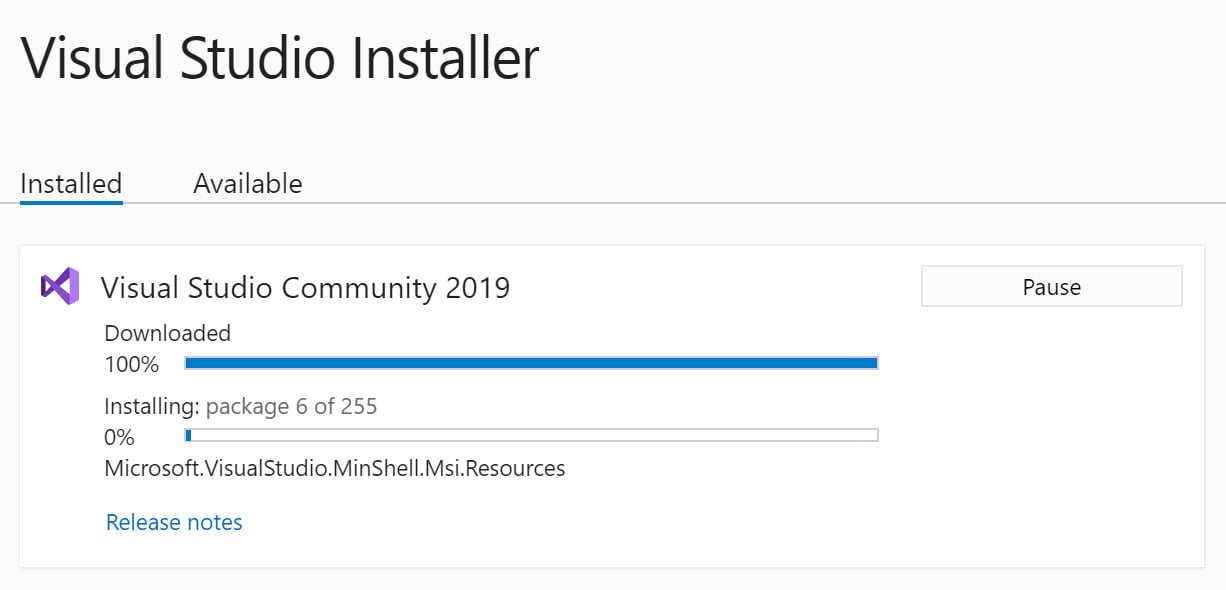
Figure 2.11 – Installing Visual Studio
Remember that the preceding steps may be different in new Unity versions, so just try to follow the flow that Unity designed—most of the time, it is intuitive. Now is the time to create a project using Unity.