Although the basic installation works in all scenarios, there may be times when the advanced installation option is necessary. Only the advanced installation option provides you the ability to customize the main OS drive.
A common practice for the operating system drive is to use a mirror RAID array using a controller interface. This provides drive redundancy if one of the drives fails. This same level of redundancy can also be achieved using a software-based RAID array, such as ZFS. Proxmox now offers options to select ZFS-based arrays for the operating system drive right at the beginning of the installation. For details on ZFS, if you are not familiar, refer to https://en.wikipedia.org/wiki/ZFS.
Note
It is common to ask why one should choose ZFS software RAID over tried-and-tested hardware-based RAID. The simple answer is flexibility. Hardware RAID is locked, or fully dependent, on the hardware RAID controller interface that created the array, whereas ZFS creates software-based RAID which is not dependent on any hardware, and the array can easily be ported to different hardware nodes. Should a RAID controller failure occur, the entire array created from that controller is lost unless there is an identical controller interface available for replacement. The ZFS array is only lost when all the drives or a maximum tolerable number of drives are lost in the array.
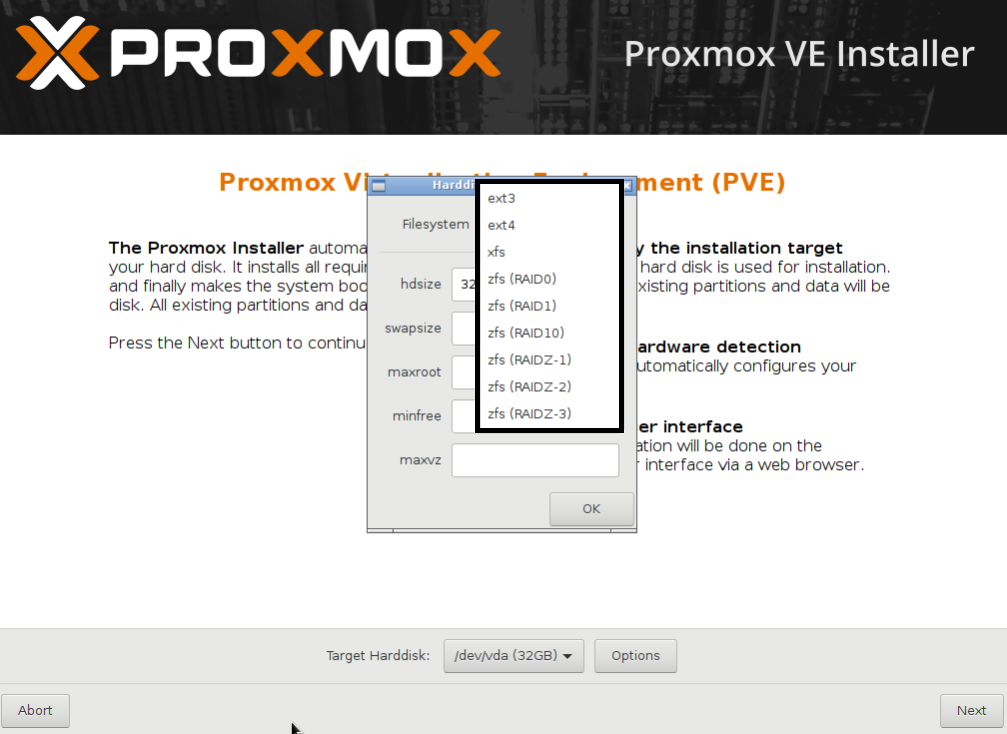
Besides ZFS, we can also select other filesystem types, such as ext3, ext4, or xfs, from the same advanced option. We can also set the custom disk or partition sizes through the advanced option. The following screenshot shows the installation interface with the target hard disk selection page:
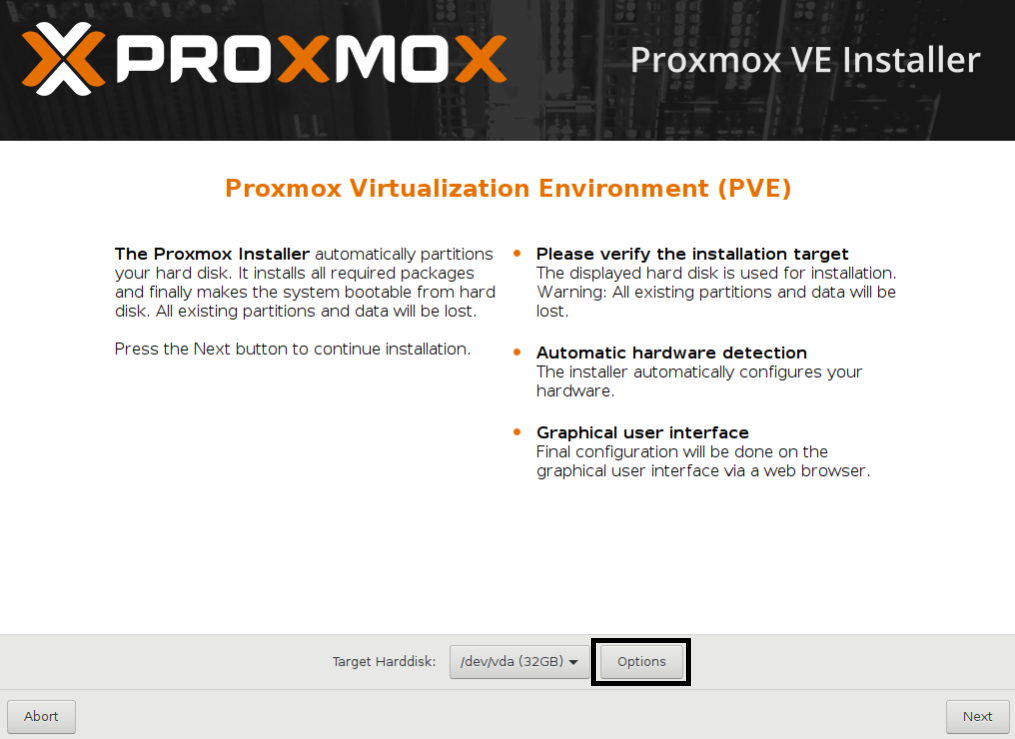
Click on Options, as shown in the preceding screenshot, to open the advanced options for the hard disk. The following screenshot shows the option window with supported filesystem drop-down menu:
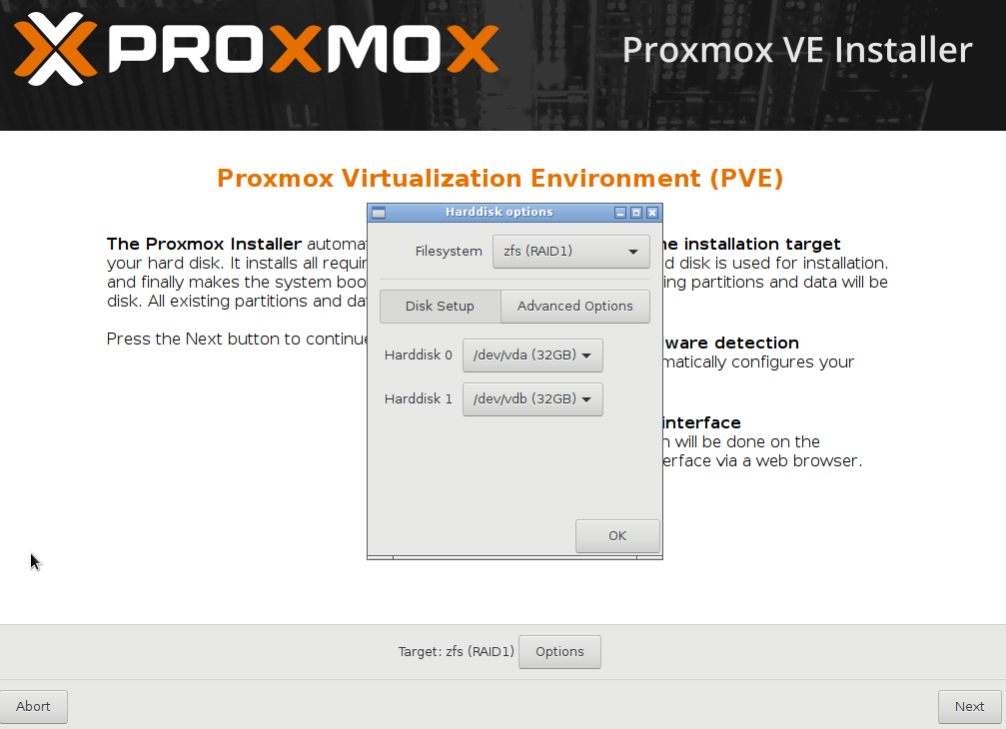
We are going to select the ZFS mirror or RAID1, for the purpose of this book, in order to create a demo cluster from scratch. In the preceding screenshot, we selected zfs (RAID1) for mirroring, and the two drives, Harddisk 0 and Harddisk 1, to install Proxmox. The installer will auto-select the installed disk drive, as shown in the following screenshot:
The Advanced Options include some ZFS performance-related configurations such as compress, checksum, and ashift or alignment shift, as shown in the following screenshot:
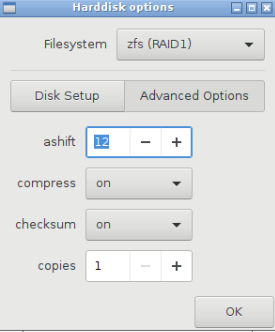
For most environments, this configuration can be left as default.
If you are unfamiliar with ZFS advanced tuning, then the following link may be helpful to get some insight on ZFS performance tuning options:
http://open-zfs.org/wiki/Performance_tuning#Alignment_Shift_.28ashift.29
If we pick a filesystem such as EXT3, EXT4, or XFS instead of ZFS, the Harddisk options dialog box will look like the following screenshot, with a different set of options:
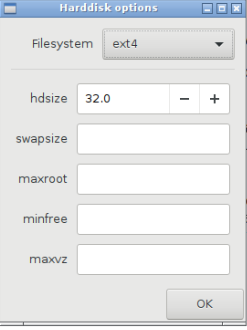
Selecting a filesystem gives us the following advanced options:
hdsize: This is the total drive size to be used by the Proxmox installation.swapsize: This defines the swap partition size.maxroot: This defines the maximum size to be used by the root partition.minfree: This defines the minimum free space that should remain after the Proxmox installation.maxvz: This defines the maximum size for the data partition. This is usually/var/lib/vz.
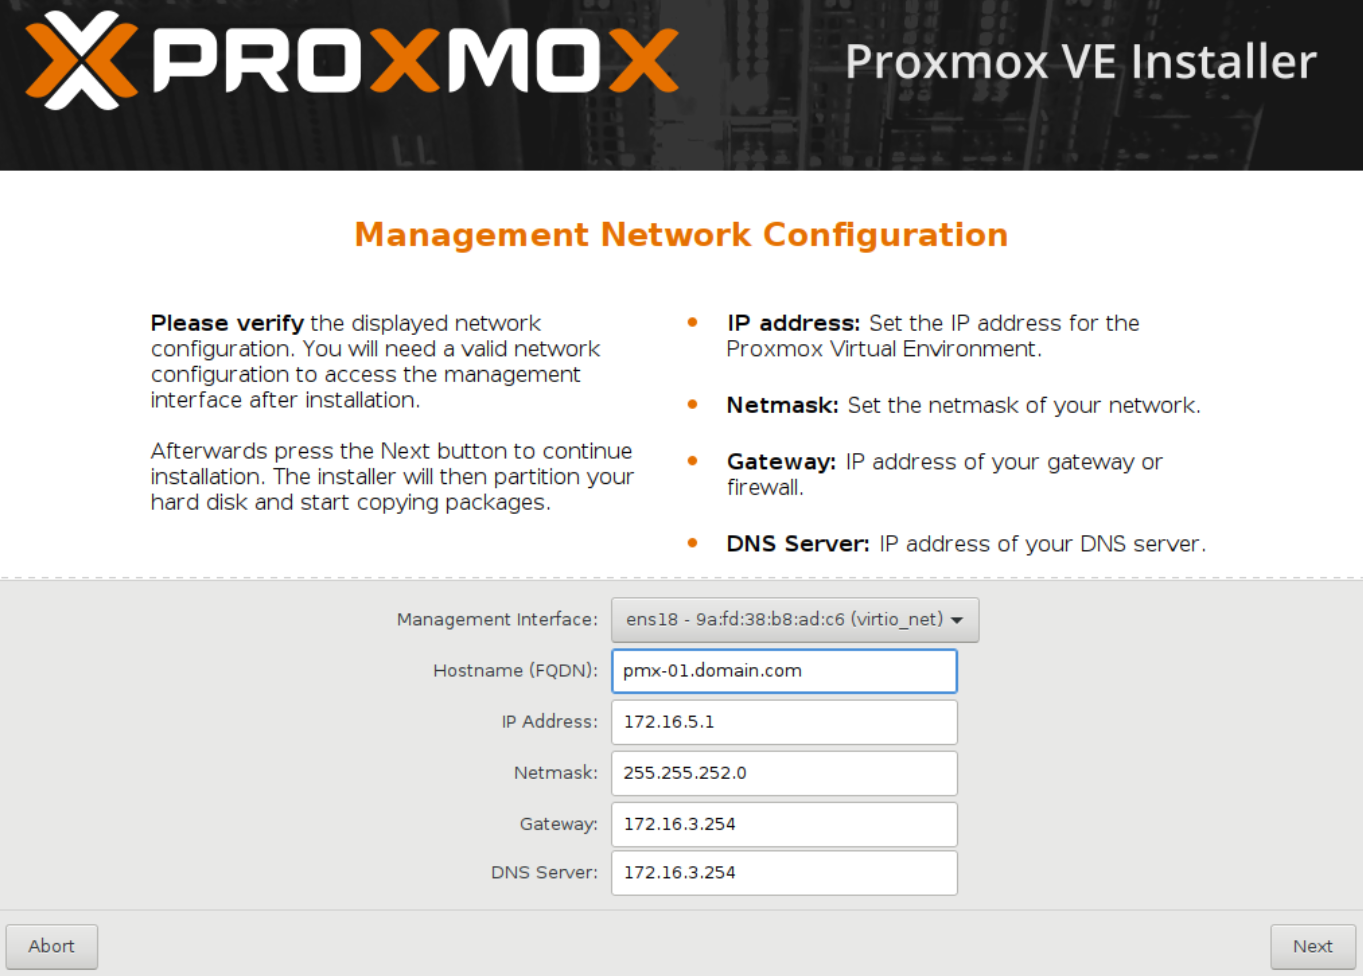
From Proxmox VE version 5, we can select the interface that will be used for management. This is very useful when a node has multiple network interfaces and we want to intentionally use a particular interface for cluster management. The following screenshot shows the management network interface selection screen during Proxmox installation: