A brief tour of Kubeflow's components
Now that we have installed Kubeflow locally or in the cloud, let us take a look again at the Kubeflow dashboard (Figure 2.8):
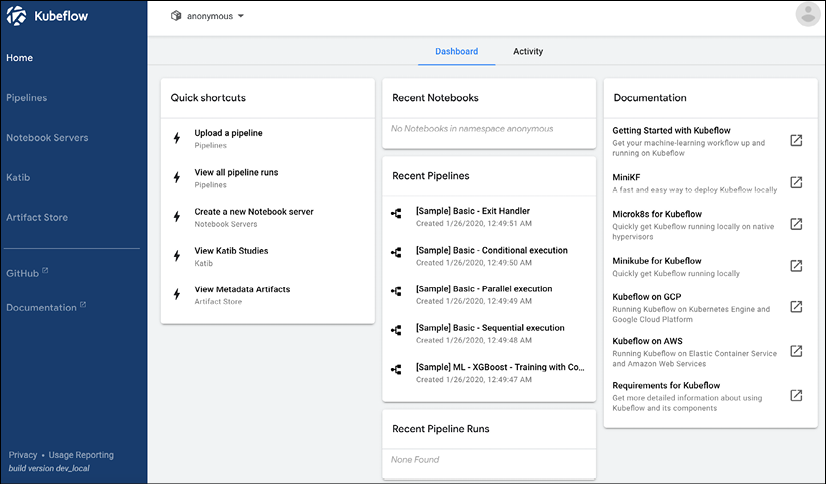
Figure 2.8: The Kubeflow dashboard
Let's walk through what is available in this toolkit. First, notice in the upper panel we have a dropdown with the name anonymous specified – this is the namespace for Kubernetes referred to earlier. While our default is anonymous, we could create several namespaces on our Kubeflow instance to accommodate different users or projects. This can be done at login, where we set up a profile (Figure 2.9):

Figure 2.9: Kubeflow login page
Alternatively, as with other operations in Kubernetes, we can apply a namespace using a YAML file:
apiVersion: kubeflow.org/v1beta1
kind: Profile
metadata:
  name: profileName
spec:
  owner:
    kind: User
    name: userid@email.com
Using the kubectl command:
kubectl create -f profile.yaml
What can we do once we have a namespace? Let us look through the available tools.
Kubeflow notebook servers
We can use Kubeflow to start a Jupyter notebook server in a namespace, where we can run experimental code; we can start the notebook by clicking the Notebook Servers tab in the user interface and selecting NEW SERVER (Figure 2.10):
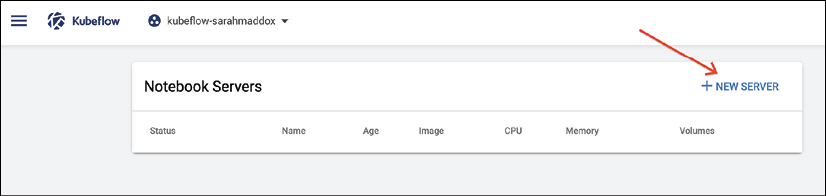
Figure 2.10: Kubeflow notebook creation
We can then specify parameters, such as which container to run (which could include the TensorFlow container we examined earlier in our discussion of Docker), and how many resources to allocate (Figure 2.11).
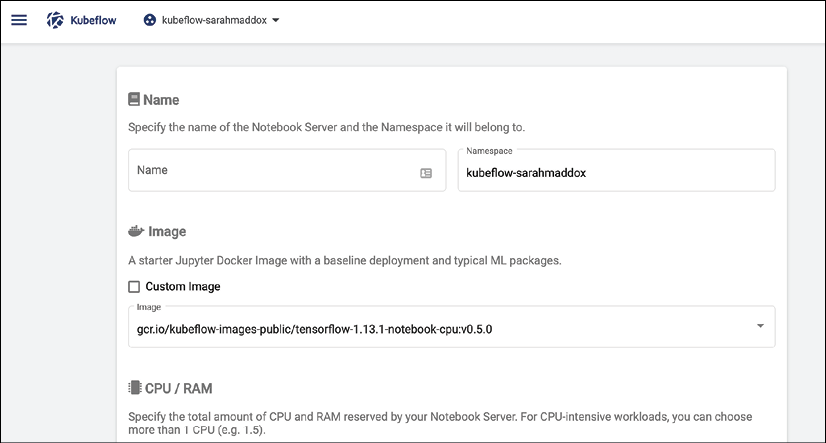
Figure 2.11: Kubeflow Docker resources panel
You can also specify a Persistent Volume (PV) to store data that remains even if the notebook server is turned off, and special resources such as GPUs.
Once started, if you have specified a container with TensorFlow resources, you can begin running models in the notebook server.