


Now that the HW is in place, bring up the IDE, make sure that the proper port and device are selected, and enter the following code:
The code is straightforward. It consists of the following three blocks:
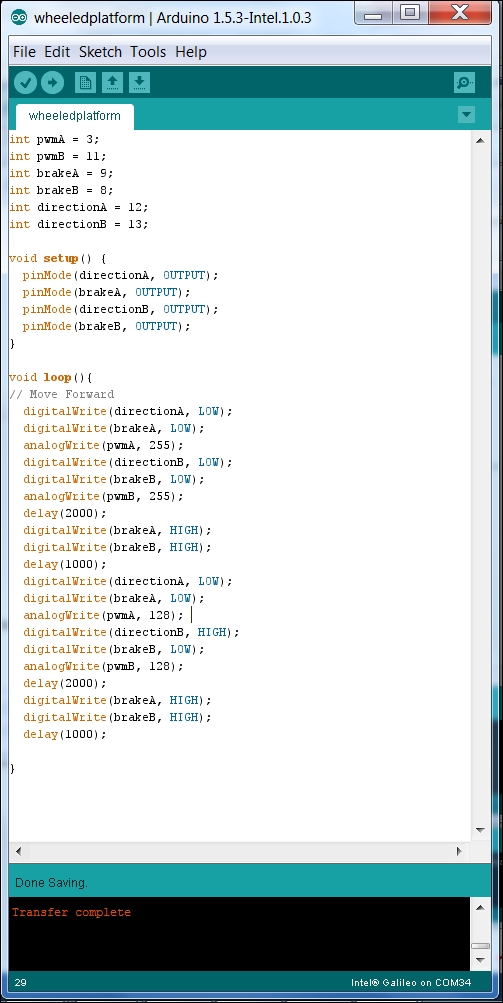
The declaration of the six variables that connect to the proper Galileo pins:
int pwmA = 3;
int pwmB = 11;
int brakeA = 9;
int brakeB = 8;
int directionA = 12;
int directionB = 13;
The
setup()function, which sets thedirectionA,directionB,brakeA, andbrakeBdigital output pins:pinMode(directionA, OUTPUT); pinMode(brakeA, OUTPUT); pinMode(directionB, OUTPUT); pinMode(brakeB, OUTPUT);
The
loop()function. This is an example of how to make the wheeled robot go forward, then turn to the right. At each of these steps, you use the brake to stop the robot:// Move Forward digitalWrite(directionA, HIGH); digitalWrite(brakeA, LOW); analogWrite(pwmA, 255); digitalWrite(directionB, HIGH); digitalWrite(brakeB, LOW); analogWrite(pwmB, 255); delay(2000); digitalWrite...


