


Exploring methods
In Vue 2.0, Vue defines component methods inside the methods object as part of a Vue instance. You compose each component method as a normal JavaScript function. The Vue method is scoped to your Vue component and can be run from anywhere inside the component it belongs to. It also has access to the this instance, which indicates the instance of the component:
<script>
  export default {
    methods: {
        myMethod() { console.log('my first method'); }
    }
  }
</script>
From Vue 3.0 onward, with <script setup>, as with local data, you can define a method as a regular function and it will work the same way as with the traditional approach. Hence, we can rewrite the preceding code as follows:
<script setup>
  const myMethod = () => { console.log('my first method'); }
</script>
You then can bind the methods to HTML events of an element as its event listeners in the template section. When binding events to HTML elements in Vue, you would use the @ symbol. For example, v-on:click is equivalent to @click, as shown in the following code block:
<template>
    <button id="click-me" v-on:click="myMethod">Click me
    </button>
    <button id="click-me" @click="myMethod">Click me
      shorter</button>
</template>
Clicking on both buttons triggers the same myMethod() method and generates the same result.
Let’s build a component with some methods.
Exercise 1.08 – triggering methods
In this exercise, we are going to build a component that uses Vue’s methods API. Consider how similarly these Vue methods can be written to your own named functions in JavaScript, as they behave in a very similar way. By the end of the exercise, we should be able to use methods and trigger them from the HTML template.
To access the code file for this exercise, refer to https://github.com/PacktPublishing/Frontend-Development-Projects-with-Vue.js-3/tree/v2-edition/Chapter01/Exercise1.08
We will build a list of different elements. For each element, we bind an onClick event with a component method, and alert users about the index of the clicked element by performing the following:
- Use the application generated with
npm init vue@3as a starting point, or within the root folder of the code repository, navigate into theChapter01/Exercise1.08folder by using the following commands in order:> cd Chapter01/Exercise1.08/
> yarn
- Run the application using the following command:
yarn dev
- Open the exercise project in VS Code (by using the
code .command within the project directory) or your preferred IDE. - Create a new Vue component file named
Exercise1-08.vuein thesrc/componentsdirectory. - Inside
Exercise1-08.vue, within the<script setup>section, let’s define a method,triggerAlert, that receives an index and displays an alert informing users which index has been clicked:<script setup>
const triggerAlert = (index) => {alert(`${index} has been clicked`)}
</script>
- In the
templatesection, set up an anonymousv-forloop on an HTML list and add abuttonelement inside the list element. Set the loop to iterate5times, and display theindexvalue as each button’s label:<template>
<div>
<h1>Triggering Vue Methods</h1>
<ul>
<li v-for="index in 5":key="index">
<button>Trigger {{index}}</button></li>
</ul>
</div>
</template>
- Add the
@clickdirective, referencing thetriggerAlertmethod, and pass the value ofindexas an argument:<template>
<div>
<h1>Triggering Vue Methods</h1>
<ul>
<li v-for="index in 5" :key="index">
<button @click="triggerAlert(index)">Trigger
{{ index }}</a></li>
</ul>
</div>
</template>
- Add a margin between each button for readability:
<style>
button {margin: 10px;
}
</style>
- Your page should feature a list of buttons that when clicked, trigger an alert with a message that contains the button number you clicked, as follows:
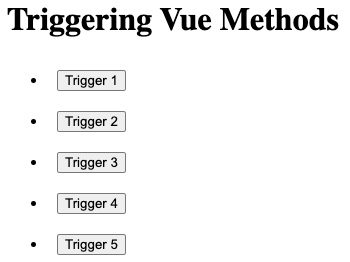
Figure 1.28 – Outputting a list of triggers
The following prompt is displayed when a trigger is clicked:
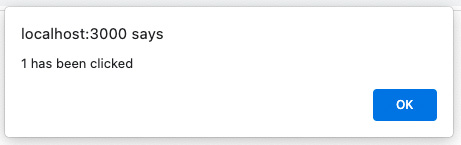
Figure 1.29 – Displaying a browser alert with the index number in it
Note
While you can add an event listener to any HTML element, we suggest applying them to native HTML interactive elements such as anchor tags, form input, or buttons to help with browser accessibility.
At this point, you can utilize the Vue methods API to define and trigger methods from the HTML template, and parse arguments into each method dynamically. In the next exercise, we will explore how to return data with Vue methods within a Vue component.
Exercise 1.09 – returning data using Vue methods
Often, in a web application, we want elements to appear on the page depending on whether a condition is met or not. For instance, if our product is not in stock, our page should display the fact that it is out of stock.
So, let’s figure out how we conditionally render these elements depending on whether our product is in stock or not.
To access the code file for this exercise, refer to https://github.com/PacktPublishing/Front-End-Development-Projects-with-Vue.js/tree/v2-edition/Chapter01/Exercise1.09.
We will build a list of different elements and demonstrate adding different quantities to a cart. Then, we will display the updated cart’s total value in a currency format by performing the following:
- Use the application generated with
npm init vue@3as a starting point, or within the root folder of the code repository, navigate into theChapter01/Exercise1.09folder by using the following commands in order:> cd Chapter01/Exercise1.09/
> yarn
- Run the application using the following command:
yarn dev
- Open the exercise project in your VS Code (by using the
code .command within the project directory), or your preferred IDE. - Create a new Vue component file named
Exercise1-09.vuein thesrc/componentsdirectory. - Inside
Exercise1-09.vue, within the<script>section, we set up two data objects,totalItemsandtotalCost, which will be updated when a user clicks on our shop’s buttons:<script>
export default {data(){return {totalCost: 0,
totalItems: 0
}
}
}
</script>
- In the
templatesection, we display the value oftotalItemsandtotalCostaccordingly:<template>
<div>
<h1>Returning Methods</h1>
<div>Cart({{ totalItems }}) {{ totalCost }} </div></div>
</template>
- Within the
scriptsection, let’s create anaddToCartmethod, which will updatetotalCostandtotalItemsfor the current component based on the received number,n, by usingthis.totalCostandthis.totalItems:<script>
export default {data() {/*…*/
},
methods: {addToCart(n) {this.totalItems = this.totalItems + 1
this.totalCost = this.totalCost + n
},
},
}
</script>
- Let’s iterate through a random amount to create buttons for adding a quantity to the cart. The quantity is the button’s index. Then, we bind the
addToCartmethod to each button, with its index as the function’s input argument:<template>
<div>
<h1>Returning Methods</h1>
<div>Cart({{ totalItems }}) {{ totalCost }} </div><ul>
<li v-for="n in 5" :key="n">
<button @click="addToCart(n)">Add {{ n }}</button>
</li>
</ul>
</div>
</template>
- Add a
10pxmargin to thebuttonelement for readability:<style>
button {margin: 10px;
}
</style>
- Go to
https://localhost:3000and the output is as follows:
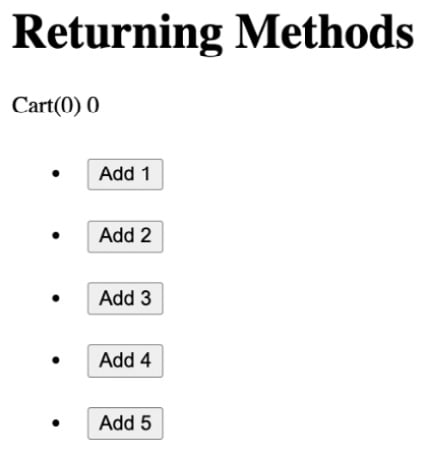
Figure 1.30 – Pressing any of the buttons will demonstrate the cart logic
When you click on the buttons, the totalItems counter should increment by 1, but totalCost will increment by the n value, which should demonstrate a normal cart functionality. For example, when clicking Add 2, then Add 5, the output will be as follows:

Figure 1.31 – Output displaying Returning Methods after increments of 2 and 5
- Now, let’s format
totalCost. Create a method calledformatCurrency, which accepts one argument. We will return the same value after giving it two decimal points and a$symbol:<script>
export default {data() {/*…*/
},
methods: {addToCart(n) { /*…*/},formatCurrency(val) {return `$${val.toFixed(2)}`},
},
}
</script>
- To use this method in the template, add it to the interpolated curly braces and pass the value that was there as an argument inside the method instead:
<template>
<div>
<h1>Returning Methods</h1>
<div>Cart({{ totalItems }}) {{formatCurrency(totalCost) }}
</div>
<ul>
<li v-for="n in 5" :key="n">
<button @click="addToCart(n)">Add {{formatCurrency(n) }}</button>
</li>
</ul>
</div>
</template>
The following screenshot displays the output of the preceding code:
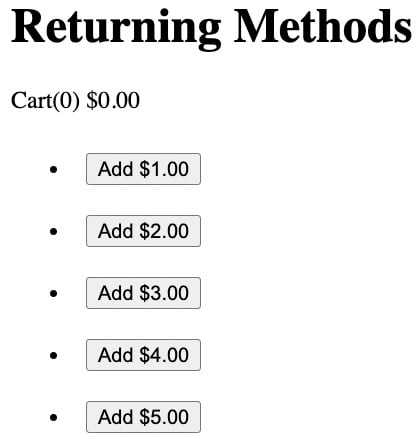
Figure 1.32 – All the values now are in currency format while retaining the cart counter
In this exercise, we were able to utilize Vue’s methods API to parse arguments into methods, return modified values, and use methods to update the local data state in a life-like scenario.
In the next section, we will explore a significant part of a component – the lifecycle and available component hooks in Vue.


