


Downloading and installing Xcode from the App Store
Xcode is Apple’s IDE for developing macOS, iOS, iPadOS, watchOS, tvOS, and visionOS apps. You’ll need to download and install Xcode prior to writing your first app. Follow these steps:
- Choose App Store from the Apple menu.
- In the search field in the top-right corner, type
Xcodeand press the Return key. - You’ll see Xcode in the search results. Click Get and then click Install.
- If you have an Apple ID, type it in the Apple ID text box and enter your password when prompted. If you don’t have one, click the Create Apple ID button and follow the step-by-step instructions to create one:

Figure 1.1: Apple ID creation dialog box
You can see more information on how to create an Apple ID using this link: https://support.apple.com/en-us/HT204316#appstore.
- Once Xcode has been installed, launch it. You’ll see a License Agreement screen. Click on Agree:
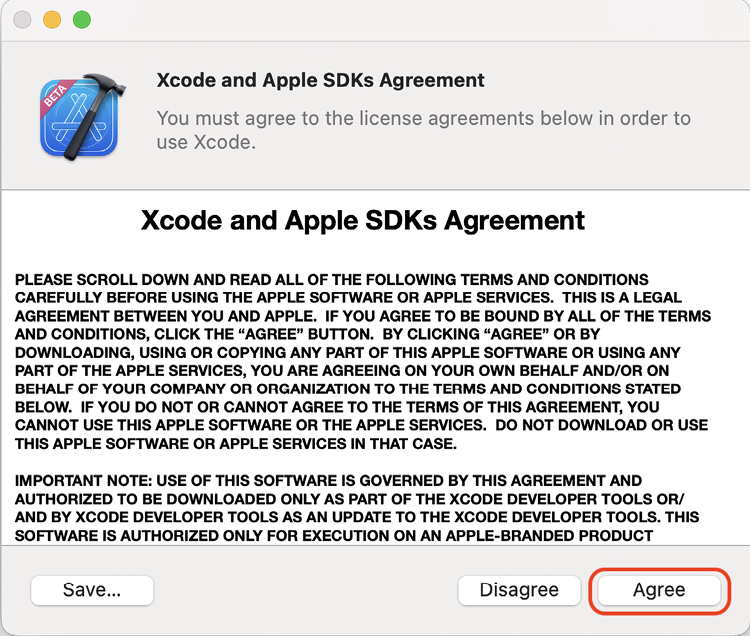
Figure 1.2: License agreement screen
- You’ll be prompted to enter your Mac’s administrator
usernameandpassword. Once you have done so, click OK:
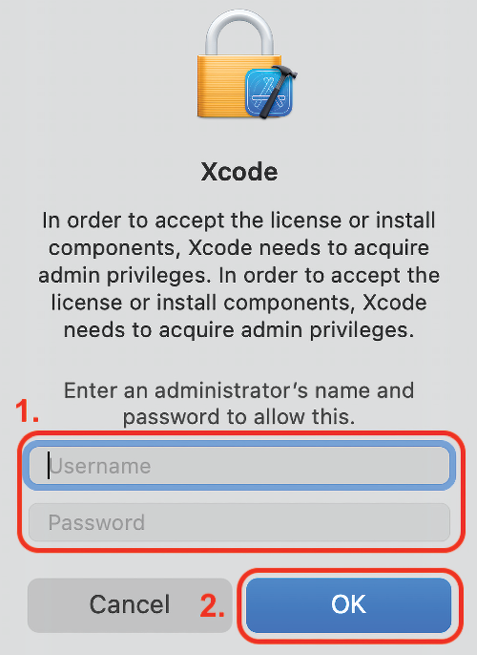
Figure 1.3: Prompt for administrator username and password
- You’ll see a screen showing you the available development platforms. You just need macOS and iOS for now. Leave the settings at their default values and click on Download and Install:
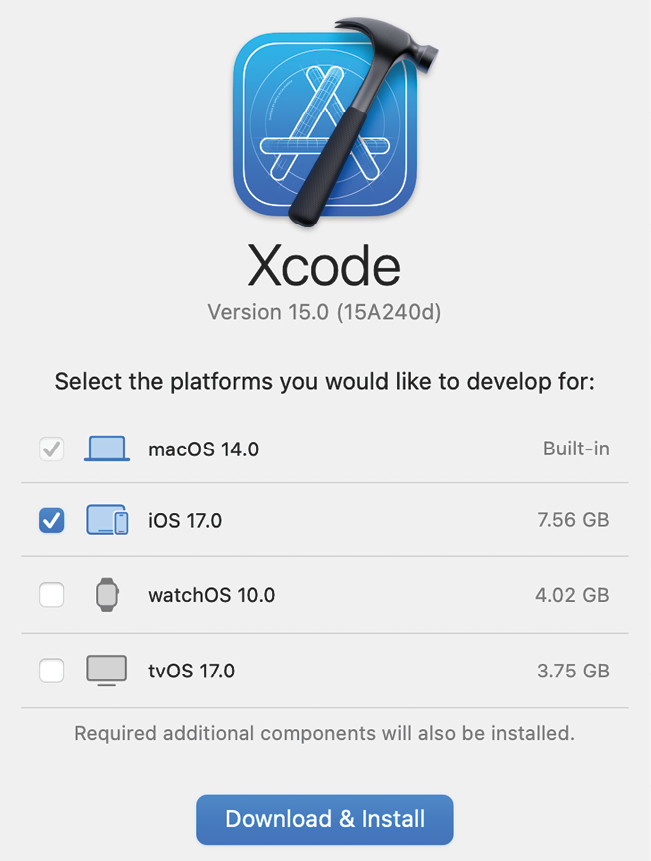
Figure 1.4: Development platforms screen
- If you are using an Apple Silicon Mac and have not yet installed Rosetta, which allows Intel-based Mac apps to run on Apple Silicon Macs, you’ll be prompted to install it now. Click on Install:
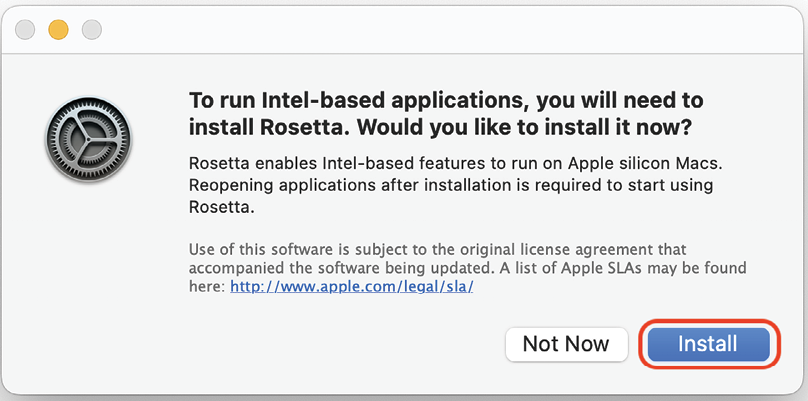
Figure 1.5: Rosetta prompt
- You’ll see a What’s New in Xcode screen. Click on Continue:
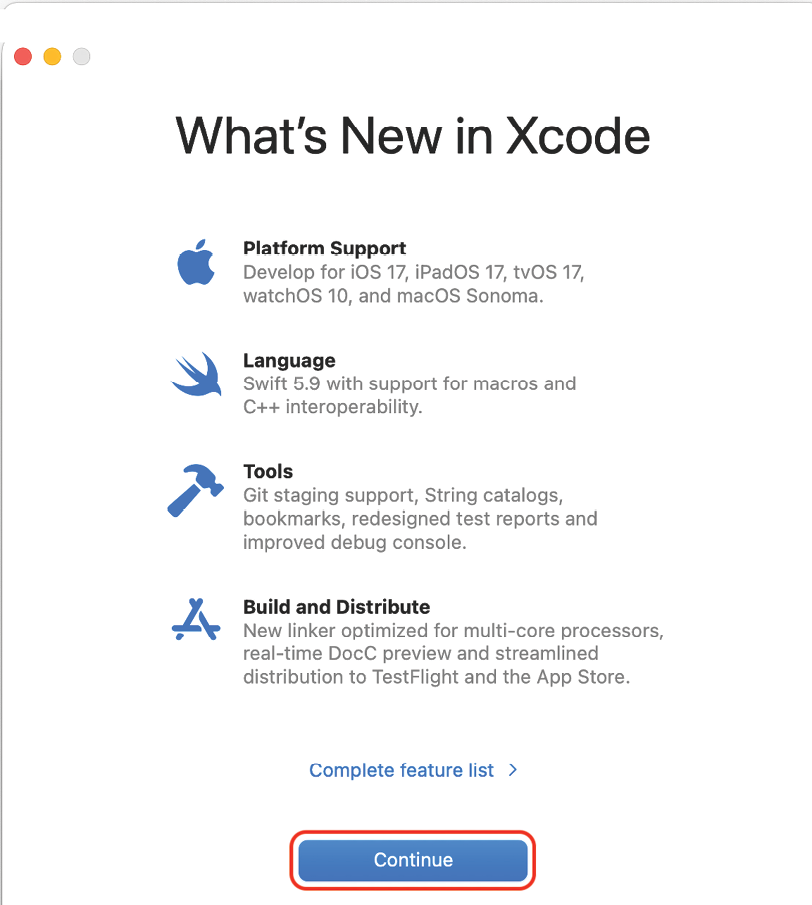
Figure 1.6: What’s New in Xcode screen
- You’ll see the Welcome to Xcode screen. Click on Create New Project... in the left-hand pane:
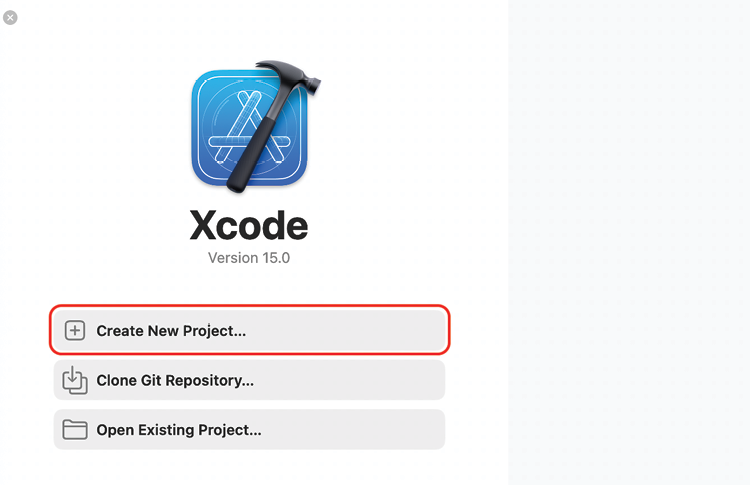
Figure 1.7: Welcome to Xcode screen
- Xcode will start to download iOS 17.0 Simulator automatically. Note that you will not be able to run any apps on Simulator until this process has been completed:
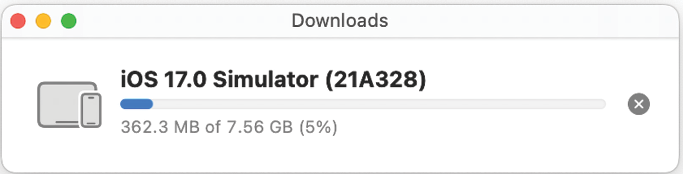
Figure 1.8: Simulator download progress bar
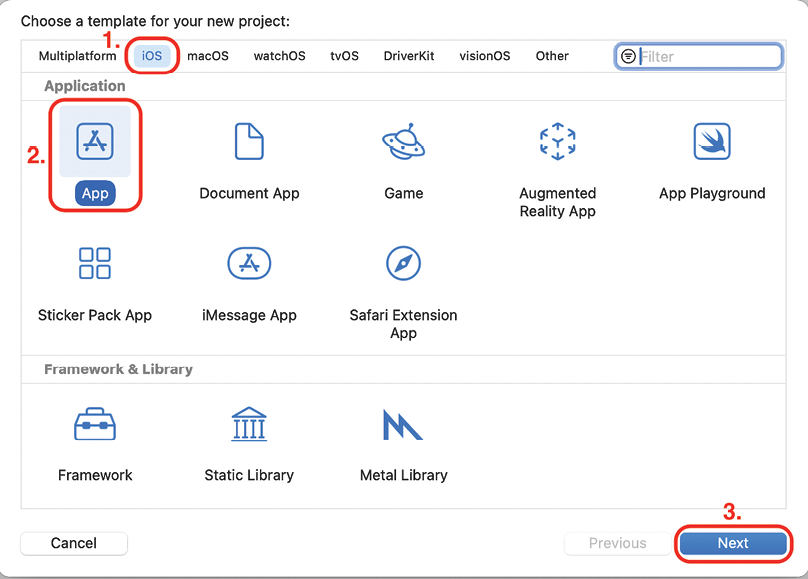
- You’ll see the new project screen as follows. In the Choose a template for your new project: section, select iOS. Then choose App and click Next:
- You’ll see the Choose options for your new project: screen:

Figure 1.10: Choose options for your new project: screen
Configure the options as follows:
- Product Name: The name of your app. Enter
JRNLin the text field. - Organization Identifier: Used to create a unique identifier for your app on the App Store. Enter
com.mynamefor now. This is known as reverse domain name notation format and is commonly used by iOS developers. - Interface: The method used to create the user interface for your app. Set this to Storyboard.
- Include Tests: Uncheck this check box.
Leave the other settings at their default values. Click on Next when done.
- Product Name: The name of your app. Enter
- You’ll see a Save dialog box. Choose a location to save your project, such as the Desktop or Documents folder, and click on Create:
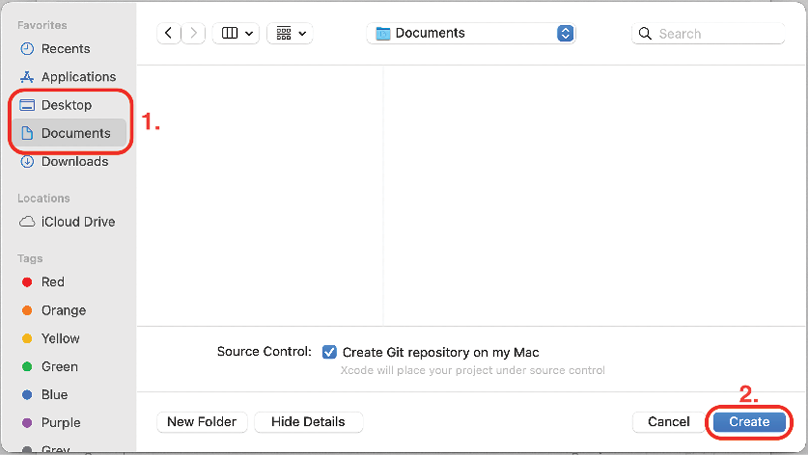
Figure 1.11: Save dialog box
- You’ll see a dialog box saying Git Repository Creation Failed. Click on Fix.
The reason why you see this dialog box is because the Source Control checkbox in the Save dialog box was ticked. Apple recommends that Source Control be turned on. Source Control is outside the scope of this book but if you wish to learn more about version control and Git, see this link: https://git-scm.com/video/what-is-version-control.
- You will see the Source Control screen as follows:
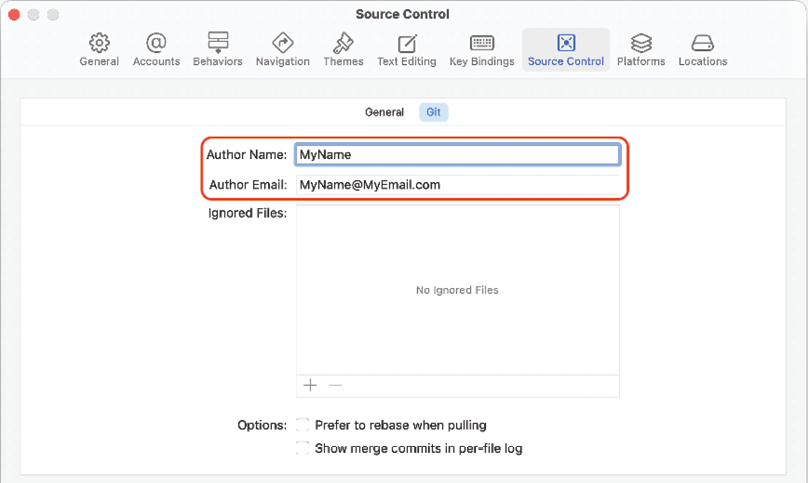
Figure 1.12: Source Control preference screen
Enter the following information:
- Author Name: Your own name
- Author Email: Your email address
Close the Source Control screen by clicking the close button in the top-left corner when done. The Xcode main window will appear.
Fantastic! You have now successfully downloaded and installed Xcode and created your first project. In the next section, you will learn about the Xcode user interface.


