


Setting up an account and project workspace
To start leveraging the power of no-code, all you have to do is create your first account for free on Bubble’s website:
- Your first step is to access the website (https://www.bubble.io) and click the Get started button.
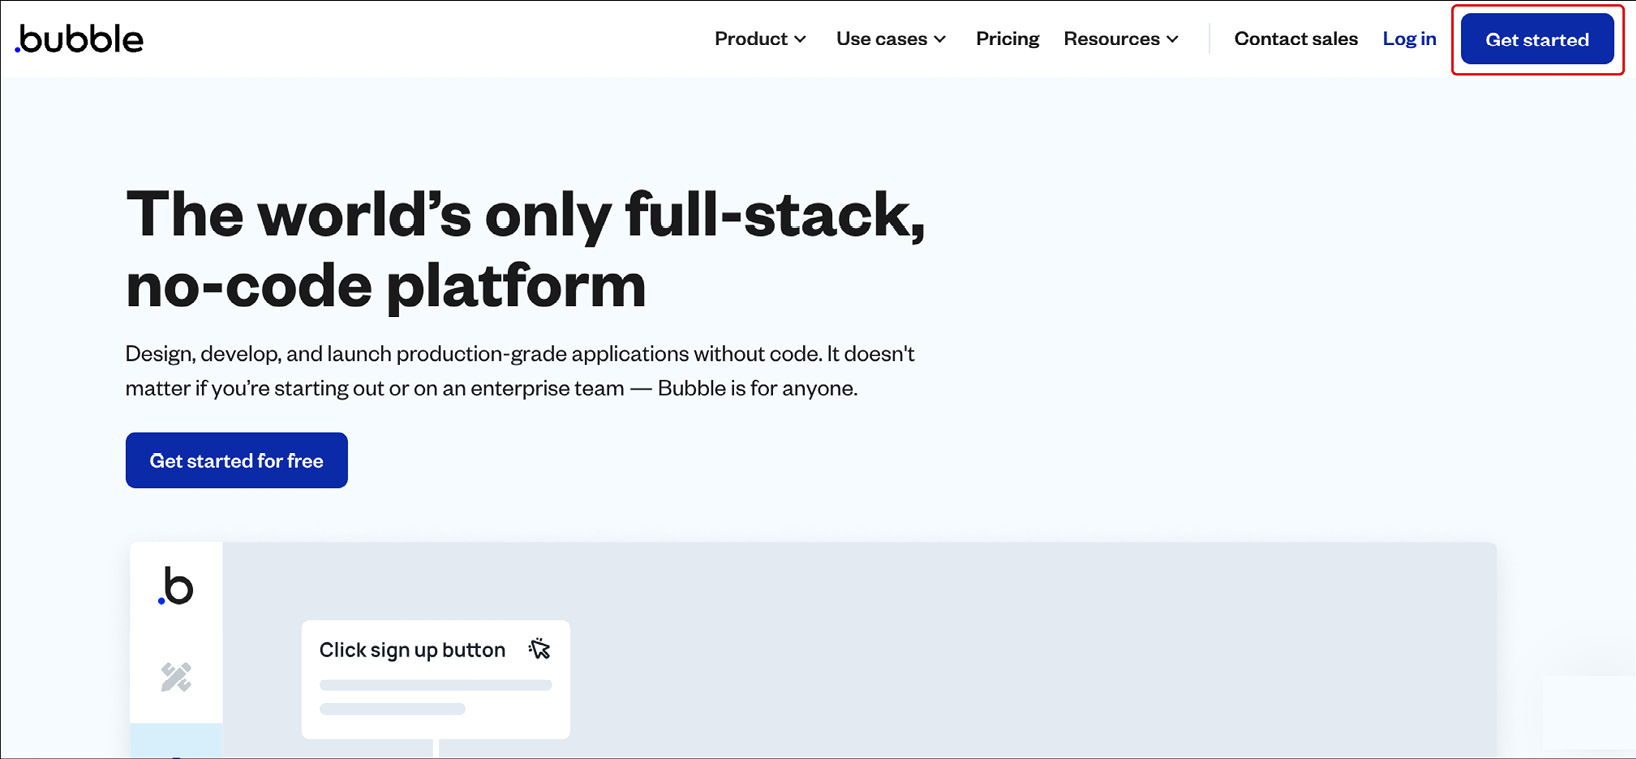
Figure 1.1: Bubble.io home page – the Get started button
- To create your account, just fill out the form by adding your email and password. If you prefer, you can also sign up using your Google account (Gmail) if you have one.
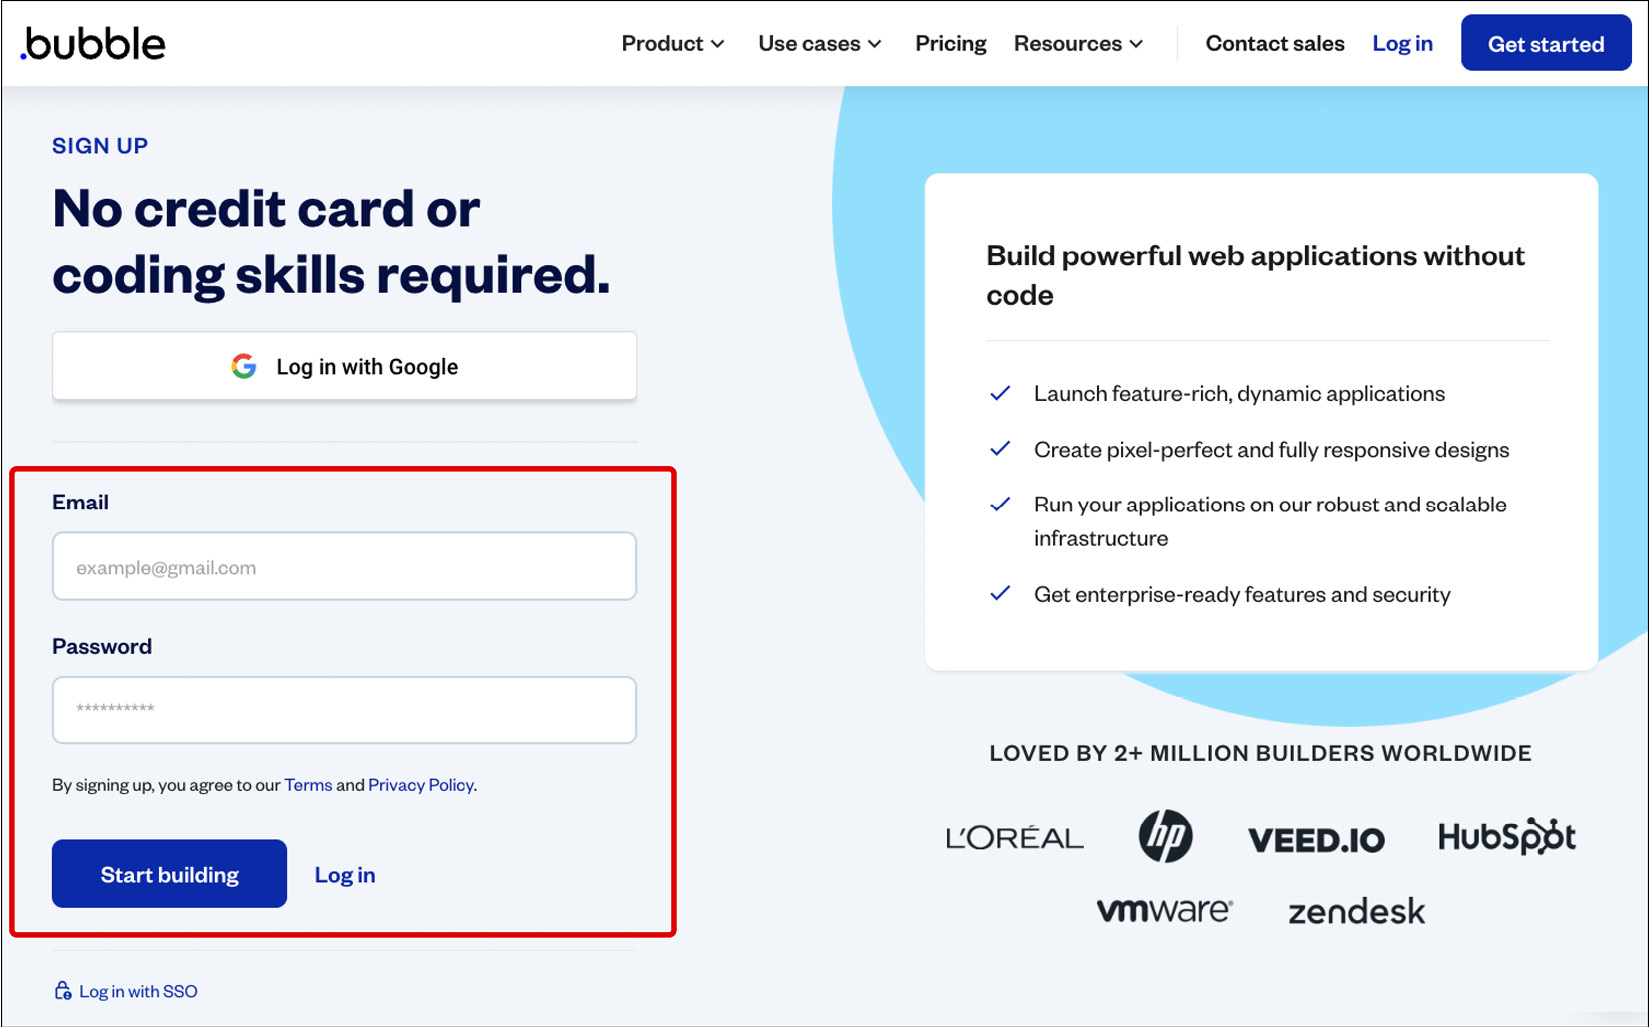
Figure 1.2: Bubble.io sign-up page
Follow the onboarding steps to complete your account profile information. These steps include a little survey to help Bubble understand more about you and your goals. The answers you choose here won’t impact anything in your account.Just keep clicking until the entire onboarding is done.
Note:
These steps might change overtime, and it is expected, if the interface you see is different from the book, just continue the onboarding process until you get to the end and access your account. This part won't be difficult.
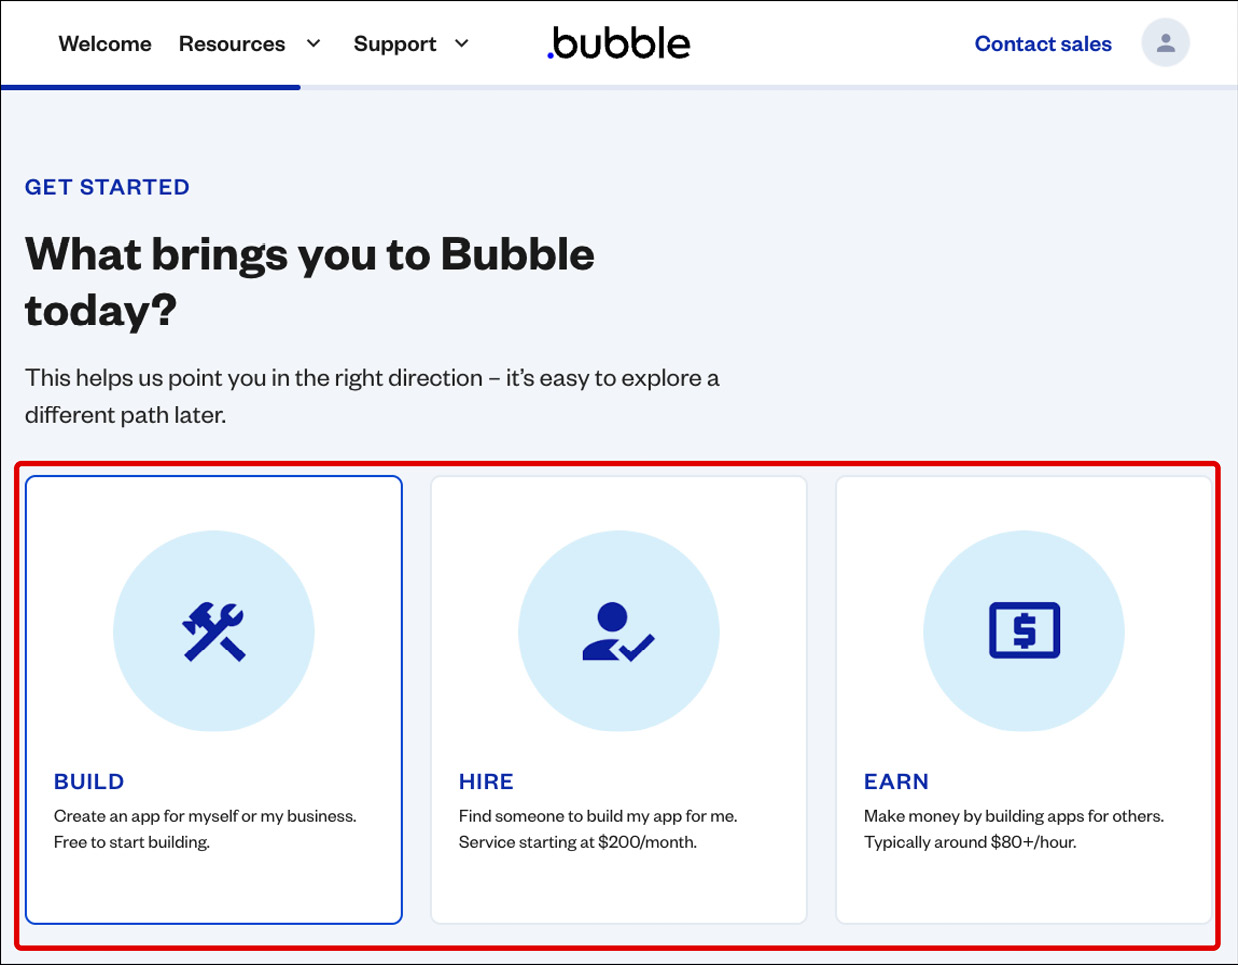
Figure 1.3: Bubble.io sign-up onboarding – step 1
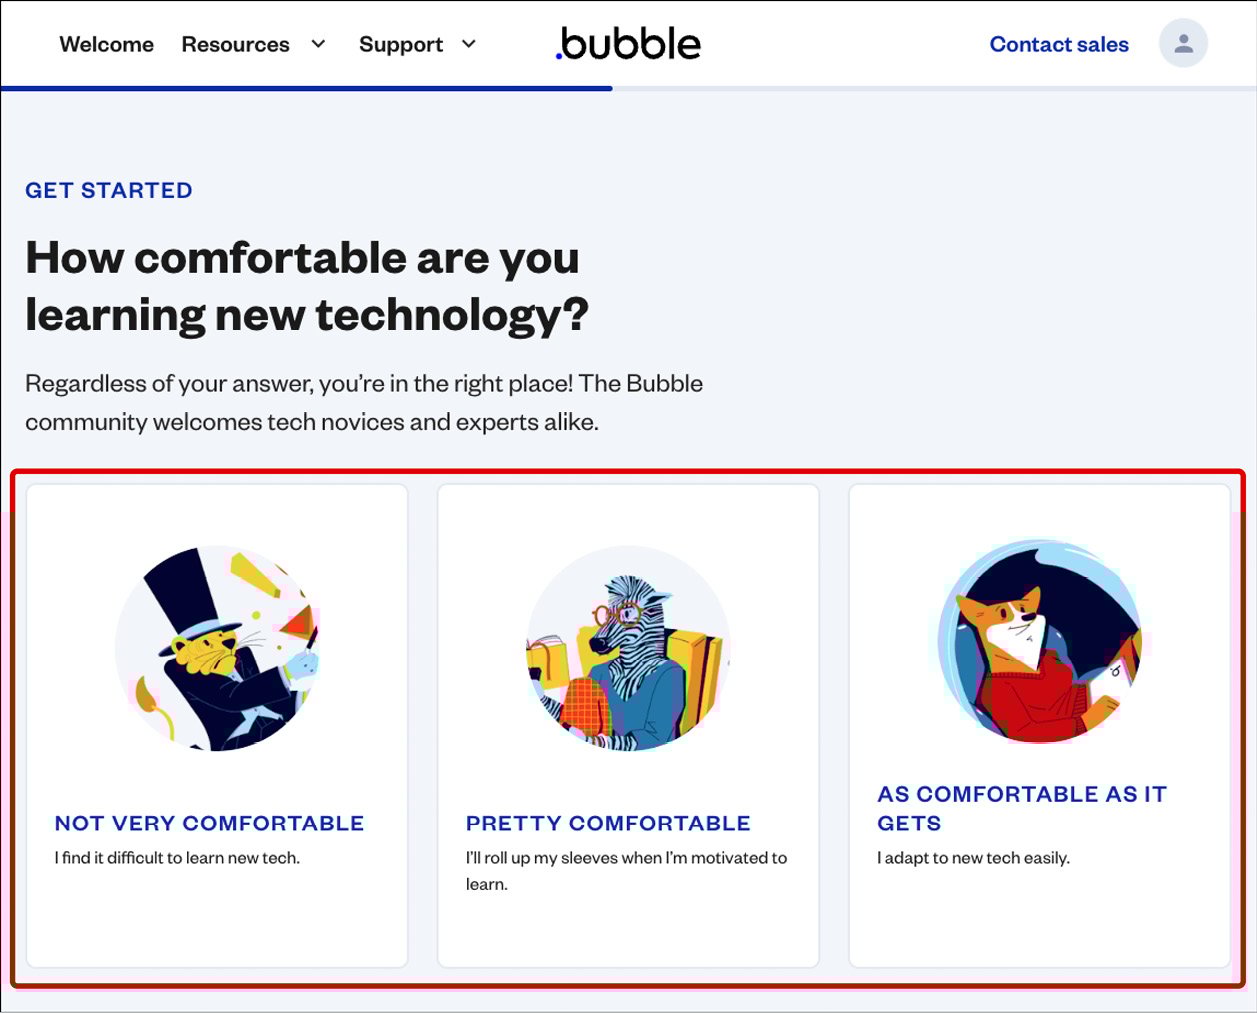
Figure 1.4: Bubble.io sign-up onboarding – step 2
- Continue clicking the options that fit your profile the best.
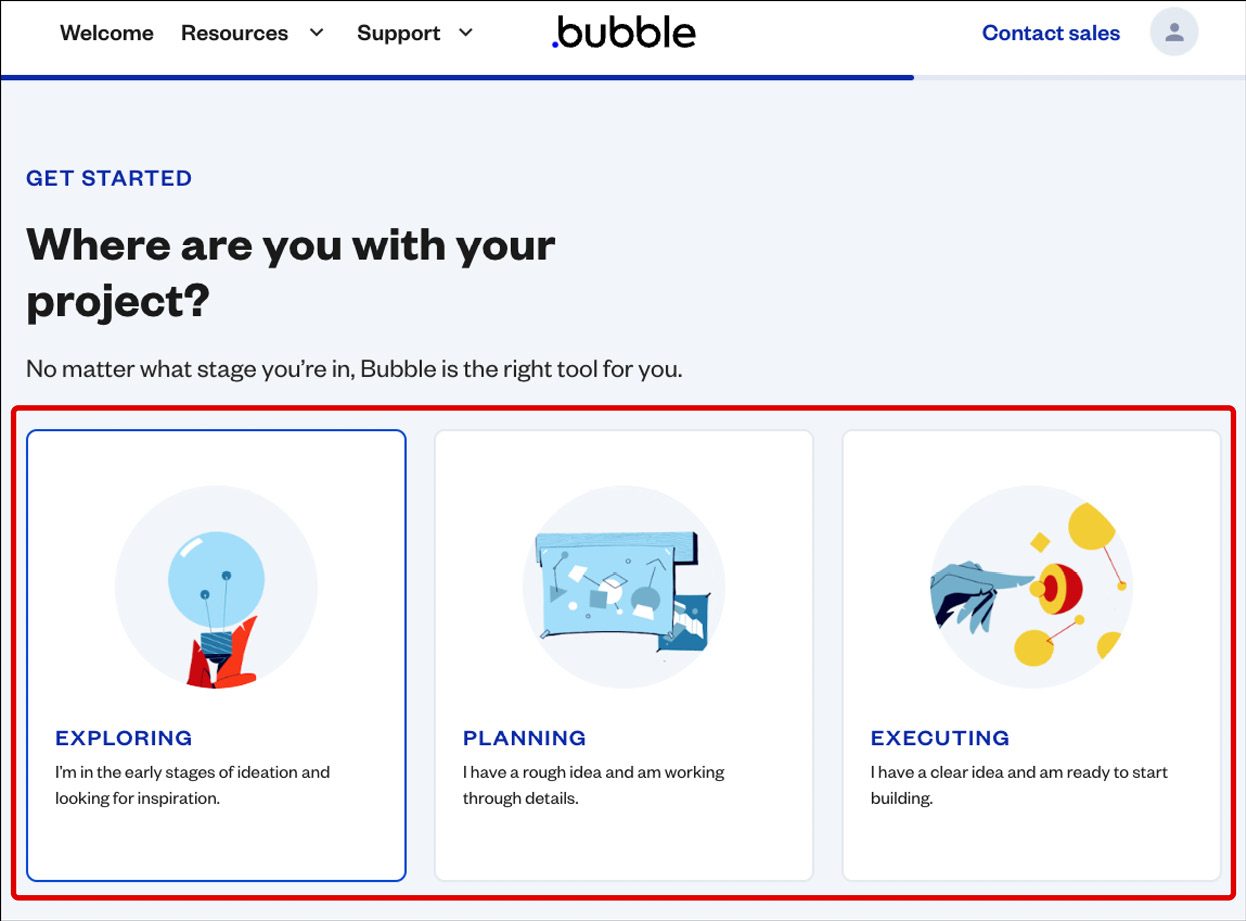
Figure 1.5: Bubble.io sign-up onboarding – step 3
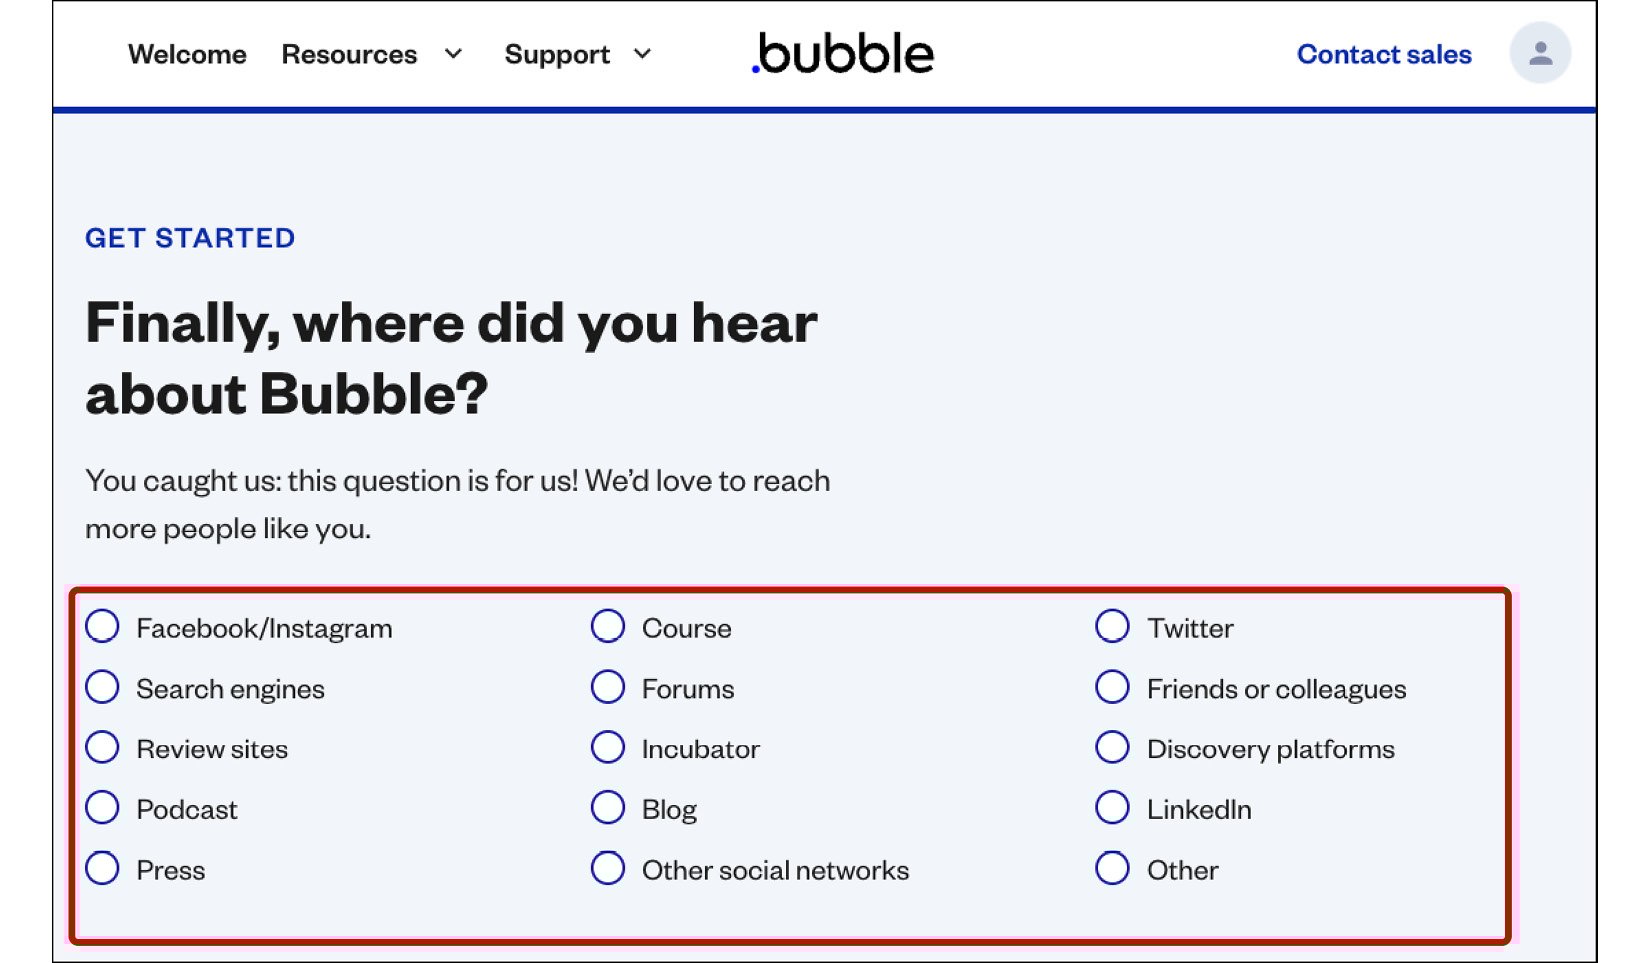
Figure 1.6: Bubble.io sign-up onboarding – step 4
- After completing the onboarding process, it is important to check your email inbox, as you should have received a confirmation email. If you can’t see it, you can wait a couple more minutes (sometimes there is a delay) or check your promotional and spam folders to see if the email is there. If you still can’t find it, you can click on the button to resend this confirmation email. If this still doesn’t work, check that you entered the correct email or contact support for help.
You must open this email and click to confirm your account because this will unlock the next steps so you can start using Bubble. Once you click the email link, you will be sent to a Thank You page. You can close it and go back to the initial tab you were before you entered your email. You will notice the confirmation message will go away, unlocking you to continue with the next step.
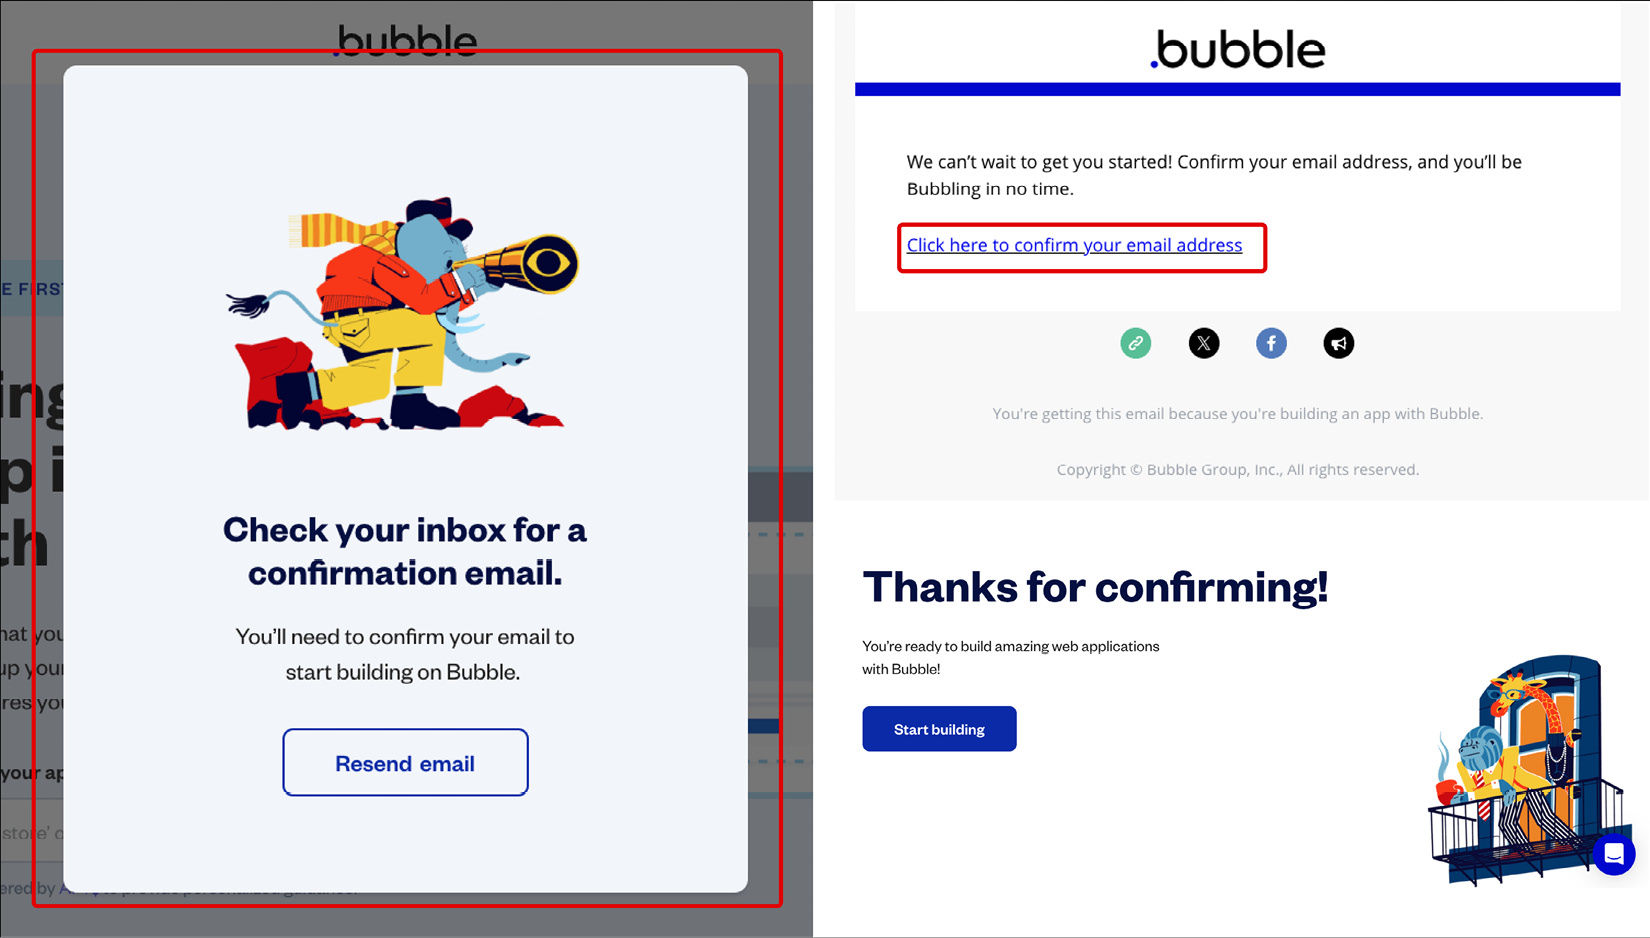
Figure 1.7: Bubble.io onboarding – email confirmation
- Once your email is confirmed Bubble will allow you to create your first project. To create a new project you can simply click the Start building button. But there is also an option that helps you build your project for the first time, with help of AI. You can type in the field a simple description of your app idea, which is optional, if you do fill out the field, it will generate your app and send you to a page with a few guidelines and tutorials on how to create your desired project.
Note that this feature might change overtime. For now I would recommend starting with an empty project, you can explore these AI features later while creating new projects. For the first one just click the Start building button and move forward.
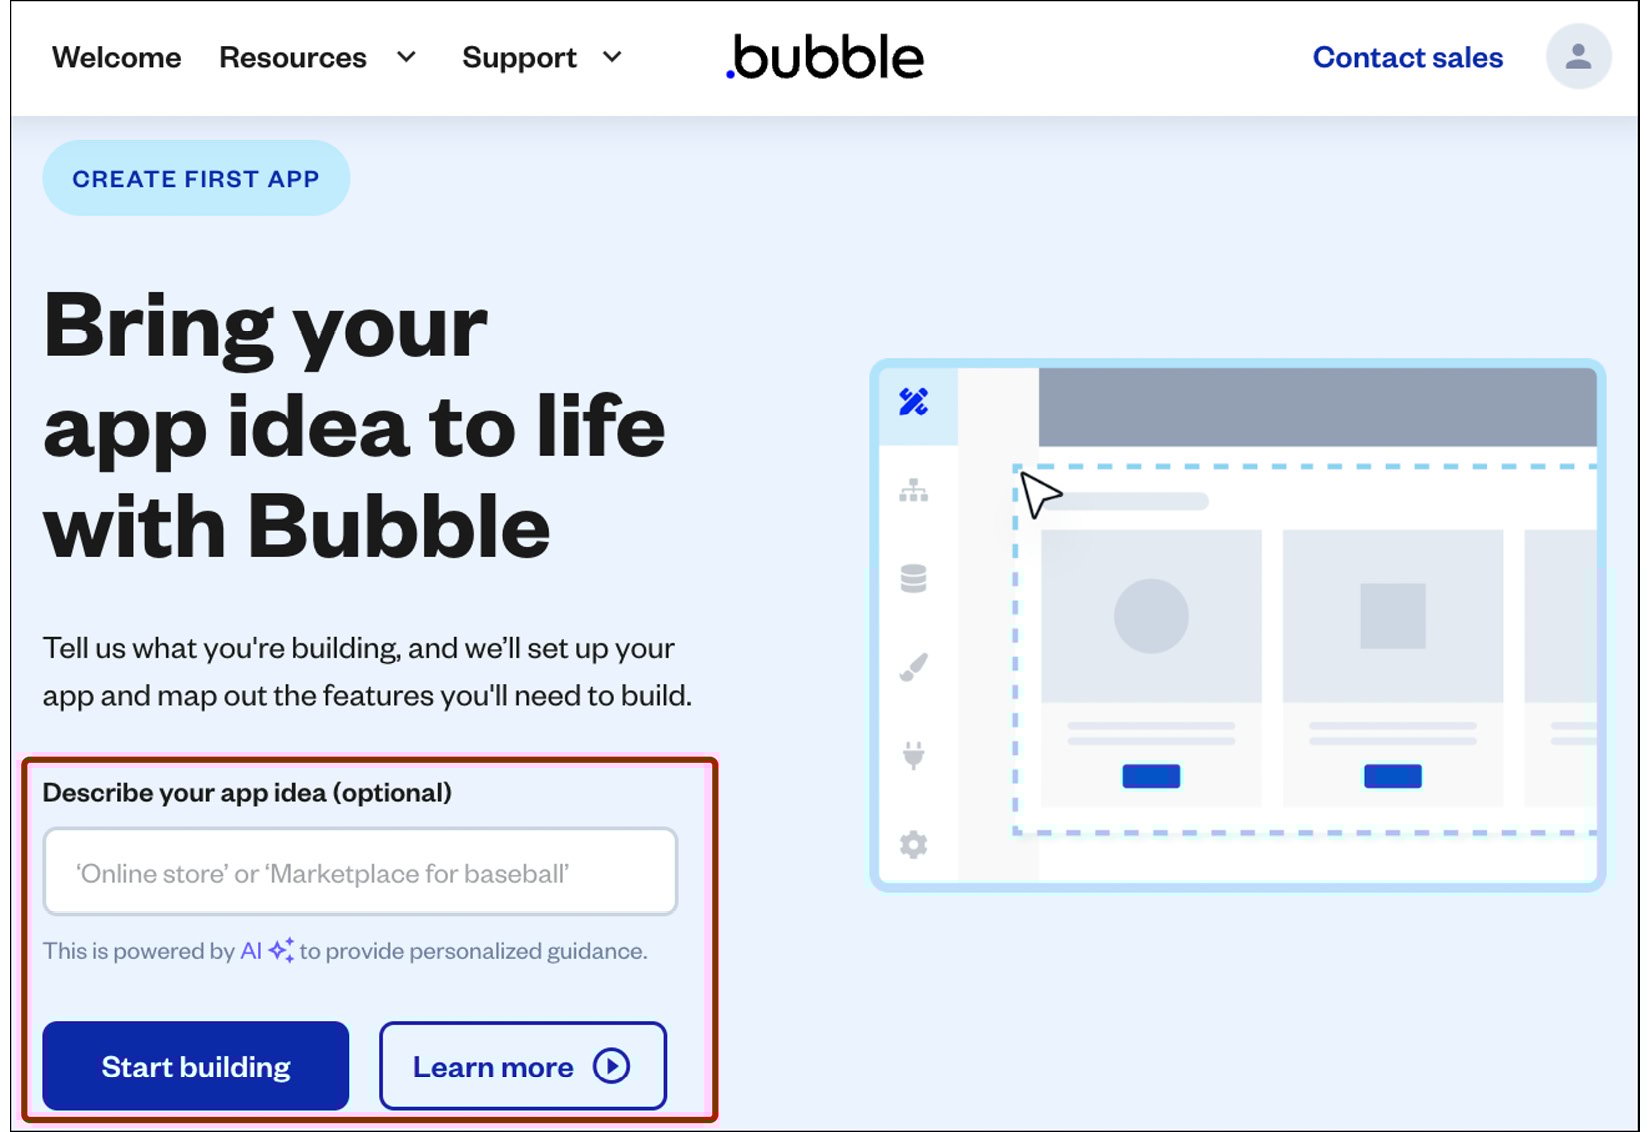
Figure 1.8: Bubble.io – Create the first project
Another way to start a project is by choosing a template, but we will cover more on that later.
Congratulations! At this point, you have successfully created your account. You also completed the onboarding process and started creating your very first application from scratch. Now it is time to dive deeper into how Bubble works and start configuring your app visually. In the next section you are going to learn about the application setup helper called application assistant. Let's go!


