Search icon CANCEL
Subscription
0
Cart icon
Your Cart (0 item)
Close icon
You have no products in your basket yet
Arrow left icon
Explore Products
Best Sellers
New Releases
Books
Events
Videos
Audiobooks
Packt Hub
Free Learning
Arrow right icon
timer SALE ENDS IN
0 Days
:
00 Hours
:
00 Minutes
:
00 Seconds
Angular Projects
Angular Projects

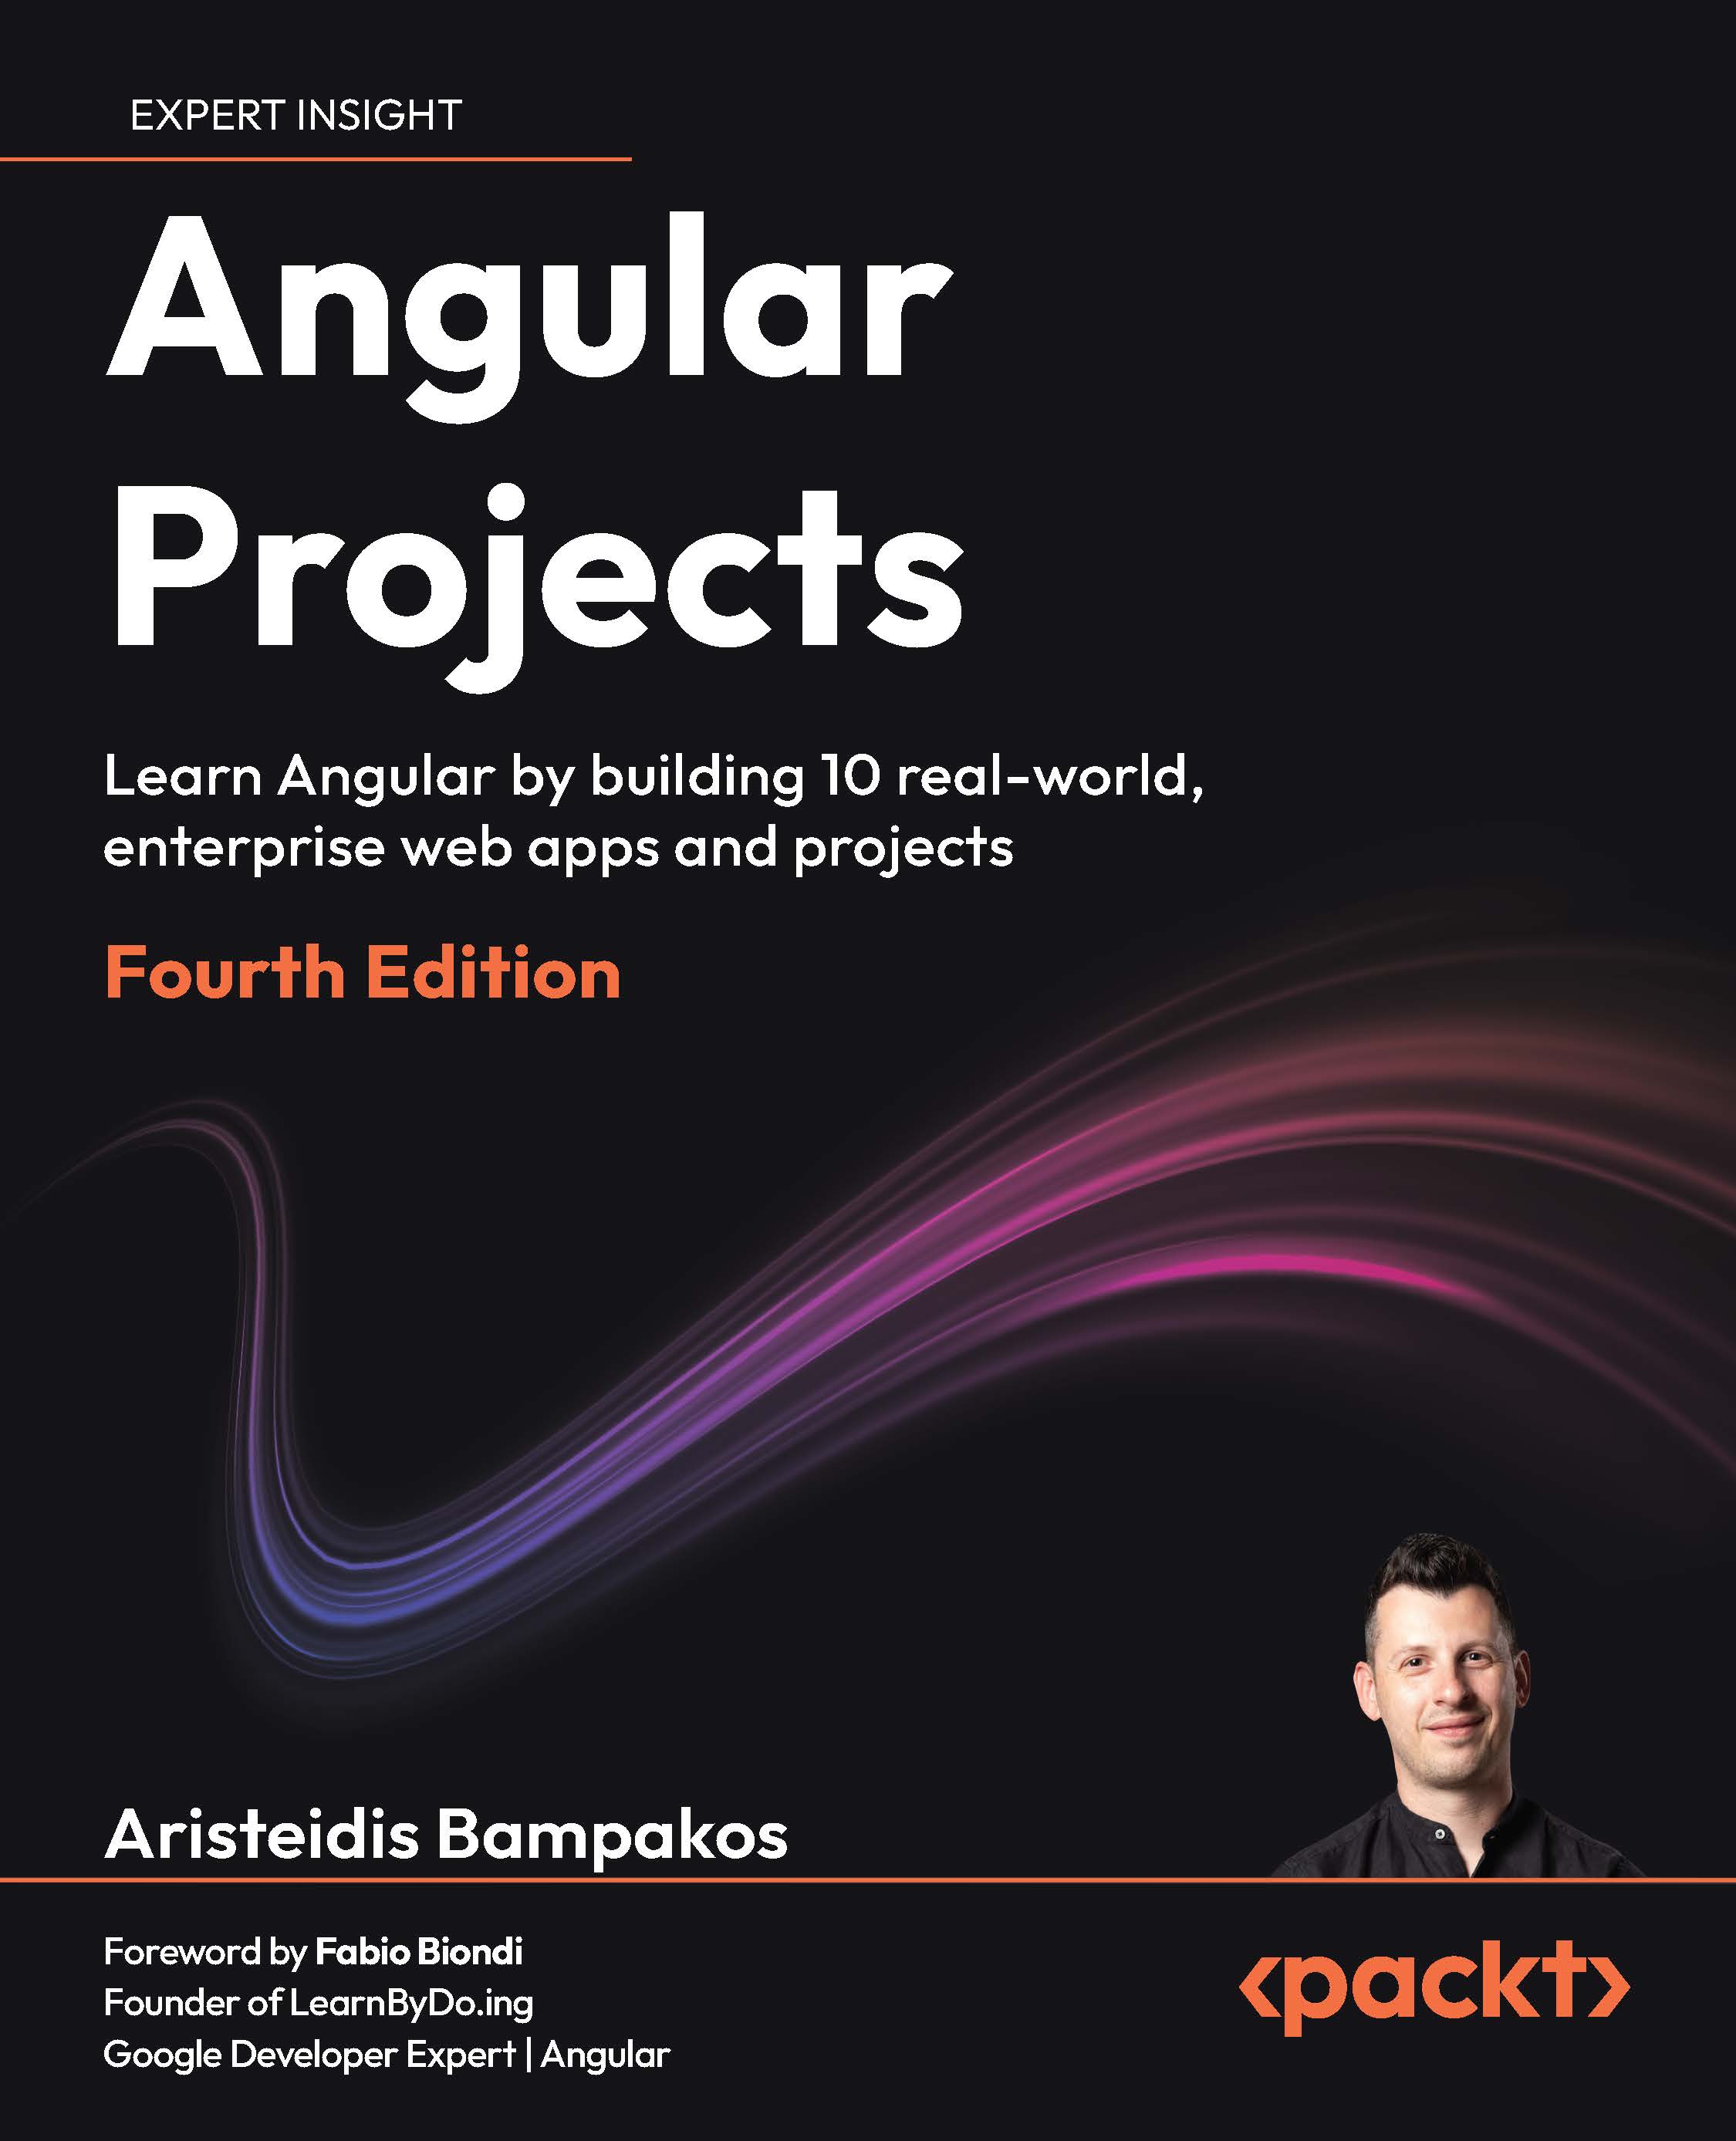
Angular Projects: Learn Angular by building 10 real-world, enterprise web apps and projects , Fourth Edition

Arrow left icon
Profile Icon Aristeidis Bampakos
Arrow right icon
$44.99
Paperback Jun 2026 298 pages 4th Edition
eBook
$26.99 $35.99
Paperback
$44.99
Arrow left icon
Profile Icon Aristeidis Bampakos
Arrow right icon
$44.99
Paperback Jun 2026 298 pages 4th Edition
eBook
$26.99 $35.99
Paperback
$44.99
eBook
$26.99 $35.99
Paperback
$44.99

What do you get with Print?

Product feature icon Instant access to your digital copy whilst your Print order is Shipped
Product feature icon Paperback book shipped to your preferred address
Product feature icon Redeem a companion digital copy on all Print orders
Product feature icon Access this title in our online reader with advanced features
Product feature icon DRM FREE - Read whenever, wherever and however you want
Product feature icon AI Assistant (beta) to help accelerate your learning
Modal Close icon
Payment Processing...
tick Completed

Shipping Address

Billing Address

Shipping Methods
Table of content icon View table of contents Preview book icon Preview Book

Angular Projects

1

Angular AI Kick-Starter: Scaffolding Smart Apps with Copilot

The most popular tool for creating and building Angular applications is the Angular command-line interface (CLI), which automates numerous development tasks, including scaffolding, testing, and deploying Angular applications. Web developers use artificial intelligence (AI) tools for assistive coding to complete tasks such as applying best practices and searching for documentation.

By the end of this chapter, you will be able to use AI coding assistants in an Angular project to improve your experience as a developer and make your Angular workflow more efficient. You will learn how to use GitHub Copilot to build an Angular application using the latest features and modern practices of the Angular framework.

We are going to cover the following topics:

  • Creating an Angular application
  • Angular tooling in VS Code
  • Interacting with GitHub Copilot

Your purchase includes a free PDF copy + code bundle

Your purchase includes a DRM-free PDF copy of this book, the code bundle, and additional exclusive extras. See the Free benefits with your book section in the Preface to unlock them instantly and maximize your learning.

Technical requirements

You can download the example project and code for this book by following the instructions in the Download the example code files section in the Preface of this book.

This chapter's code files are included in the downloadable code bundle.

Creating an Angular application

Every chapter of the book requires setting up a new Angular application. The standard tool for making an Angular application is the Angular CLI. It is an npm package that provides a command-line tool to scaffold and run an Angular application. In the following section, we will learn how to install it.

Installing the Angular CLI

Open a terminal window and run the following command to install the Angular CLI globally on your machine:

npm install -g @angular/cli

The preceding command will install the latest version of the Angular CLI, which is published on the npm registry by the Angular team.

In this book, we use the npm package manager due to its widespread adoption in the web development community. If you are using a different package manager, visit https://angular.dev/tools/cli/setup-local#install-the-angular-cli to learn more about how to install it.

To verify that you have installed version 22, run the following command in the same terminal window:

ng version

The output of the preceding command should indicate that the installed Angular CLI is version 22.

The examples demonstrated in this book have been developed and tested with version 22 of the Angular CLI.

If you have a different version installed, run the following command to install the correct one:

npm install -g @angular/cli@22

Your local environment is now configured with the Angular CLI, and you are ready to start building Angular applications. In the following section, you will use the Angular CLI to create a new application.

Scaffolding a new application

We use the Angular CLI by running the ng executable from a terminal window. It accepts an option as a parameter that defines the type of task we want to complete using the Angular CLI.

You can view a complete list of the supported options at https://angular.dev/cli.

The new option indicates that we want to scaffold a new Angular application:

  1. Run the following command in a terminal window:
    ng new my-app

    The preceding command will initiate a process that guides you in creating a new Angular application named my‑app. The process involves asking questions to provide more context in the CLI about the application you want to build.

  2. The first question is about what stylesheet format we would like to use in our application. The Angular CLI supports the following formats:
    • CSS
    • Tailwind CSS
    • Sass
    • Less

    Use the keyboard arrows to highlight the Sass (SCSS) option and press Enter.

  3. The next question is whether we want to configure the application for server-side rendering (SSR). Press Enter to skip this step. We will build an SSR-enabled application in Chapter 7, Expense Builder: Building an SSR-Optimized Expense Tracker.
  4. The last question prompts us to add an AI coding assistant to the Angular project. The Angular CLI supports a rich collection of AI tools. Select the GitHub Copilot option and press Enter.

The Angular CLI downloads and installs all necessary packages and creates default files for your Angular application. After finishing, the my‑app folder will contain a basic Angular application.

Execute the following command from a terminal window inside the my‑app folder to run your application:

ng serve 

The Angular CLI compiles the Angular application and starts a web server to host it. After successful compilation, you can preview the application by opening your browser and navigating to http://localhost:4200.

We now have a basic Angular application that will serve as the foundation for the projects we will build in the following chapters. In the next section, we will learn about the tools required to develop our Angular projects.

Angular tooling in VS Code

One of the most popular tools for developing with Angular is Visual Studio Code (VS Code). It contains a rich collection of extensions that we can install to enhance the developer experience with the Angular framework. We can find and install Angular extensions from the Extensions menu in the VS Code toolbar. In this section, we will use Profiles to install a curated collection of Angular extensions.

We add profiles from the Manage menu:

  1. Click on the button with the gear icon to access the Manage menu.
  2. Select the Profiles option from the pop-up menu.
  3. Click the down arrow in the New Profile button and select the From Template | Angular option. VS Code adds a new profile that contains settings and extensions useful for Angular development.
  4. Click the Create button to start the installation of the Angular profile. Depending on your VS Code configuration, you may be asked to allow the installation of third-party extensions.

The process will install extensions and configure VS Code according to the Angular profile. The profile can be enabled in the following ways:

  • Automatically: Check the Use this profile as the default for new windows to enable it for all VS Code windows by default
  • Manually: Use the Manage menu to switch to the Angular profile

It is recommended to use the manual approach if you are using VS Code to develop with other technology stacks in addition to Angular.

VS Code activates installed extensions when you enable the Angular profile. The projects that we will build in the following chapters do not use all of them. The most common ones are as follows:

  • Angular Language Service: This is developed and maintained by the Angular team, offering features such as code completion, navigation, and effective error diagnosis within Angular templates and classes.
  • Angular Schematics: This provides a way to create different parts of an Angular application through an intuitive user interface.
  • EditorConfig for VS Code: This can override VS Code settings such as indentation and spacing using a local configuration file.
  • Material Icon Theme: This extends the default VS Code icons by adding new ones that are based on Material Design Icons and the Angular framework.

VSCode uses the remaining extensions of the Angular profile according to the specific needs of an Angular application. For example, the Jest extension is helpful if you use the Jest test runner for unit testing. Similarly, the ESLint extension provides linting capabilities to an application when the ESLint library is installed.

We now have a basic configuration of VS Code that will help us develop Angular projects with confidence. In the following section, we will learn how to apply best practices in Angular development using AI assistive technology.

Interacting with GitHub Copilot

The latest version of VS Code includes a built-in integration of GitHub Copilot. We will learn how to use Copilot as an AI pair programmer and develop Angular applications in the following ways:

  • Smarter by providing instructions with Angular best practices in mind
  • Faster by building different parts of the Angular application using prompts

In the following sections, we will explore both concepts as we continue to develop our Angular application.

Customizing instructions

AI agents use instructions to define a working context and operate within specific boundaries. Instructions define the role and capabilities of the agent in the current context. The Angular CLI created an instructions file for Copilot while creating the application:

  1. Open VS Code and select File | Open Folder… from the main menu.
  2. Navigate to the my‑app folder and select it. VS Code will load the associated Angular CLI project.
  3. Expand the .github folder and select the copilot‑instructions.md file. The Markdown file contains instructions that help Copilot understand Angular.
  4. The top of the file defines the role of the AI agent:
    You are an expert in TypeScript, Angular, and scalable web application development. You write functional, maintainable, performant, and accessible code following Angular and TypeScript best practices.
  5. Each heading in the file represents a different capability of the agent. For example, the agent should adhere to the following TypeScript best practices:
    ## TypeScript Best Practices
    
    - Use strict type checking
    - Prefer type inference when the type is obvious
    - Avoid the `any` type; use `unknown` when type is uncertain
  6. We can customize the instructions file according to our needs. Add the following in the State Management heading:
    - Define signal properties as `readonly`

    The preceding instruction will guide Copilot to declare signals with the readonly keyword.

The Markdown format of the instructions file makes it accessible to all developers. You now understand how easy it is to extend it and share it with other members of your development team. In the following section, we will learn how Copilot uses instructions to interact with our Angular application.

Developing with prompts

GitHub Copilot is pre-installed and enabled by default in the latest version of VS Code. It opens automatically in the CHAT side panel when we load an Angular application.

If the panel is not opened, you can use the Toggle Chat button in the top bar near the search input.

The CHAT panel features a welcome screen and an input box that allows us to interact with Copilot using prompts:

Figure 1.1 – GitHub Copilot

Figure 1.1 – GitHub Copilot

First, we will use Copilot to refactor the existing code base of the Angular application.

AI agents are not deterministic, which means their responses may vary in every run. The steps that you will follow in this section may result in a different output than the one described in the section.

We will create a new property in the App component class for chapter titles:

  1. Enter the following phrase in the input box of Copilot and click the Send button:
    Create a signal in the App component for storing the chapter title with the following value: Chapter 1: Angular AI Kick-Starter.
  2. You must sign in to Copilot before starting to interact with it. Select a sign-in method in the following dialog:
    Figure 1.2 – Sign in to use GitHub Copilot

    Figure 1.2 – Sign in to use GitHub Copilot

    After the sign-in process is complete, Copilot creates a chapterTitle property in the App component class.

  3. Copilot follows up on our prompt with a suggestion to update the chapter title in the component template.

    Enter the following prompt:

    Update the title in the template according to the chapter title.

    Copilot changes the line in the template file that displayed the title property to the following:

    <h1>{{ chapterTitle() }}</h1>
  4. Run the application using the ng serve command and navigate to localhost:4200:
    Εικόνα που περιέχει κείμενο, στιγμιότυπο οθόνης, γραμματοσειρά, σχεδίαση

Το περιεχόμενο που δημιουργείται από AI ενδέχεται να είναι εσφαλμένο.

    Figure 1.3 – Application output

You have learned how to refactor an existing Angular application without needing to interact with the code. Copilot did all the required work using prompts.

We can use Copilot for more complicated tasks, such as creating new components and services:

  1. Click the plus button located in the header of the CHAT panel to create a new Copilot session.
  2. Enter the following prompt in the input box:
    Create a component responsible for displaying the chapter title and use it in the App component.

    The previous prompt will create a new component based on the Components best practices from the instructions file.

  3. The new component passes the value of the chapterTitle property using an input signal. Examine the browser to verify that the application output is still the same.

You now understand how much faster it is to develop Angular applications with Copilot. We learned how to create a component without using the Angular CLI. You can use the same process to generate different parts of an Angular application, such as services and directives.

Summary

In this chapter, we learned how to build an Angular application with AI assistive technology. We kick-started the project by installing the Angular CLI and scaffolding a new application. We created a VS Code profile to leverage Angular extensions during development. We used the integrated chat to let GitHub Copilot assist us while writing new code or refactoring existing code.

We now have all the required tools for building our first real-world application in the next chapter, in which we will develop a tracking system to manage and report issues.

Exercise

Use GitHub Copilot to create an Angular service that contains the current chapter title. Modify the App component so that it uses the service to pass the chapter title to the respective component.

Try experimenting with different prompts to see how the results vary for each one.

Further reading


Get this book's PDF copy, code bundle, and more

Scan the QR code (or go to packtpub.com/unlock). Search for this book by name, confirm the edition, and then follow the steps on the page.

Image

Image

Note: Have your invoice handy. Purchases made directly from the Packt website don't require an invoice.


Left arrow icon Right arrow icon
Download code icon Download Code

Key benefits

  • Master a suite of hands-on solutions and leave with a hiring-ready portfolio that proves job-ready skills
  • Deliver fast and ship with confidence; from SSR/SSG to performance gains and reliable UI stacks
  • Add focused AI features like OCR, summaries, and assistants where they help most

Description

Angular has evolved toward faster delivery, server rendering, and an enhanced developer experience. This book shows what that looks like in practice. Each project reflects how real teams work: forms, routing, data, and the small choices that make an app feel finished. You will build with just enough tech to matter: signals, template-driven and reactive forms; PrimeNG, Angular Material, and Telerik UI; Google Maps; drag-and-drop; and desktop features. You will also wire up backend NestJS with MongoDB, Firebase services, and email notifications, then improve delivery with SSR and SSG and focused Core Web Vitals improvements. Guided by Aristeidis Bampakos, a Google Developer Expert for Angular and an experienced team lead, you will learn practical patterns you can apply right from the get-go. By the end, you will not just “know” Angular. You will think like a front-end engineer who can deliver, portfolio in hand, job-ready and confident to level up in your current role.

Who is this book for?

This book is for developers with beginner-level Angular experience who want to become proficient in using essential tools and dealing with the various use cases in Angular. Beginner-level knowledge of web application development and basic experience of working with latest JavaScript or TypeScript is essential before you dive in. This book focuses on practical applications of Angular. If you want to deepen your understanding of this framework, we recommend that you also look at Learning Angular from the same author.

What you will learn

  • Scaffold faster and refactor safely with AI-assisted workflows
  • Design trustworthy forms users can complete without friction
  • Add AI: summaries, and assistant-driven booking
  • Integrate real services: Maps, email, Firebase, MongoDB
  • Ship quickly with SSR/SSG and Core Web Vitals improvements
  • Build maintainable UIs with PrimeNG, Material, Telerik
Estimated delivery fee Deliver to Argentina

Standard delivery 10 - 13 business days

$12.95

Premium delivery 3 - 6 business days

$40.95
(Includes tracking information)

Product Details

Country selected
Publication date, Length, Edition, Language, ISBN-13
Publication date : Jun 22, 2026
Length: 298 pages
Edition : 4th
Language : English
ISBN-13 : 9781806668472
Vendor :
Google
Category :
Languages :
Tools :

What do you get with Print?

Product feature icon Instant access to your digital copy whilst your Print order is Shipped
Product feature icon Paperback book shipped to your preferred address
Product feature icon Redeem a companion digital copy on all Print orders
Product feature icon Access this title in our online reader with advanced features
Product feature icon DRM FREE - Read whenever, wherever and however you want
Product feature icon AI Assistant (beta) to help accelerate your learning
Modal Close icon
Payment Processing...
tick Completed

Shipping Address

Billing Address

Shipping Methods
Estimated delivery fee Deliver to Argentina

Standard delivery 10 - 13 business days

$12.95

Premium delivery 3 - 6 business days

$40.95
(Includes tracking information)

Product Details

Publication date : Jun 22, 2026
Length: 298 pages
Edition : 4th
Language : English
ISBN-13 : 9781806668472
Vendor :
Google
Category :
Languages :
Tools :

Packt Subscriptions

See our plans and pricing
Modal Close icon
$19.99 billed monthly
Feature tick icon Unlimited access to Packt's library of 7,000+ practical books and videos
Feature tick icon Constantly refreshed with 50+ new titles a month
Feature tick icon Exclusive Early access to books as they're written
Feature tick icon Solve problems while you work with advanced search and reference features
Feature tick icon Offline reading on the mobile app
Feature tick icon Simple pricing, no contract
$199.99 billed annually
Feature tick icon Unlimited access to Packt's library of 7,000+ practical books and videos
Feature tick icon Constantly refreshed with 50+ new titles a month
Feature tick icon Exclusive Early access to books as they're written
Feature tick icon Solve problems while you work with advanced search and reference features
Feature tick icon Offline reading on the mobile app
Feature tick icon Choose a DRM-free eBook or Video every month to keep
Feature tick icon PLUS own as many other DRM-free eBooks or Videos as you like for just $5 each
Feature tick icon Exclusive print discounts
$279.99 billed in 18 months
Feature tick icon Unlimited access to Packt's library of 7,000+ practical books and videos
Feature tick icon Constantly refreshed with 50+ new titles a month
Feature tick icon Exclusive Early access to books as they're written
Feature tick icon Solve problems while you work with advanced search and reference features
Feature tick icon Offline reading on the mobile app
Feature tick icon Choose a DRM-free eBook or Video every month to keep
Feature tick icon PLUS own as many other DRM-free eBooks or Videos as you like for just $5 each
Feature tick icon Exclusive print discounts

Table of Contents

13 Chapters
Chapter 1: Angular AI Kick-Starter: Scaffolding Smart Apps with Copilot Chevron down icon Chevron up icon
Chapter 2: IssueTracker Lite: Building a Smart Bug Tracking System Chevron down icon Chevron up icon
Chapter 3: EasyMenu: Creating a Table Order Management App Chevron down icon Chevron up icon
Chapter 4: SmartFactory Picker: Building a QR-Driven Warehouse App Chevron down icon Chevron up icon
Chapter 5: CityPass Parking: Developing an AI-Enabled Parking Validator Chevron down icon Chevron up icon
Chapter 6: Studio BookMaster: Designing an AI-Enhanced Room Booking App Chevron down icon Chevron up icon
Chapter 7: Expense Builder: Building an SSR Optimized Expense Tracker Chevron down icon Chevron up icon
Chapter 8: SmartFactory Shifts: Creating a Drag-and-Drop Shift Scheduler Chevron down icon Chevron up icon
Chapter 9: Flash POS: Building a Modern Point of Sale App with State Management Chevron down icon Chevron up icon
Chapter 10: NotesAI Desktop: Creating an AI Powered Note Editor Chevron down icon Chevron up icon
Chapter 11: Unlock Access to the Code Bundle and the PDF Version Chevron down icon Chevron up icon
Other Books You May Enjoy Chevron down icon Chevron up icon
Index Chevron down icon Chevron up icon
Get free access to Packt library with over 7500+ books and video courses for 7 days!
Start Free Trial

FAQs

What is the digital copy I get with my Print order? Chevron down icon Chevron up icon

When you buy any Print edition of our Books, you can redeem (for free) the eBook edition of the Print Book you’ve purchased. This gives you instant access to your book when you make an order via PDF, EPUB or our online Reader experience.

What is the delivery time and cost of print book? Chevron down icon Chevron up icon

Shipping Details

USA:

'

Economy: Delivery to most addresses in the US within 10-15 business days

Premium: Trackable Delivery to most addresses in the US within 3-8 business days

UK:

Economy: Delivery to most addresses in the U.K. within 7-9 business days.
Shipments are not trackable

Premium: Trackable delivery to most addresses in the U.K. within 3-4 business days!
Add one extra business day for deliveries to Northern Ireland and Scottish Highlands and islands

EU:

Premium: Trackable delivery to most EU destinations within 4-9 business days.

Australia:

Economy: Can deliver to P. O. Boxes and private residences.
Trackable service with delivery to addresses in Australia only.
Delivery time ranges from 7-9 business days for VIC and 8-10 business days for Interstate metro
Delivery time is up to 15 business days for remote areas of WA, NT & QLD.

Premium: Delivery to addresses in Australia only
Trackable delivery to most P. O. Boxes and private residences in Australia within 4-5 days based on the distance to a destination following dispatch.

India:

Premium: Delivery to most Indian addresses within 5-6 business days

Rest of the World:

Premium: Countries in the American continent: Trackable delivery to most countries within 4-7 business days

Asia:

Premium: Delivery to most Asian addresses within 5-9 business days

Disclaimer:
All orders received before 5 PM U.K time would start printing from the next business day. So the estimated delivery times start from the next day as well. Orders received after 5 PM U.K time (in our internal systems) on a business day or anytime on the weekend will begin printing the second to next business day. For example, an order placed at 11 AM today will begin printing tomorrow, whereas an order placed at 9 PM tonight will begin printing the day after tomorrow.


Unfortunately, due to several restrictions, we are unable to ship to the following countries:

  1. Afghanistan
  2. American Samoa
  3. Belarus
  4. Brunei Darussalam
  5. Central African Republic
  6. The Democratic Republic of Congo
  7. Eritrea
  8. Guinea-bissau
  9. Iran
  10. Lebanon
  11. Libiya Arab Jamahriya
  12. Somalia
  13. Sudan
  14. Russian Federation
  15. Syrian Arab Republic
  16. Ukraine
  17. Venezuela
What is custom duty/charge? Chevron down icon Chevron up icon

Customs duty are charges levied on goods when they cross international borders. It is a tax that is imposed on imported goods. These duties are charged by special authorities and bodies created by local governments and are meant to protect local industries, economies, and businesses.

Do I have to pay customs charges for the print book order? Chevron down icon Chevron up icon

The orders shipped to the countries that are listed under EU27 will not bear custom charges. They are paid by Packt as part of the order.

List of EU27 countries: www.gov.uk/eu-eea:

A custom duty or localized taxes may be applicable on the shipment and would be charged by the recipient country outside of the EU27 which should be paid by the customer and these duties are not included in the shipping charges been charged on the order.

How do I know my custom duty charges? Chevron down icon Chevron up icon

The amount of duty payable varies greatly depending on the imported goods, the country of origin and several other factors like the total invoice amount or dimensions like weight, and other such criteria applicable in your country.

For example:

  • If you live in Mexico, and the declared value of your ordered items is over $ 50, for you to receive a package, you will have to pay additional import tax of 19% which will be $ 9.50 to the courier service.
  • Whereas if you live in Turkey, and the declared value of your ordered items is over € 22, for you to receive a package, you will have to pay additional import tax of 18% which will be € 3.96 to the courier service.
How can I cancel my order? Chevron down icon Chevron up icon

Cancellation Policy for Published Printed Books:

You can cancel any order within 1 hour of placing the order. Simply contact customercare@packt.com with your order details or payment transaction id. If your order has already started the shipment process, we will do our best to stop it. However, if it is already on the way to you then when you receive it, you can contact us at customercare@packt.com using the returns and refund process.

Please understand that Packt Publishing cannot provide refunds or cancel any order except for the cases described in our Return Policy (i.e. Packt Publishing agrees to replace your printed book because it arrives damaged or material defect in book), Packt Publishing will not accept returns.

What is your returns and refunds policy? Chevron down icon Chevron up icon

Return Policy:

We want you to be happy with your purchase from Packtpub.com. We will not hassle you with returning print books to us. If the print book you receive from us is incorrect, damaged, doesn't work or is unacceptably late, please contact Customer Relations Team on customercare@packt.com with the order number and issue details as explained below:

  1. If you ordered (eBook, Video or Print Book) incorrectly or accidentally, please contact Customer Relations Team on customercare@packt.com within one hour of placing the order and we will replace/refund you the item cost.
  2. Sadly, if your eBook or Video file is faulty or a fault occurs during the eBook or Video being made available to you, i.e. during download then you should contact Customer Relations Team within 14 days of purchase on customercare@packt.com who will be able to resolve this issue for you.
  3. You will have a choice of replacement or refund of the problem items.(damaged, defective or incorrect)
  4. Once Customer Care Team confirms that you will be refunded, you should receive the refund within 10 to 12 working days.
  5. If you are only requesting a refund of one book from a multiple order, then we will refund you the appropriate single item.
  6. Where the items were shipped under a free shipping offer, there will be no shipping costs to refund.

On the off chance your printed book arrives damaged, with book material defect, contact our Customer Relation Team on customercare@packt.com within 14 days of receipt of the book with appropriate evidence of damage and we will work with you to secure a replacement copy, if necessary. Please note that each printed book you order from us is individually made by Packt's professional book-printing partner which is on a print-on-demand basis.

What tax is charged? Chevron down icon Chevron up icon

Currently, no tax is charged on the purchase of any print book (subject to change based on the laws and regulations). A localized VAT fee is charged only to our European and UK customers on eBooks, Video and subscriptions that they buy. GST is charged to Indian customers for eBooks and video purchases.

What payment methods can I use? Chevron down icon Chevron up icon

You can pay with the following card types:

  1. Visa Debit
  2. Visa Credit
  3. MasterCard
  4. PayPal
What is the delivery time and cost of print books? Chevron down icon Chevron up icon

Shipping Details

USA:

'

Economy: Delivery to most addresses in the US within 10-15 business days

Premium: Trackable Delivery to most addresses in the US within 3-8 business days

UK:

Economy: Delivery to most addresses in the U.K. within 7-9 business days.
Shipments are not trackable

Premium: Trackable delivery to most addresses in the U.K. within 3-4 business days!
Add one extra business day for deliveries to Northern Ireland and Scottish Highlands and islands

EU:

Premium: Trackable delivery to most EU destinations within 4-9 business days.

Australia:

Economy: Can deliver to P. O. Boxes and private residences.
Trackable service with delivery to addresses in Australia only.
Delivery time ranges from 7-9 business days for VIC and 8-10 business days for Interstate metro
Delivery time is up to 15 business days for remote areas of WA, NT & QLD.

Premium: Delivery to addresses in Australia only
Trackable delivery to most P. O. Boxes and private residences in Australia within 4-5 days based on the distance to a destination following dispatch.

India:

Premium: Delivery to most Indian addresses within 5-6 business days

Rest of the World:

Premium: Countries in the American continent: Trackable delivery to most countries within 4-7 business days

Asia:

Premium: Delivery to most Asian addresses within 5-9 business days

Disclaimer:
All orders received before 5 PM U.K time would start printing from the next business day. So the estimated delivery times start from the next day as well. Orders received after 5 PM U.K time (in our internal systems) on a business day or anytime on the weekend will begin printing the second to next business day. For example, an order placed at 11 AM today will begin printing tomorrow, whereas an order placed at 9 PM tonight will begin printing the day after tomorrow.


Unfortunately, due to several restrictions, we are unable to ship to the following countries:

  1. Afghanistan
  2. American Samoa
  3. Belarus
  4. Brunei Darussalam
  5. Central African Republic
  6. The Democratic Republic of Congo
  7. Eritrea
  8. Guinea-bissau
  9. Iran
  10. Lebanon
  11. Libiya Arab Jamahriya
  12. Somalia
  13. Sudan
  14. Russian Federation
  15. Syrian Arab Republic
  16. Ukraine
  17. Venezuela
Modal Close icon
Modal Close icon