


The Customer Relationship Management (CRM) market has seen a huge uptake in the last few years. Some of the drivers for this market are the need to enhance customer experience, provide faster and better services, and adapting to the customer's growing digital presence. CRM systems, in general, are taking a central place in the new organizational initiatives.
Dynamics CRM is Microsoft's response to a growing trend. The newest version is Dynamics CRM 2016. It is being offered in a variety of deployment scenarios. From the standard on-premise deployment to a private cloud, or an online cloud offering from Microsoft, the choice depends on each customer, their type of project, and a large number of requirements, policies, and legal restrictions.
In this chapter, we'll first look at the environment we need to complete the examples presented in the book. We will create a new environment, based on a Microsoft Dynamics CRM Online trial. This approach will give us 30-day trial to experiment with an environment for free.
The following topics will be covered in this chapter:
Introducing Dynamics CRM
Dynamics CRM's features
Deployment models
Global datacenter locations
Customization requirements
Getting setup
Dynamics CRM 2016 is the current version of the popular Customer Relationship Management platform offered by Microsoft. This platform offers users the ability to integrate and connect data across their sales, marketing, and customer service activities, and to give staff an overall 360-degree view of all interactions and activities as they relate to a specific customer.
Along with the standard platform functionality provided, we have a wide range of customization options, allowing us to extend and further customize solutions to solve a majority of other business requirements. In addition, we can integrate this platform with other applications to create a seamless solution.
Being the only available CRM platform on the market today, Microsoft Dynamics CRM 2016 is one of the fastest growing, gaining large acceptance at all levels, from small to mid-size and enterprise-level organizations. This is due to a multitude of reasons, some of which include the variety of deployment options, the scalability, the extensibility, the ease of integration with other systems, and the ease of use.
Microsoft Dynamics CRM can be deployed in a variety of options. Starting with the offering from Microsoft, you can get CRM Online. Once we have a 30-day trial active, this can be easily turned into a full production environment by providing payment information and keeping the environment active. The data will live in the cloud, on one of the data centers provided by Microsoft.
Alternatively, you can obtain hosting with a third-party provider. The whole environment can be hosted by a third party, and the service can be offered either as a SaaS solution or a fully hosted environment. Usually, there is a difference in the way payment is processed, with a SaaS solution, in most cases, being offered in a monthly subscription model.
Another option is to have the environment hosted in-house. This option is called on-premise deployment and carries the highest up-front cost but gives you the ability to customize the system extensively. In addition to the higher up-front cost, the cost to maintain the environment, the hardware, and the skilled people required to constantly administer the environment can easily add-up.
As of recently, we now have the ability to host a virtual CRM environment in Azure. This offloads the cost of maintaining the local infrastructure in a fashion similar to a third-party-hosted solution but takes advantage of the scalability and performance of a large cloud solution maintained and supported fully by Microsoft. The following white paper released by Microsoft describes the deployment model using Azure Virtual Machines:
http://www.microsoft.com/en-us/download/details.aspx?id=49193
Some of the most notable features of the Dynamics CRM platform include:
Scalability
Extensibility
Ability to integrate with other systems
Ease of use
Let's look at each of the features in more detail.
Dynamics CRM can scale over a wide range of deployment options. From a single-box deployment, used mostly for development, all the way to a cloud offering that can span over a large number of servers, and can host a large number of environments, the same base solution can handle all the scenarios in between with ease.
Dynamics CRM is a platform in which the base offering comes with prepackaged functionality for sales, service, and marketing; and a large variety of solutions can be built on top of Dynamics CRM. The extensibility model is called xRM and allows power users, non-developers, and developers alike to build custom solutions to handle various other business scenarios or integrate with other third-party platforms.
The Dynamics CRM Marketplace is a great example of such solutions built to extend the core platform, and offered for sale by various companies. These companies are called Independent Software Vendors (ISVs) and play a very important role in the ecosystem created by Microsoft. In time and with enough experience, some of them become the go-to partners for various implementations.
If nothing else, the Dynamics Marketplace is a cool place to look at some of the solutions created and search for specific applications. The idea of the marketplace became public sometime around 2010 and was integrated into Dynamics CRM 2011. At launch, it was designed as a searchable repository of solutions. It is a win-win for both solution providers and customers alike. Solutions can also be rated, thus giving customers better community feedback before committing to purchasing and implementing a foreign solution into their organization.
The Dynamics Marketplace is hosted on Pinpoint, Microsoft's online directory of software applications and professional services. On this platform, independent companies, and certified partners offer their products and services. At the time of this writing, Pinpoint hosts a few marketplaces, including Office, Azure, Dynamics, and Cloud, and is available at the following location:
https://pinpoint.microsoft.com/en-CA/Home/Dynamics
Navigating to the Dynamics page you are presented with a search option as seen in the following screenshot:
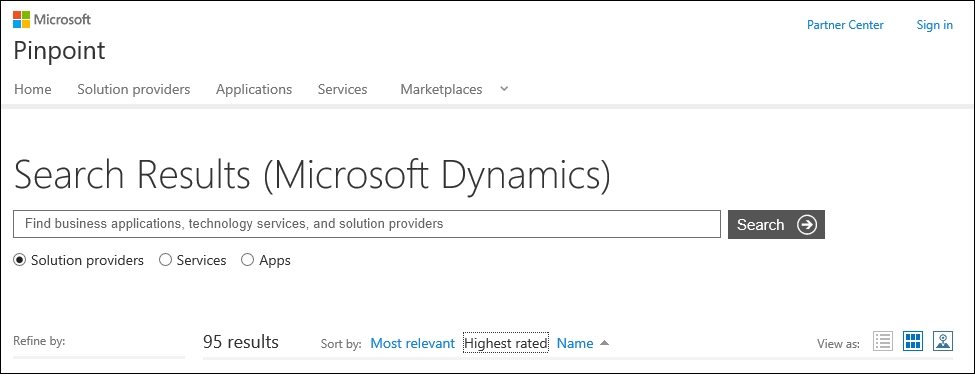
You now have the option to filter your results by Solution providers, Services, or Apps (applications).
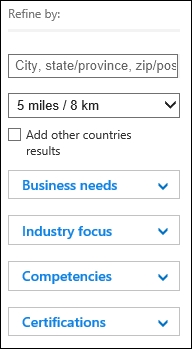
In addition, you can further filter your results by distance to a geo-location derived from an address or postal code, as well as other categories as illustrated in the following screenshot:
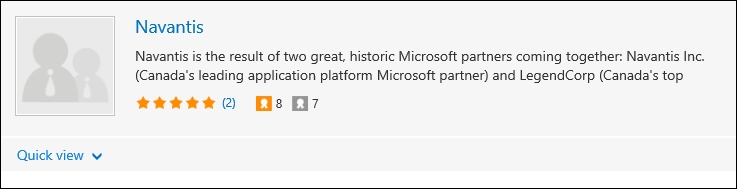
When searching for a solution provider, the results provide a high-level view of the organization, with a logo and a high-level description. The ratings and competencies count are displayed for easy visibility as shown here:
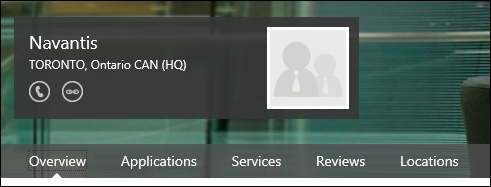
Drilling down into the partner profile page, you can find additional details on the organization, the industry's focus, details on the competencies, as well as a way to connect with the organization. Navigation to additional details, including Reviews and Locations, is available on the profile page.
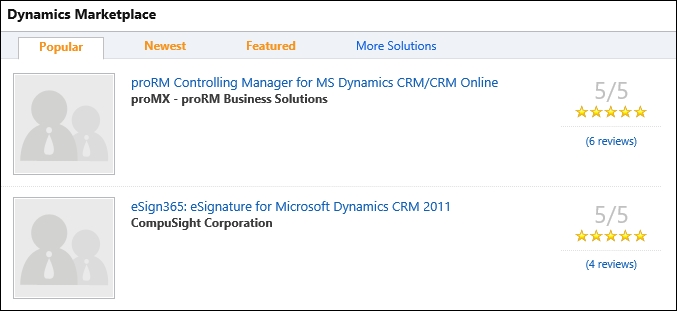
The Dynamics Marketplace is also available, starting with Dynamics CRM 2011, as a part of the organization. A user with necessary permission can navigate to Settings | Dynamics Marketplace.

This presents the user with a view by solutions available. Options for sorting and filtering include Popular, Newest, and Featured. Community rating is clearly visible and provides the necessary feedback to consider when evaluating new solutions.
There is a large variety of integration options available when working with Dynamics CRM. In addition, various deployment options offer more or fewer integration features. With CRM Online, you tend to get more integration options into cloud services, whereas the on-premise solution has a limited number of configurable integration options, but can provide more integration using various third-party tools. The base solution comes with the ability to configure integration with the following common services:
SharePoint for document management
Yammer for social features
In addition, you can use specific connectors provided by either Microsoft or other third-party providers for integration with specific solutions.
When the preceding options are not available, you can still integrate with other solutions using a third-party integration tool. This allows real-time integration into legacy systems. Some of the most popular tools used for integration include, but are not limited to:
Kingsway Software (https://www.kingswaysoft.com/)
Scribe (http://www.scribesoft.com/)
BizTalk (http://www.microsoft.com/en-us/server-cloud/products/biztalk/)
Dynamics CRM offers users a variety of options to interact with the system. You can access Dynamics CRM through a browser, with support for all recent versions of the major browsers now. The following browsers and versions are supported:
Internet Explorer versions 10 and above
Edge latest version
Chrome latest version on Windows 7 and above
Firefox latest version on Windows 7 and above
Safari on Mac using the latest publicly released version on OS X 10.8 and above
In addition, a user can interact with the system directly from the very familiar interface of Outlook. The Dynamics CRM connector for Outlook allows users to get access to all the system data and features from within Outlook. In addition, a set of functions built specifically for Outlook allows users to track and interact through e-mails, tasks, and events from within Outlook.
Further to the features provided through the Outlook integration, users of CRM for Outlook have the ability to work offline. Data can be taken offline, work can be done while disconnected, and can be synchronized back into the system when connectivity resumes.
For mobile users, Dynamics CRM can be accessed from mobile devices and tablets. Dynamics CRM provides a standard web-based interface for most mobile devices, as well as specific applications for various platforms including Windows-based tablets, iPads, and Android tablets. With these apps, you can also take a limited sub-set of cached data offline, as well have the ability to create new records and synchronize them back to CRM next time you go online. The quality of these mobile offerings has increased exponentially over the last few versions, and new features are being added with each new release.
In addition, third-party providers have also built mobile solutions for Dynamics CRM. A quick search in the application markets for each platform will reveal several options for each platform.
Dynamics CRM Online is hosted at various locations in the world. Preview organizations can be created in all available locations, but features are sometimes rolled out on a schedule, in some locations faster than others.
The format of the Dynamics CRM Online Organization URL describes the data center location. As such, the standard format is as follows:
https://OrganizationName.crm[x].dynamics.com
The OrganizationName is the name you have selected for your online organization. This is customizable and is validated for uniqueness within the respective data center.
[x] represents a number. As of this writing, this number can be anywhere between 2, 4, 5, 6, 7, 9, or no number at all. This describes the global data center used to host your organization. The following table maps the data center to the URL format:
|
URLformat: crm[x].dynamics.com |
Global data centre location |
|---|---|
|
NAM | |
|
SAM | |
|
EMEA | |
|
APAC | |
|
OCE | |
|
JPN | |
|
GCC |
Out of these global locations, usually the following get a preview and the new features first:
|
Organization |
Global location |
|---|---|
|
North America | |
|
Europe, the Middle East, and Africa | |
|
Asia-Pacific |
New data centers are being added on a regular basis. At the time of writing, new data centers are being added in Europe and Canada, with others to follow as needed.
Some of the drivers behind adding these new data centers revolve around not only performance improvements, as a data center located closer to a customer will provide theoretically better performance, but also a need for privacy and localization of data. Strict legislation around data residency has a great impact on the selection of the deployment model by customers who are bound to store all data local to the country of operation.
In total, by the end of 2016, the plan is to have Dynamics CRM Online available in 105 markets. These markets (countries) will be served by data centers spread across five generic global regions.
These data centers share services between Dynamics CRM Online and other services such as Azure and Office 365.
Choosing one of the available hosting models for Dynamics CRM is now not only a matter of preference. The decision can be driven by multiple factors.
During the last few years, there has been a huge push for the cloud. Microsoft has been very focused on enhancing their Online offering, and has continued to push more functionality and more resources in supporting the cloud model. As such, Dynamics CRM Online has become a force to reckon with. It is hosted on a very modern and high performing infrastructure. Microsoft has pushed literally billions of dollars into new data centers and infrastructure. This allows new customers to forego the necessary expenses on infrastructure associated with an on-premise deployment.
Along with investments on infrastructure, the Service Level Agreement (SLA) offered by Dynamics CRM Online is financially backed by Microsoft. Depending on the service selected, the uptime is guaranteed and backed financially. Application and infrastructure are automatically handled by Microsoft so you don't have to. This translates into much lower upfront costs, as well as reduced costs around ongoing maintenance and upgrades.
The Dynamics CRM Online offering is also compliant with various regulatory requirements, and is backed and verified through various third-party tests. Various rules, regulations, and policies in various locales are validated and certified by various organizations. Some of the various compliance policies evaluated include but are not limited to:
Data Privacy and Confidentiality Policies
Data Classification
Information Security
Privacy
Data Stewardship
Secure Infrastructure
Identity and Access Control
All these compliance requirements are in conformance with regulations stipulated by the International Standard Organization and other international and local standards. Independent auditors validate standards compliance rules. Microsoft is ISO 27001 certified.
The Microsoft Trust Center website located at http://www.microsoft.com/en-us/trustcenter/CloudServices/Dynamics provides additional information on compliance, responsibilities, and warranties.
Further to the aforementioned benefits, choosing cloud over a standard on-premise deployment offers other advantages around scalability, faster time to market, and higher value proposition.
In addition to the standard benefits of an online deployment, one other great advantage is the ability to spin-up a 30-day trial instance of Dynamics CRM Online and convert it to a paid instance only when ready to go to production. This allows customizers and companies to get started and customize their solution in a free environment, with no additional costs attached. The 30-day trial instance gives us a 25-license instance, which allows us to not only customize the organization, but also test various roles and restrictions.
First and foremost, in order to follow through with the information presented in this book, you will need an instance of Dynamics CRM Online. The following sections will describe in detail how to obtain a 30-day trial instance.
In addition, in order to subscribe to a 30-day trial, you will need a Microsoft account (formerly called Live account). You can obtain one by going to https://signup.live.com/.
The Create an account page presents you with a signup form. In the User name area, make sure to click on the Get a new email address link to have a new address created, as shown in the following screenshot:

At the time of writing, you have a choice to select between www.outlook.com and www.hotmail.com for your newly created e-mail address. The selected username is validated, as it must be unique.
Once your account is created, you are logged into your new account and can see the welcome e-mail. At this point, you can use this account to create your 30-day trial for Dynamics CRM Online.
While this book will provide step-by-step instructions to be followed, it is strongly recommended to have an environment available to supplement the material you will be reading, and to become familiar with the platform. In order to minimize the footprint and to allow everybody to start quickly, I have opted to present all the topics based on a Dynamics CRM Online 30-day trial organization.
In order to open your 30-day trial of Microsoft Dynamics CRM Online, you will need to go through a wizard-driven process.
First of all, navigate to http://go.microsoft.com/fwlink/?LinkId=252780
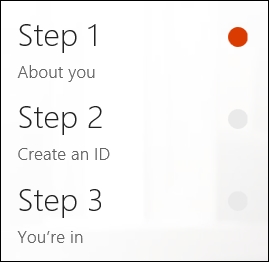
You are presented with a three-step wizard process that allows you, in a very simple manner, to sign up and provision a brand new organization.
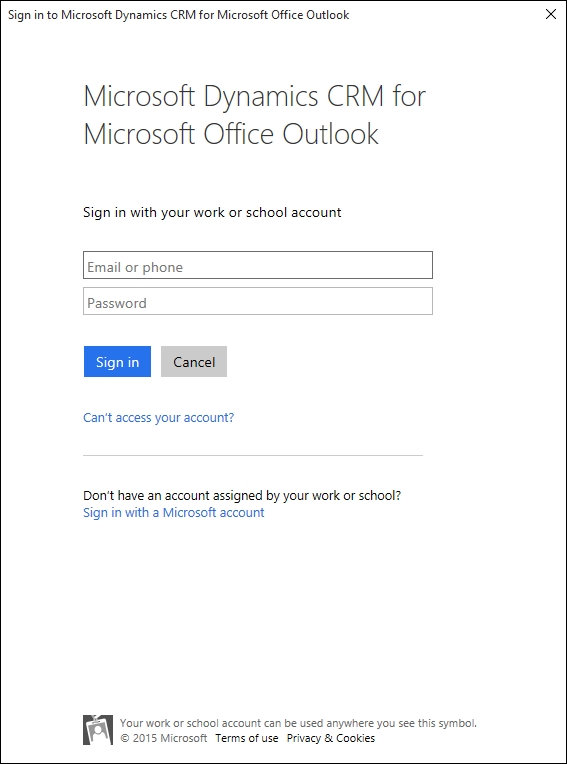
At the top-right side of the page, you will find an option to add this to an existing subscription. If you start by creating your Office 365 subscription first, you can proceed here to add Dynamics CRM Online to your existing subscription. Follow the Sign in link to authenticate to your existing Office 365 subscription, as seen in the following screenshot:

Because we are creating our Dynamics CRM Online organization first, we will ignore this option and move on to filling in the required form fields. The first option you need to select is the Country. Pay close attention to the note underneath, this is one of the options that cannot be changed afterwards.
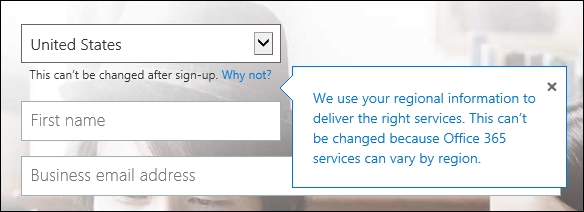
As stated in the description, this selection defines the region and implicitly the data center used for hosting your organization.
Fill in the rest of the information on the form and click on Next when ready.
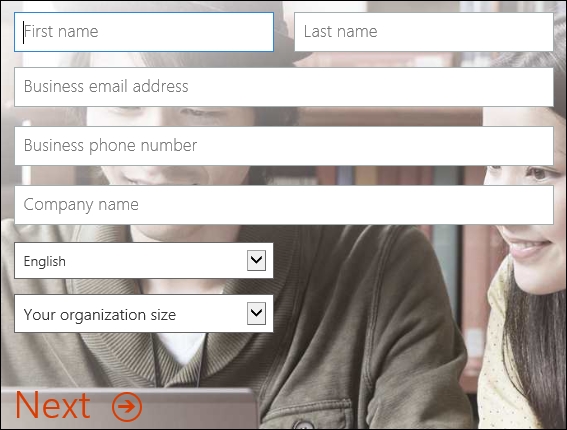
Note
Company name on this form does not define the organization URL, you will be prompted for this information in the following step.
Step two of the wizard collects information about the username and organization URL you want to use. It also collects your initial password. Enter the desired username, organization name, and password, as seen in the following screenshot:
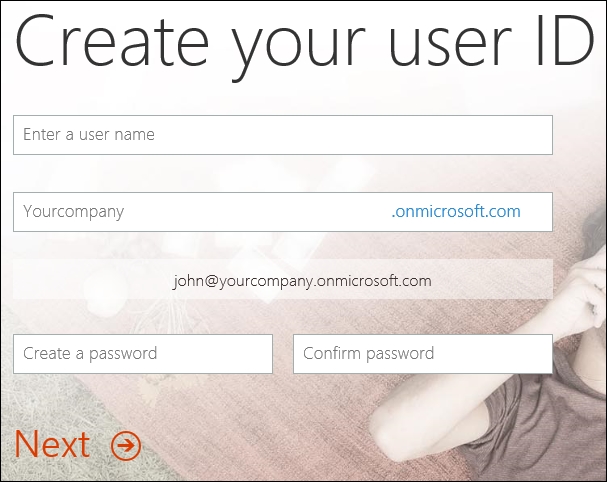
Click on Next once you are done filling in this section.
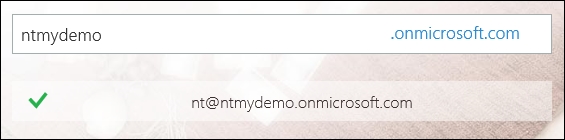
When defining the organization name for the URL, validation is performed to make sure this URL is unique. If the URL is not unique, you will be asked to provide a different organization name. Select a name that is not as common, until you find a unique one. The following screenshot shows the validation message you will receive if a non-unique value is entered.
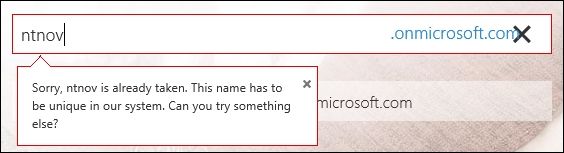
Once a unique organization name is selected, your login user name is presented with a green check mark, as seen in the following screenshot:
Moving on to the last step of the wizard, you are asked to provide a phone number for verification. You will receive a text message with a code to be used to continue the signup process. Alternatively, you could select the Call me option and wait for a representative to validate your signup process. The selection screen looks like this:

The next screen requires you to enter the code provided by text message. Make sure you provided the correct phone number.

Tip
If you provided the incorrect phone number or did not receive the code by text message, click on Try again to have another code sent to your correct phone number.
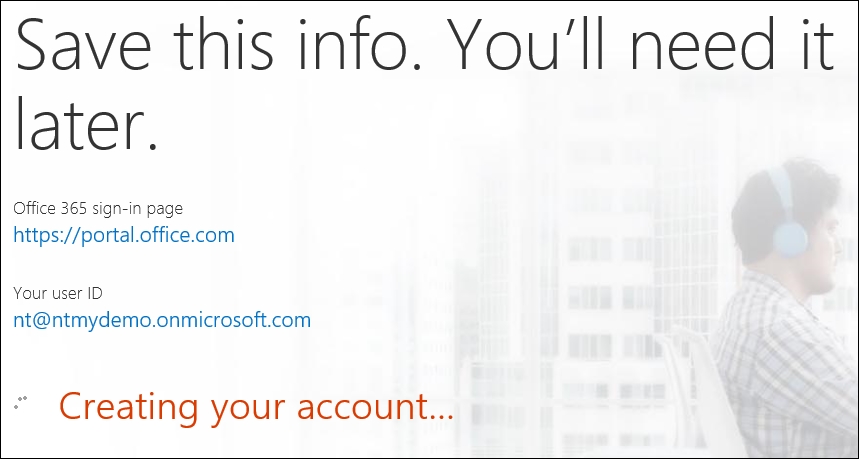
When done, click on Create my account.
The following screen provides you with the user name you have selected, the URL of the Office 365 sign-in portal, and a status message. It's probably a good idea to take a screenshot of this for future reference.
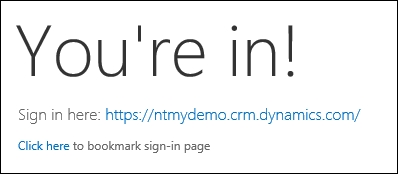
When the process completes, the page is refreshed with the option to bookmark the sign-in page and a ready status message, as seen in the following screenshot:
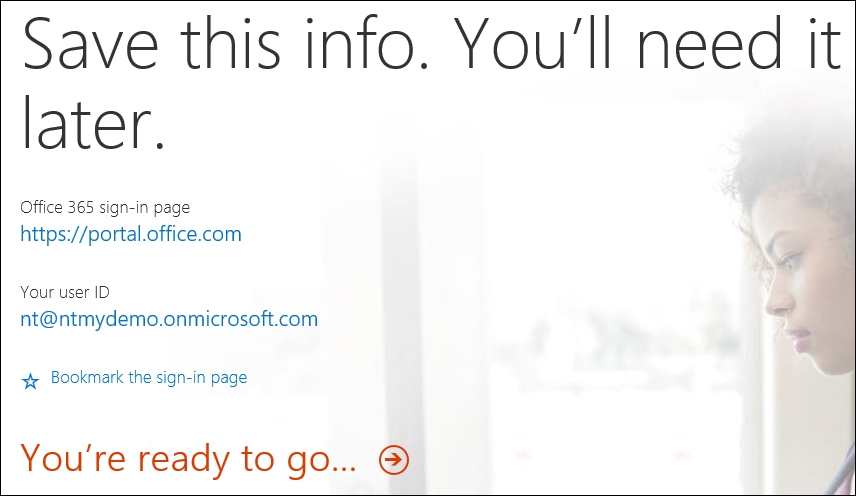
Click on the You're ready to go… link to proceed.
Tip
By the time this book is published, the account and organization created for these screenshots will be long expired.
The next step takes you to the initial preconfiguration of your new organization. There are a few additional details required before you can start playing with your new organization.
This new screen asks for the default Language, Country/Region, and Currency. This information is very important, as it will define the default configuration values for your organization. The currency will become the default currency. While additional currencies can be later added to the organization, the default will always remain the one you selected during this configuration step.
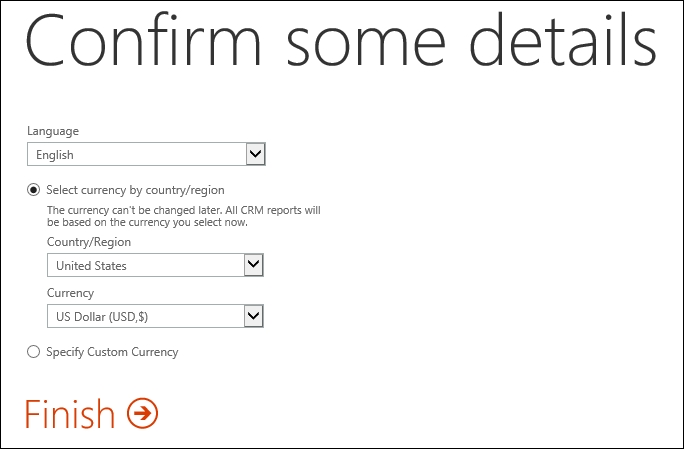
Click on Finish when complete.
The Getting set up… screen is presented while the backend provisions your organization based on the configuration values you have provided.
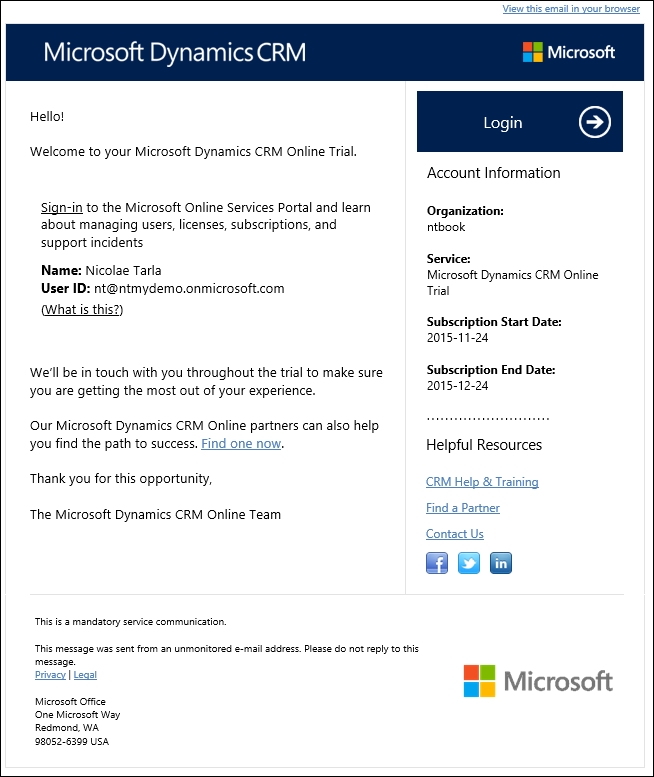
While waiting for this to process, you can turn your attention to your e-mail. You would have received an e-mail from Microsoft Online Services Team giving you details on the organization that is being provisioned for you, your account details and additional information about the service and expiration of the trial period. The e-mail is shown as follows:
Going back to our sign-up page, the process has completed and we are presented with a final page including an option to bookmark the sign-in page in case you haven't done it before, as well as the URL of our newly created organization.
Clicking on the provided link takes you directly to your Dynamics CRM Online instance. On the first load, you are presented with an Explore CRM wizard. If this is your first time seeing Dynamics CRM, it is a good idea to follow through to the provided links and read some more details about this version.
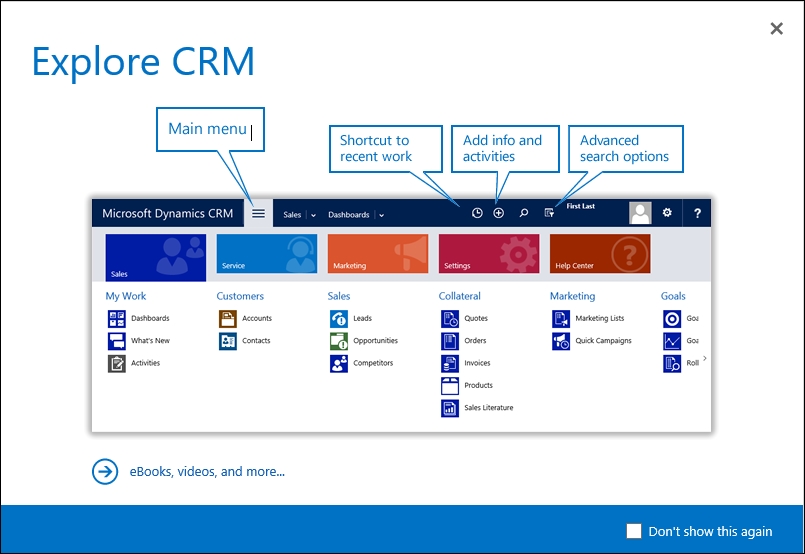
If this is not your first time, then select the Don't show this again check box and close this wizard.
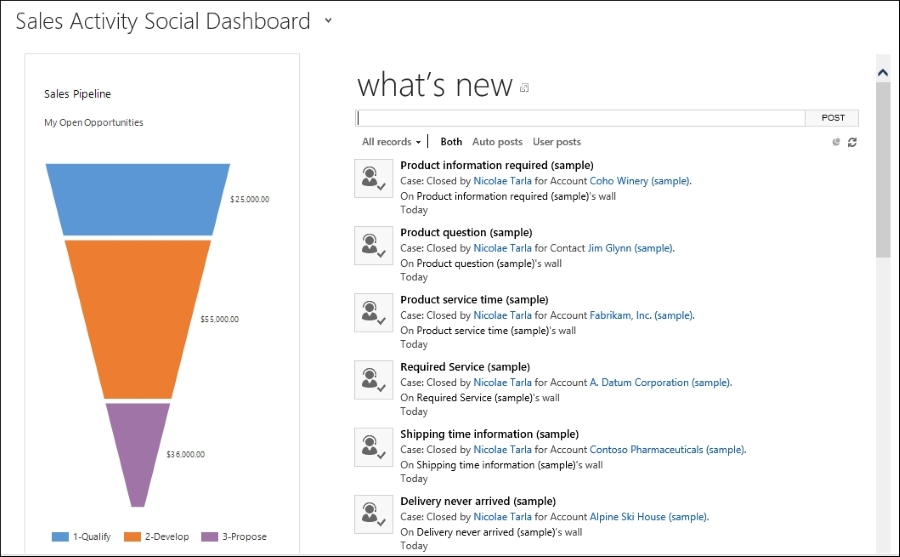
Once you go past the initial wizard, you are dropped onto the starting dashboard of the application. By default, Sales Activity Social Dashboard is presented as a starting place into your new organization:
You will observe a yellow bar towards the top of the page, which offers additional configuration options. We will be looking at these later in this chapter, but do not close this bar just yet.
And with this, now we have a functional Dynamics CRM Online organization created.
But let's look at another way to get to it. Whether we've forgotten the default URL, or we need to access other features and account management options, we need to log in to the Office 365 admin center portal for the instance we are managing. The URL for this is https://portal.office.com/.
Log in using the previously created account and password. Once in, you will be presented with an administration console. A detailed look at additional configuration options for the Office 365 instance will be provided in Chapter 6, Dynamics CRM Administration.
For now, let's navigate to Admin | CRM
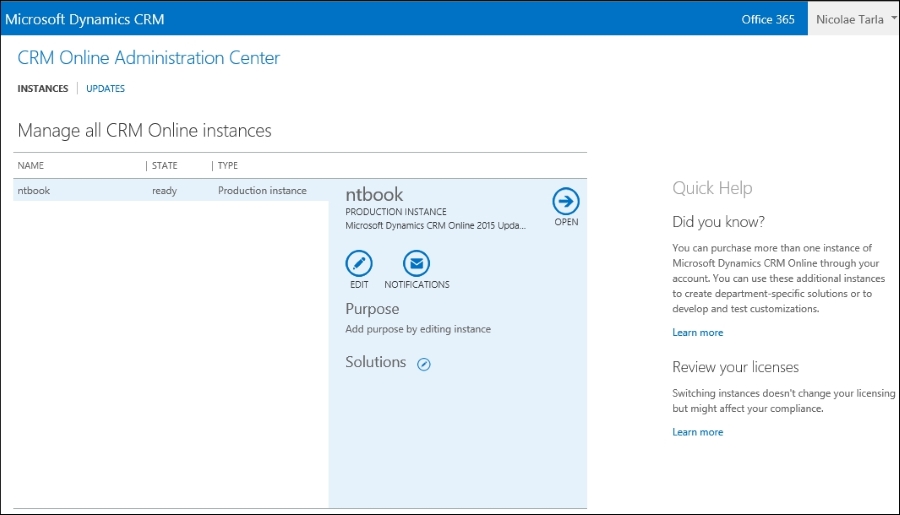
This opens up the CRM Online Administration Center. Here, you will find your current trial organization. If it is a paid subscription, you will get the opportunity to manage multiple paid production instances, as well as various nonproduction instances.
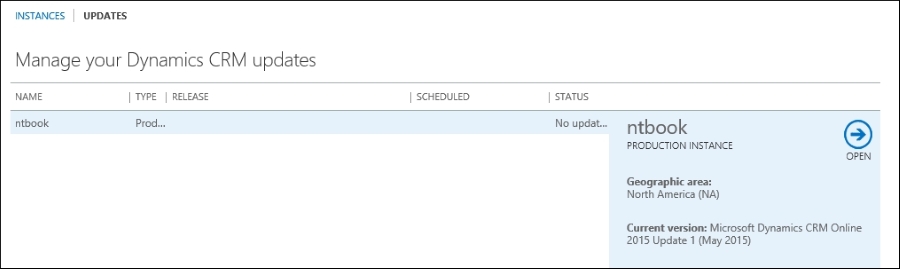
All the way at the top, you can change the view from a listing of instances for management to a listing of instances and available updates, if any. Since we've just created our instance, we will not have an option for updates, but in the following screen we can determine the current organization version:
Back on the instances screen, we have the option to edit our instance properties. Selecting this option takes us to a form that allows us to change the name and URL of our organization, as well as provide a detailed message on the purpose of this organization. We can also change the instance type, from a production instance to a sandbox instance.
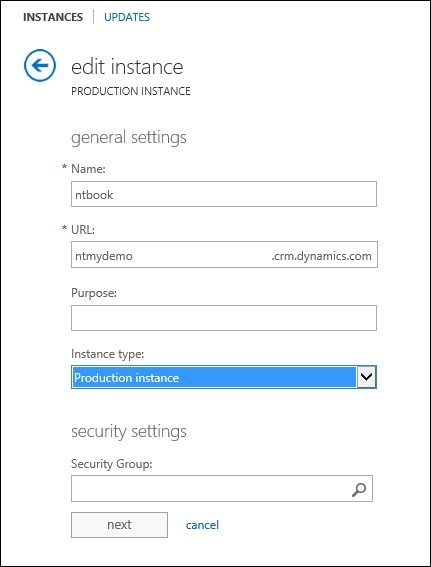
A sandbox instance is more of a nomenclature change. The former free and paid test instances have been unified under the name of sandbox instances. Visually, the sandbox instances will have the standard navigation bar background color changed to orange.
No functional changes are made to a sandbox instance. They offer the same functionality as a production instance. One very important aspect of sandbox instances is the fact that, while functionality is maintained on par with production instances, the database is completely isolated from production. A sandbox instance can contain a full set or a sub-set of production data, users, and customizations. From a support point of view, the same level of resource and support are provided to both production and sandbox instances.
As such, sandbox instances can be used for development, QA, and UAT environments.
The Security Groups option on this page can be used to restrict which Office 365 users can be added to your organization. If no option is specified here, all users in your Office 365 organization with a Dynamics CRM license associated will be added to your Dynamics CRM Online instance.
Managing instances is a set of features that allow an administrator to perform various operations on the Dynamics CRM Online instances managed through this portal. You can always turn a production instance into a sandbox instance, since no license changes are required to perform this action. On the other hand, you can only turn a sandbox instance into a production instance if you have an available production license.
Further down on the CRM Online Administration Center, you have an option to add various solutions to your current instance. Clicking on the solutions link takes you to the Manage your solutions page. Here, you can select from the available solutions. At the time of this writing, three solutions are made available with your 30-day trial organization. As seen in the following screenshot, they are:
Insights for Microsoft Dynamics CRM
FieldOne Sky
Office 365 Groups Preview
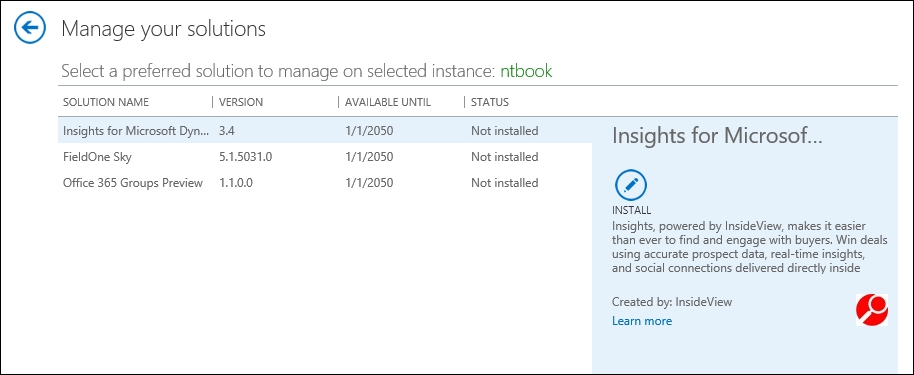
Select the solution that you are interested in installing and click on the Install button. Once installed, you can go ahead and configure it into your organization.
More solutions will be provided as add-ons in this manner in the future. The platform allows for great modularity and provides an extensive solution model that allows new solutions to be made available in this manner.
When done installing the additional solutions, navigate back to the listing of organizations available.
On Manage all CRM Online instances, select the instance in the list and click on Open. This will take you to the same organization you were able to access directly from the URL provided during the initial trial wizard.
The Outlook connector's configuration will be covered in the next section of this chapter, while the SharePoint integration configuration and the Office Groups setup and other features will be covered in detail in a later chapter.
The trial instance of Dynamics CRM Online comes preloaded with some sample data. This makes it easy for a first-time user to see some of the visual representations on the dashboards, as well as giving a new user the opportunity to track some of the data relationships and see, on certain records, how related data is presented.
In the next few chapters, we will start investigating all the available features of the Dynamics CRM platform.
While not necessarily a requirement of this book, Dynamics CRM Online and On-Premise can integrate with Microsoft Outlook in order to provide the user with an interface already familiar to them.
Once you have your new instance of Dynamics CRM Online up and running, you can go ahead and install the Outlook client. This client is available either directly from the web interface of Dynamics CRM, presented as an option for download, or it can be downloaded from http://www.microsoft.com/en-us/dynamics/crm-customer-center/set-up-crm-for-outlook.aspx.

You can either download the file locally, or run it directly.
Tip
Microsoft presents you with the option to download two files for the Outlook client. Make sure you select the one that matches the version of Office you have installed. For 32-bit Office, select CRM2016-Client-ENU-i386.exe, while for 64-bit versions of Office, select CRM2016-Client-ENU-amd64.exe.
Note
The following are requirements for Dynamics CRM for Outlook installation:
Must be logged in as a user with local administrator privileges
Must be on a machine with Windows Vista SP2 or newer
Must have Office 2007 or newer installed
Must have Internet Explorer 9 or newer
The following are minimum system requirements for Dynamics CRM for Outlook:
Processor—x86 or x64 and 1.9GHz or faster dual core with SSE2 (most modern processors qualify)
Memory—minimum 2 GB RAM for online only, 4 GB RAM for support of offline capabilities
Hard Disk—1.5 GB available disk space, 2 GB for offline mode
Display—SVGA minimum resolution of 1024x768
Once the file is executed, all necessary components are extracted, and you are guided through a wizard-based installation. Do make sure your Outlook application is closed, otherwise you will be prompted to close it for the installation to proceed.
If you are running the wrong version of the installer, the installation process checks and prompts you about the version mismatch, as shown in the following screenshot.
Once the install process starts, you are guided through a few screens, starting with the setup preparation.
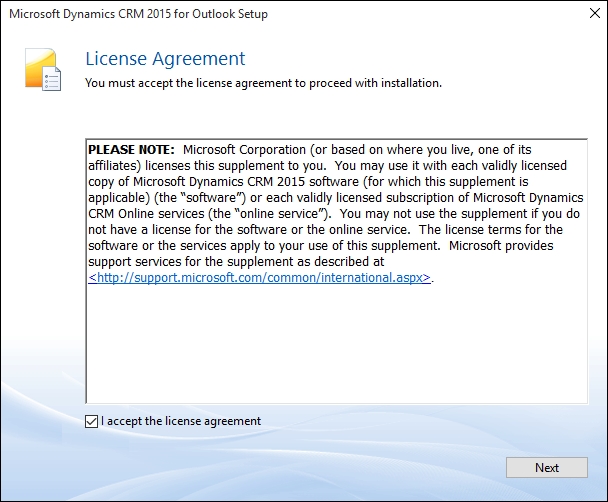
In the next step, you are prompted to accept the License Agreement. Tick the check box and click on Next.
Once the acceptance is completed, we are presented with a screen in which we can directly start the installation process, or modify the installation options. Choosing to modify the default option presents a new screen where we can define whether we want to install the Dynamics CRM for Outlook with offline support or not. For the purpose of a 30-day trial, unless there is a specific need for offline support, we can leave this option unselected.
The second configuration option presented on this screen is the location where we want the files installed. We can also leave the default selection in place.
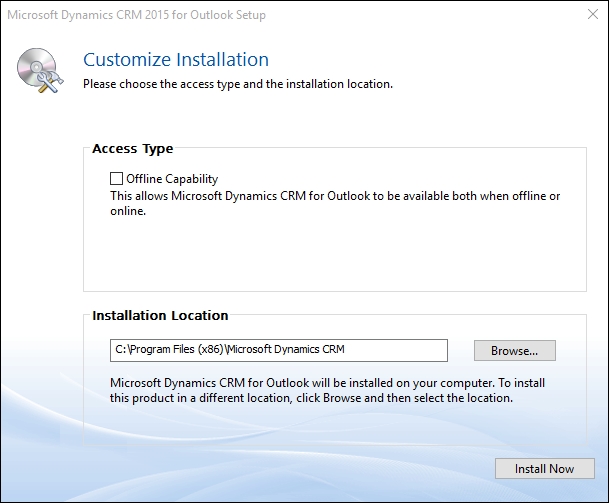
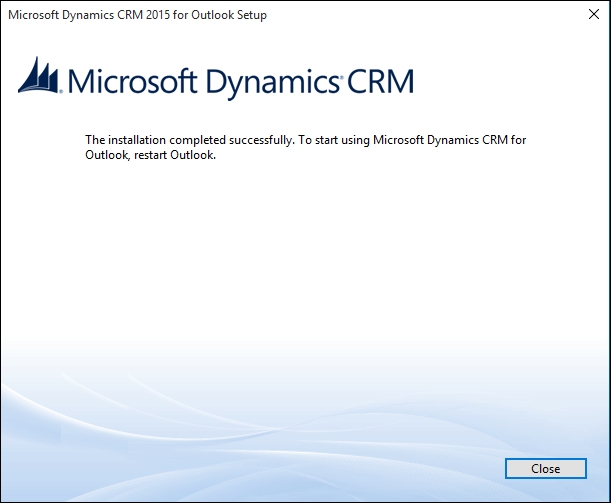
Next, let's click on Install Now and get started on the installation process. From here on out, the installation wizard proceeds to completion with no more questions or interruptions. On completion, click on Close.
At this point, we have Microsoft Dynamics CRM for Outlook installed, and we are ready to start Outlook and configure our client to connect to our trial instance. Once we launch Outlook, we are prompted to configure the newly installed plugin. As the following screenshot shows, we have to provide the login details for our online instance:
If you have forgotten your selected user name, retrieve it from the confirmation e-mail you received from Microsoft when creating your free 30-day trial.
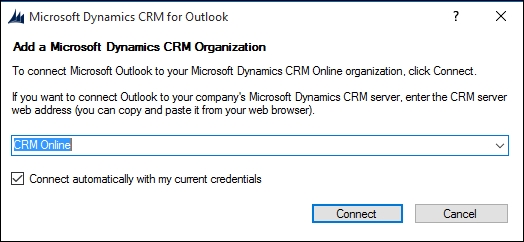
Once authenticated, you are defaulted to CRM Online. When done, make sure that the Connect automatically with my current credentials check box is selected, and click on the Connect button, as shown in the following screenshot:
This completes the configuration of the Dynamics CRM for Outlook plugin, and you are presented with a final view of all configured connections. In here, you will see your currently configured connection, possibly along with other connections configured previously. You can also get to this window post-installation by relaunching the configuration wizard. Close this window.
Now, your Outlook is connected to your instance of Dynamics CRM. You can navigate to your Dynamics CRM environment the same way you navigate within Outlook to any other e-mail already configured. Your new Dynamics CRM environment shows in the listing of e-mails, the same as a new mailbox. Expanding this list gives us access to all the sections and entities from our CRM environment.
One of the setup steps available with an Office 365 instance is the ability to configure a domain name associated with the instance. While you can continue working with Dynamics CRM Online without setting up a domain, it is a good idea to do it now. With the domain setup, you have one less configuration step to perform before turning your trial into a production instance.
If you want to proceed to setting up a domain, you can either use an existing domain you own, or you can purchase a domain from various registrars. For the purpose of this book, I have purchased a .info domain from GoDaddy at https://godaddy.com/.
You access the Office 365 admin center by navigating to https://portal.office.com/.
You will be prompted to log in. Use the previously created account, which will get you to the main admin center console.
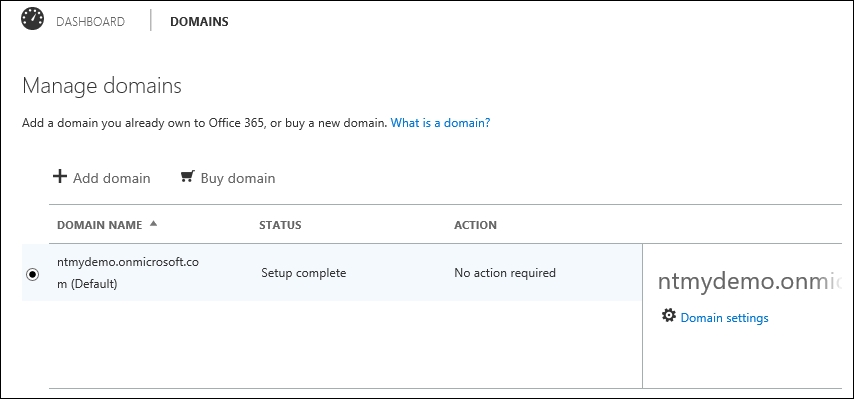
Navigate on the left navigation area and click on DOMAINS. This will get you to the Manage domains page.
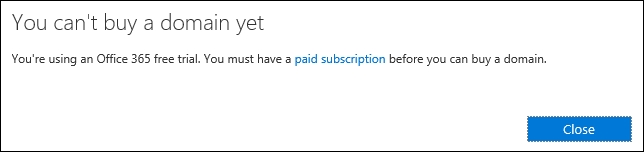
Here, you have the option to purchase a domain if you haven't already done so, or just to add a new domain. Unfortunately, you can't purchase a new domain using the Buy domain unless you have a paid subscription. For the purpose of this trial, I am assuming you have already purchased a domain, and you are just configuring it.
Go to Add domain. This takes you to the first page of the domain configuration wizard. This first page is informational in nature, describing the purpose of a domain and providing you with a link to an educational video on DNS.
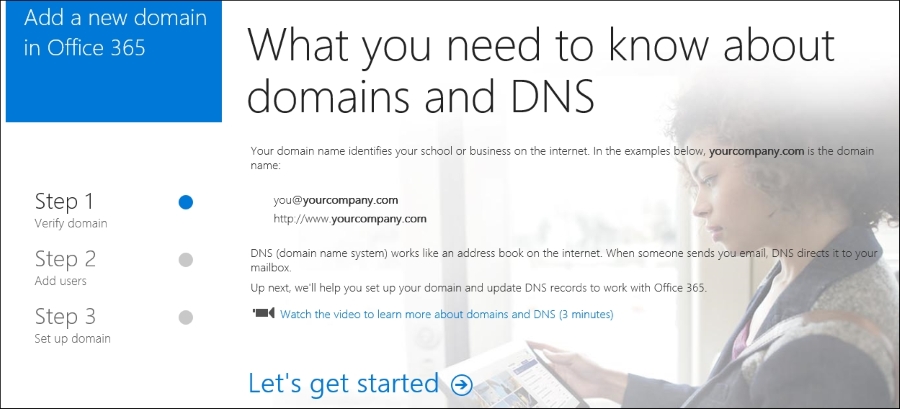
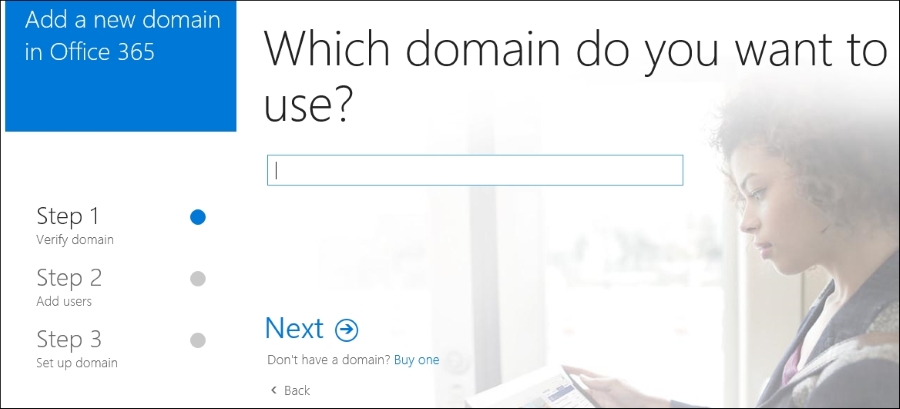
Click on Let's get started to continue. On the next page, enter the domain you have purchased and now own.
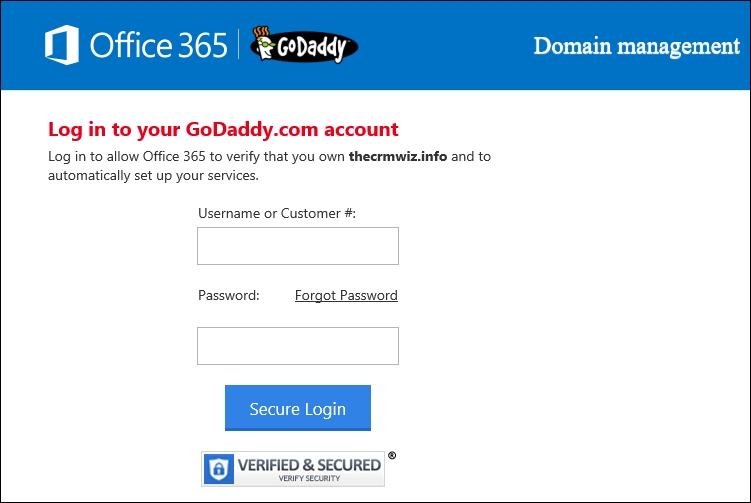
The system recognizes that the registrar is GoDaddy, and the next screen prompts you to log in to the administration console for the domain.
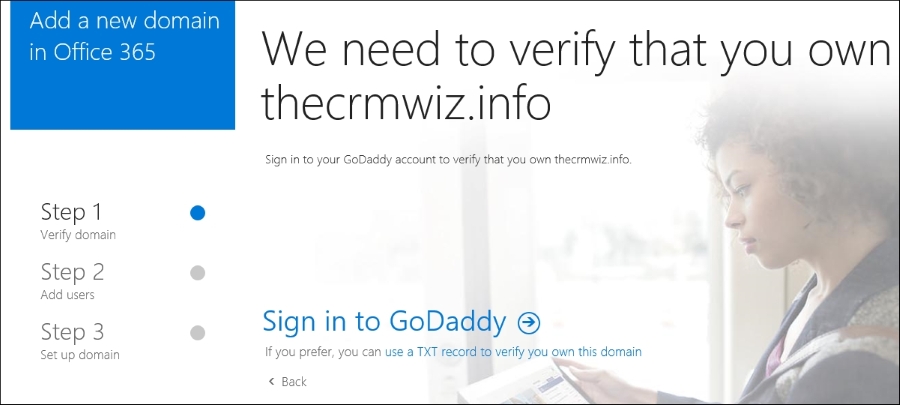
Alternatively, you have the option to use a TXT record to validate that you own the domain. For simplicity, I will click on Sign in to GoDaddy. This brings up the GoDaddy account login page.
Once logged in, confirm that you accept Office 365 to make changes to your domain.
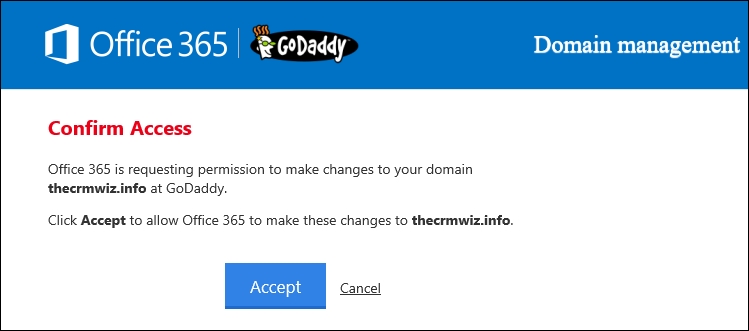
This performs the validation and completes the first step of the wizard.
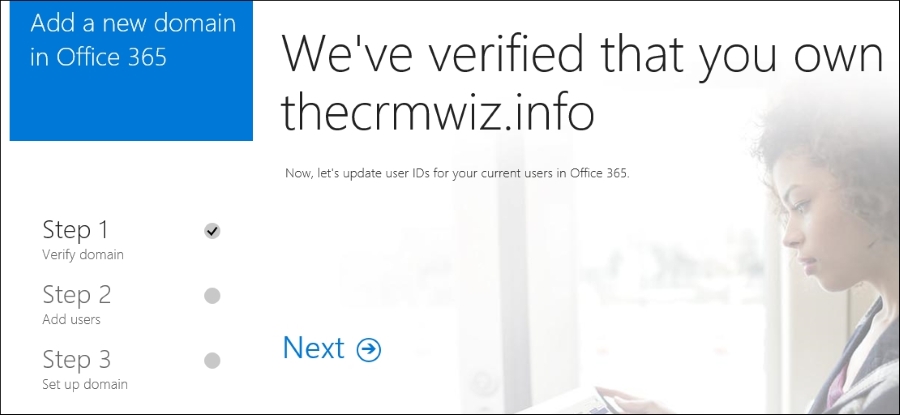
Click on Next to update the user accounts in your instance to use the newly configured domain name. The following screen allows you to select which users should be updated.
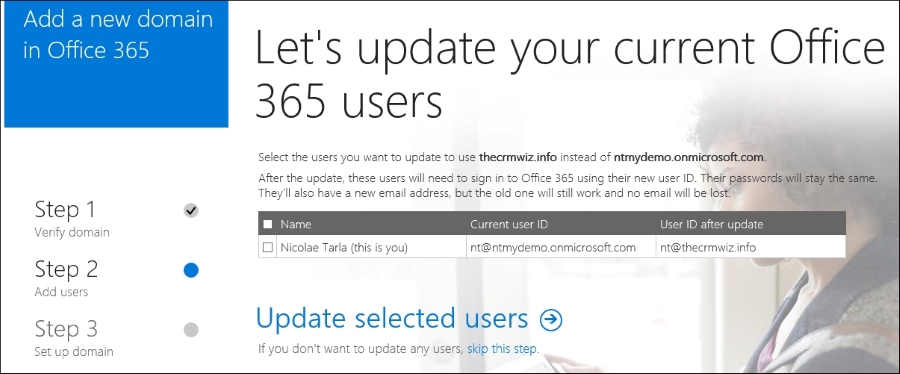
Select the users and click on Update selected users. Once complete, a confirmation screen displays all the updated users.
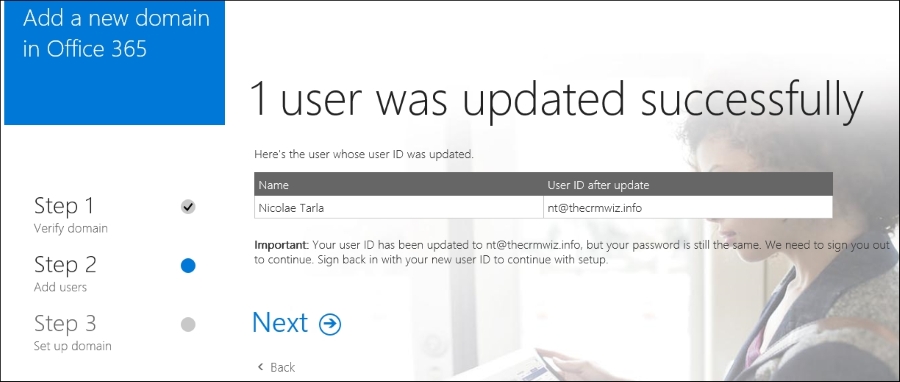
Click on Next to continue. If you have updated the current user you are logged in with, you will be prompted to log out and log back in with the updated username.
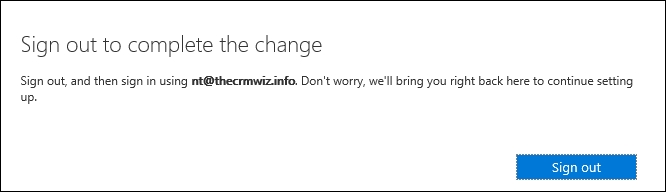
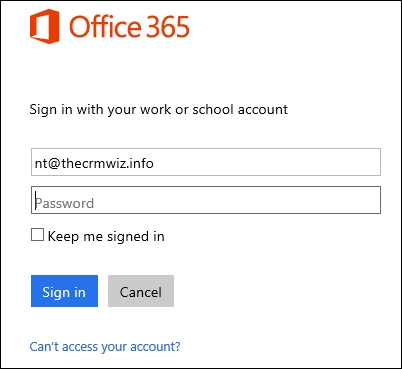
Click on Sign out and you are forwarded back to the login page. Here, enter the new login information and log back into the Office 365 admin center.
Once you log back in, you are given the option to add new users. For the purpose of this demo I will not add any more users right now, but in a standard trial you can have up to 25 users created. It will make sense to start adding new users once you have some customizations in the system and you are ready to present your solution to a customer or stakeholder.
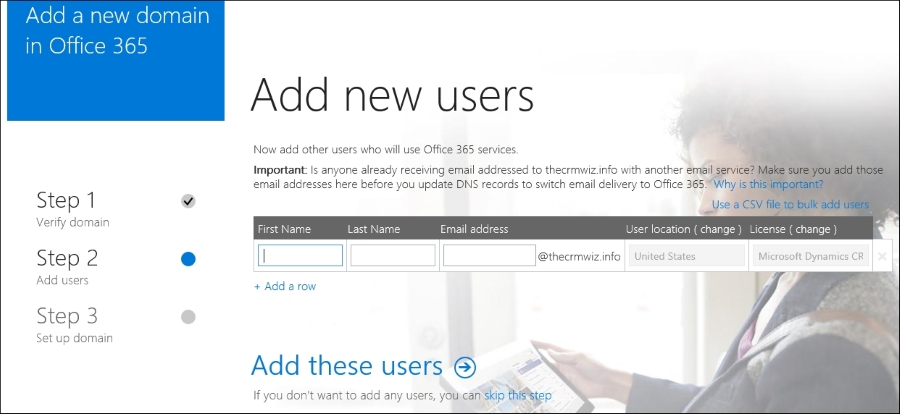
For now, let's click on skip this step. That moves us to the third and last step of the wizard, setting up the domain.
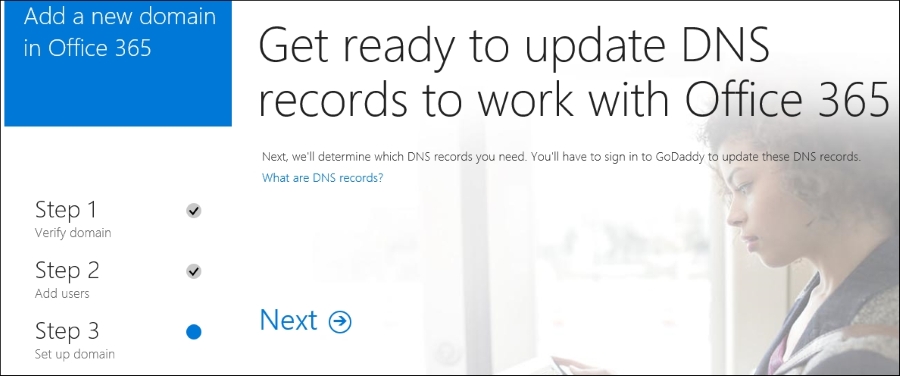
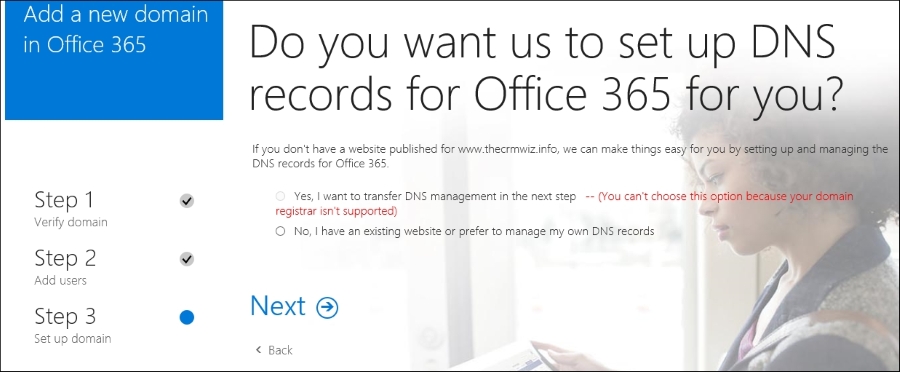
Let's click on Next to start this process. On a supported registrar the changes can be pushed automatically, otherwise you will have to log in to the domain administration and implement the settings provided manually. Not to worry, the process is pretty simple and self-explanatory.
The next step lets you select the services you want configured on your domain for the current Office 365 instance.
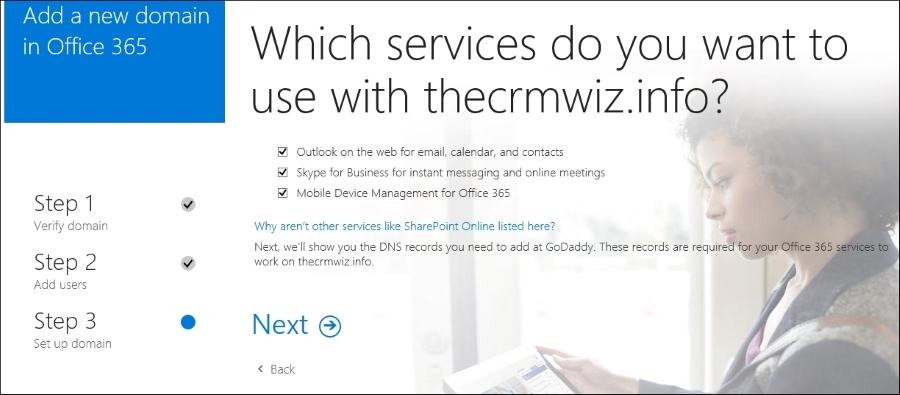
You can choose any one of the available options or all of them. Once you've made your selection, click on Next.
The next page gives us the option to see the necessary changes to be made to your domain configuration. The Add records option automatically configures your domain. Alternatively, you can enter all configuration manually.
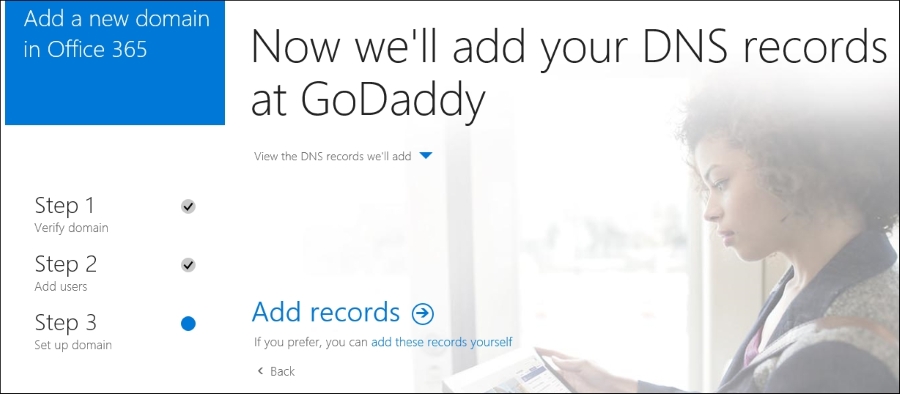
Click on View the DNS records we'll add to see details about the changes that will be configured on your domain.
Click on Add records to continue. You are again prompted to log in to your domain registrar for the changes to be pushed.
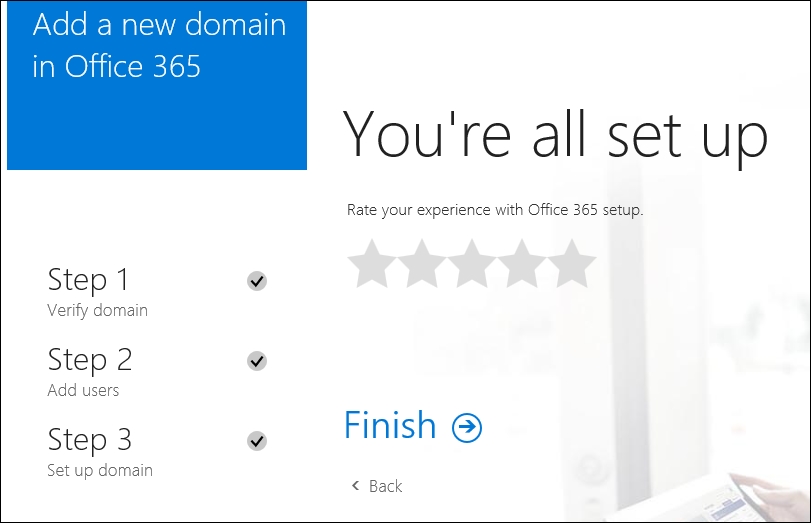
The final screen shows the completed status and provides you with an option to rate the experience.
Click on Finish to complete. This returns you to the Manage domains page in the Office 365 admin center and displays the original domain as well as the newly configured domain name.
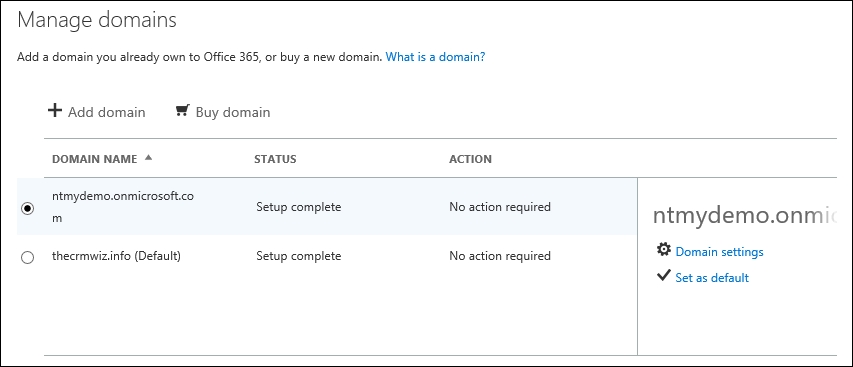
The newly added domain is marked as the default domain.
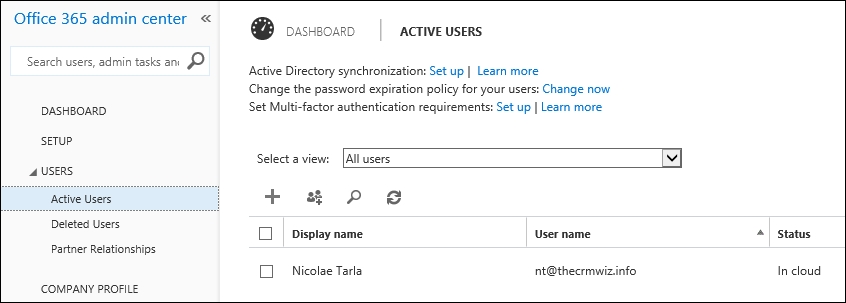
You can also navigate to USERS | Active users on the left navigation and make sure that your configured users are all using the newly configured domain name.
And this completes the domain configuration steps necessary for your Office 365 instance. Next, we'll be looking at adding additional trial services to your existing instance.
Office 365 is offered in a variety of flavors, each including a different set of services. One of the common tiers offered as a trial is the E3. It includes services such as the Office suite, e-mail, document and file management, conferencing and Skype, team sites, Yammer, and so on. For additional details on what is included in Office 365 E3, see the following page:
https://products.office.com/en-us/business/office-365-enterprise-e3-business-software
From your existing Office 365 instance where you created your Dynamics CRM Online trial, you can add this additional trial service. Start by navigating on the left navigation area to BILLING | Subscriptions.
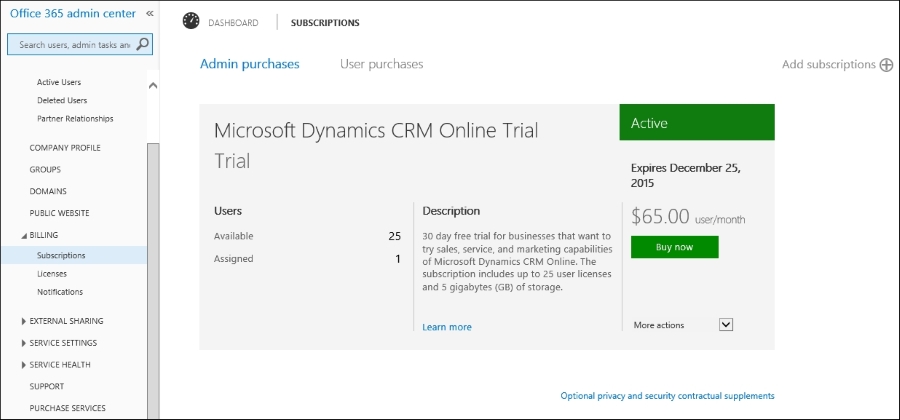
Select Add subscription on the top-right side of the screen. You are now presented with a listing of available subscriptions you can add to your existing instance. Scroll until you find the Enterprise Suite area and find Office 365 Enterprise E3.
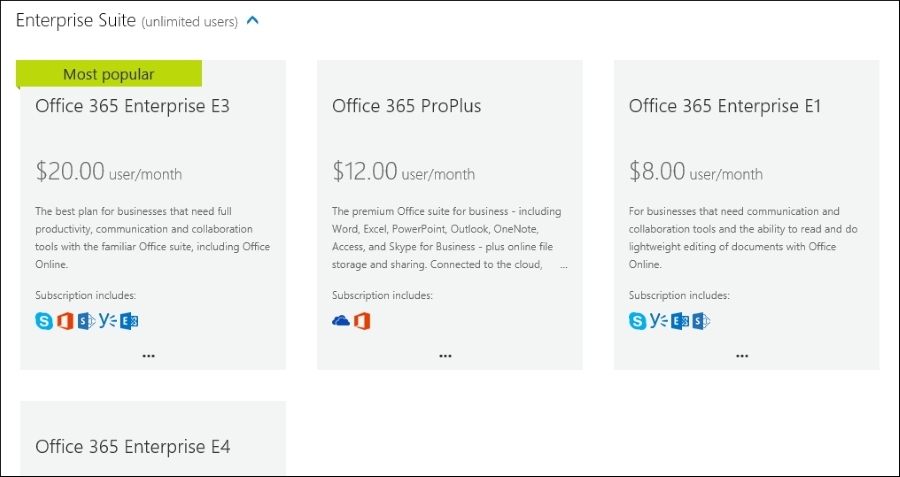
Hover over the ellipsis (…) at the bottom of the subscription, and from the popup, select Start free trial.

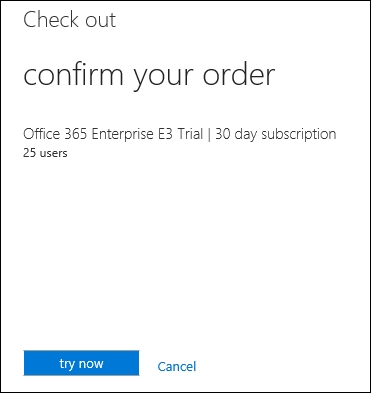
The Check out page confirms your selection. Click on the try now button.
A confirmation number and the option to print a receipt is presented. Click on the continue button.

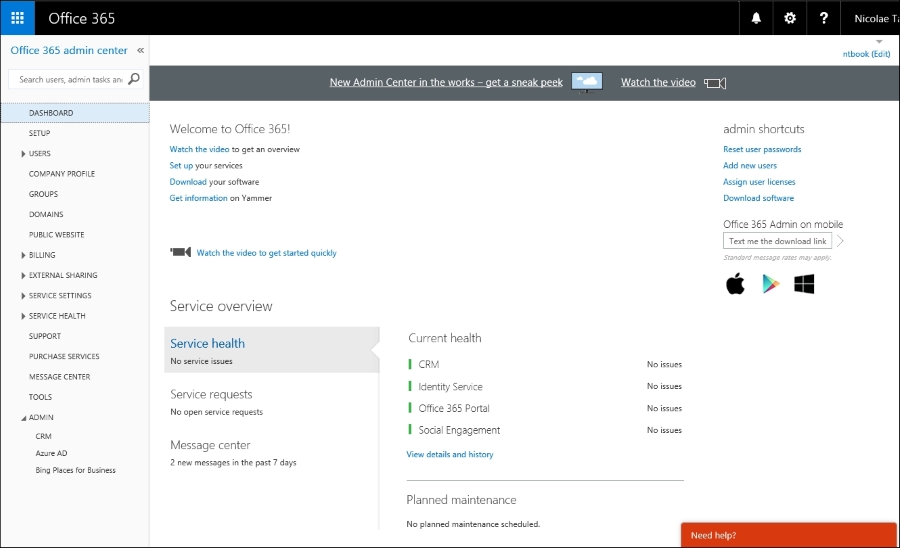
With that last step completed, all the additional services associated with the Office 365 Enterprise E3 services are now enabled and associated to your existing instance. To confirm, look at the landing page on your Office 365 admin center. In the Current health area, you will see a listing of all services now active on this instance, as shown in the following screenshot:

Now, we can configure all the integrations available. We will look at those tasks in some of the future chapters.
Throughout this chapter, we looked at how to create our new free trial environment for Dynamics CRM using Microsoft Dynamics CRM Online. In addition, we walked through configuring Outlook to integrate with our Dynamics CRM Online instance.
You also learned how to add to our current Dynamics CRM Online trial a trial of Office 365 Enterprise E3. This allows us to configure additional services and integration points.
The next chapter will delve into the application structure. We will look at the standard modules included with the platform, the elements available for customization and their relationship to each module and each other. We will also look at the updated navigation model used in Dynamics CRM Online, and how we can extend and modify it.