Search icon CANCEL
Subscription
0
Cart icon
Your Cart (0 item)
Close icon
You have no products in your basket yet
Arrow left icon
Explore Products
Best Sellers
New Releases
Books
Events
Videos
Audiobooks
Packt Hub
Free Learning
Arrow right icon
timer SALE ENDS IN
0 Days
:
00 Hours
:
00 Minutes
:
00 Seconds
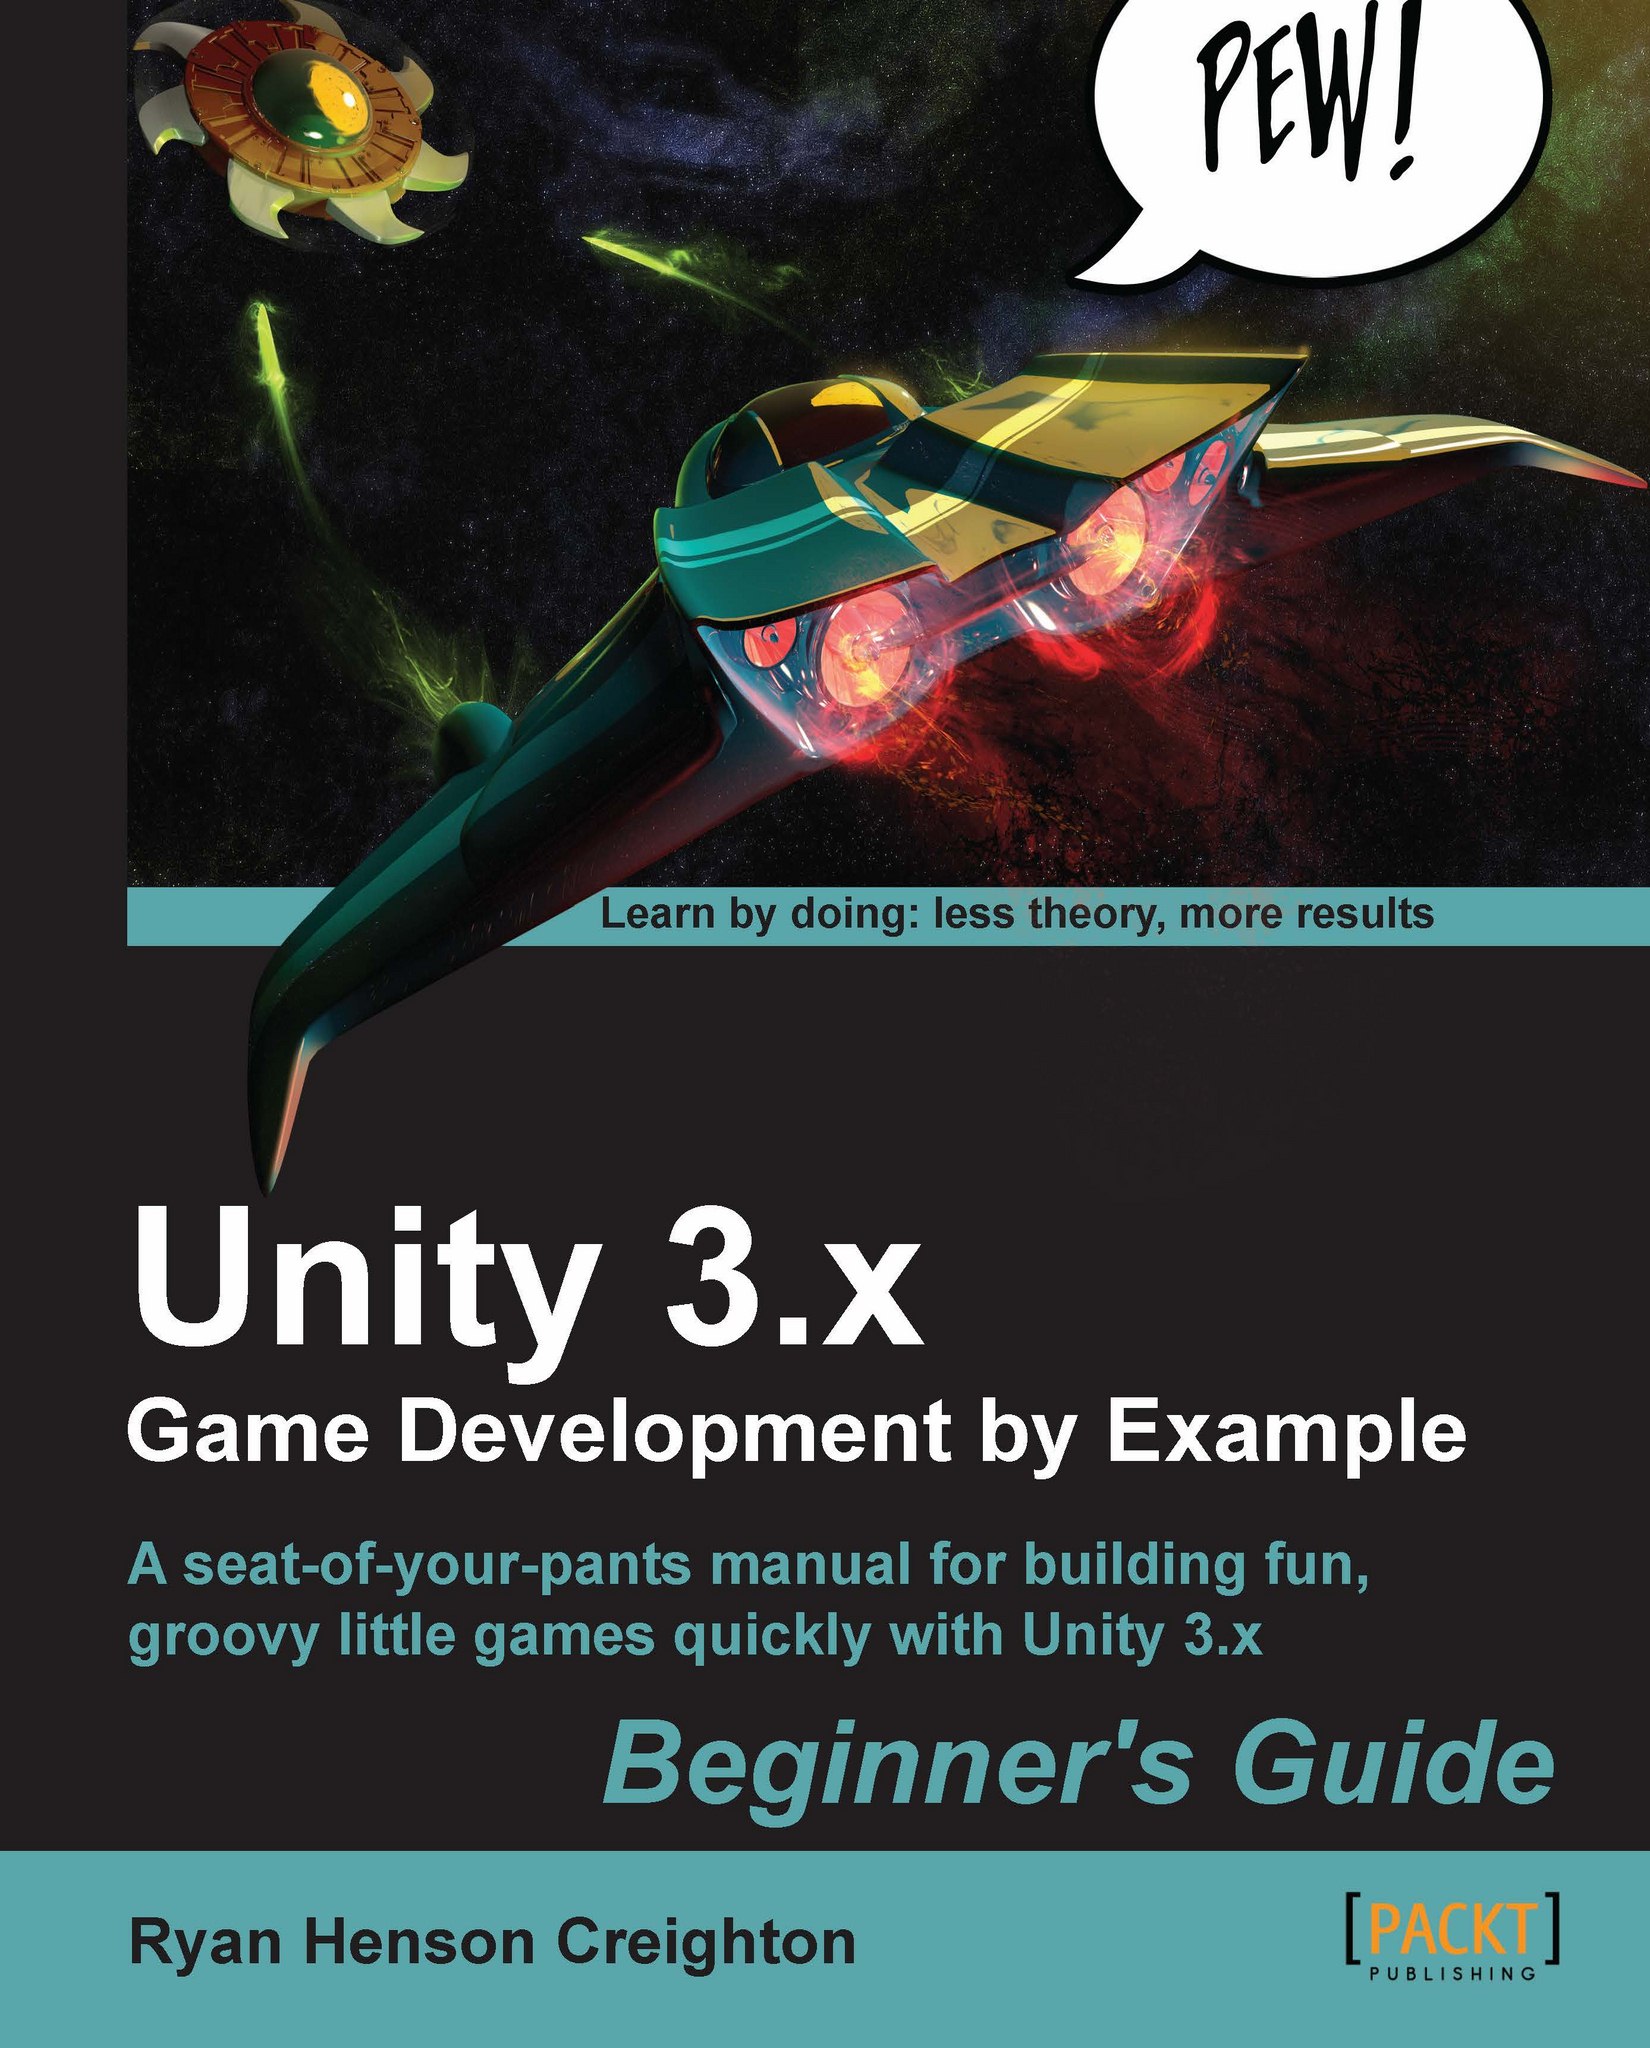
Unity 3.x Game Development by Example Beginner's Guide

Unity 3.x Game Development by Example Beginner's Guide: A seat-of-your-pants manual for building fun, groovy little games quickly with Unity 3.x

Arrow left icon
Profile Icon Ryan Henson Creighton
Arrow right icon
$50.99
Full star icon Full star icon Full star icon Half star icon Empty star icon 3.8 (13 Ratings)
Paperback Sep 2011 408 pages 1st Edition
eBook
$26.99 $29.99
Paperback
$50.99
Arrow left icon
Profile Icon Ryan Henson Creighton
Arrow right icon
$50.99
Full star icon Full star icon Full star icon Half star icon Empty star icon 3.8 (13 Ratings)
Paperback Sep 2011 408 pages 1st Edition
eBook
$26.99 $29.99
Paperback
$50.99
eBook
$26.99 $29.99
Paperback
$50.99

What do you get with Print?

Product feature icon Instant access to your digital copy whilst your Print order is Shipped
Product feature icon Paperback book shipped to your preferred address
Product feature icon Redeem a companion digital copy on all Print orders
Product feature icon Access this title in our online reader with advanced features
Product feature icon DRM FREE - Read whenever, wherever and however you want
Modal Close icon
Payment Processing...
tick Completed

Shipping Address

Billing Address

Shipping Methods
Table of content icon View table of contents Preview book icon Preview Book

Unity 3.x Game Development by Example Beginner's Guide

Chapter 1. That's One Fancy Hammer!

Technology is a tool. It helps us accomplish amazing things, hopefully more quickly, more easily, and more amazingly if we hadn't used the tool. Before we had newfangled steam-powered hammering machines, we had hammers. And before we had hammers, we had the painful process of smacking a nail into a board with our bare hands. Technology is all about making our lives better, easier, and less painful.

Introducing Unity 3D

Unity 3D is a relatively new piece of technology that strives to make life better and easier for game developers. Unity is a game engine or a game authoring tool that enables creative folk like you to build video games.

By using Unity, you can build video games more quickly and easily than ever before. In the past, building games required an enormous stack of punch cards, a computer that filled a whole room, and a burnt sacrificial offering to an ancient God named Fortran. Today, instead of spanking nails into boards with your palm, you have Unity. Consider it your hammer—a new piece of technology for your creative tool belt.

Unity takes over the world

Throughout this book, we'll be distilling our game development dreams down to small, bite-sized nuggets instead of launching into any sweepingly epic open-world games. The idea here is to focus on something you can actually finish instead of getting bogged down in an impossibly ambitious opus. This book will teach you to build four games, each of which focus on a small, simple gameplay mechanic. You'll learn how to build discrete pieces of functionality that you can apply to each project, filling the games out to make them complete experiences. When you're finished, you can publish these games on the Web, a Mac, or a PC.

The team behind Unity 3D is constantly working on packages and export options for other platforms. At the time of writing, Unity could additionally create games that can be played on the iPhone, iPod, iPad, Android devices, Xbox Live Arcade, PS3, and Nintendo's WiiWare service. Each of these tools is add-on functionality to the core Unity package, and comes at an additional cost. As we're focusing on what we can do without breaking the bank, we'll stick to the core Unity 3D program for the remainder of this book.

With the initial skills that you learn in this book, you'll be able to expand your knowledge and start building more and more complex projects. The key is to start with something you can finish, and then for each new project that you build, to add small pieces of functionality that challenge you and expand your knowledge. Any successful plan for world domination begins by drawing a territorial border in your backyard; consider this book your backyard.

Browser-based 3D? Welcome to the future

One of Unity's most astonishing capabilities is that it can deliver a full 3D game experience right inside your web browser. It does this with the Unity Web Player—a free plugin that embeds and runs Unity content on the Web.

Time for action – Install the Unity Web Player

Before you dive into the world of Unity games, download the Unity Web Player. In much the same way that Flash player runs Flash-created content, the Unity Web Player is a plugin that runs Unity-created content in your web browser.

  1. Go to http://unity3D.com.
  2. Click on the button on the main page to install the Unity Web Player.
    Time for action – Install the Unity Web Player
  3. Follow all of the onscreen prompts until the Web Player has finished installing.
    Time for action – Install the Unity Web Player
  4. The process is only slightly more involved on a Mac. You have to download and run a .dmg file, and then enter your administrator password to install the plugin, but it's relatively quick and painless.

Welcome to Unity 3D!

Now that you've installed the Web Player, you can view the content created with the Unity 3D authoring tool in your browser.

What can I build with Unity?

In order to fully appreciate how fancy this new hammer is, let's take a look at some projects that other people have created with Unity. While these games may be completely out of our reach at the moment, let's find out how game developers have pushed this amazing tool to its very limits.

FusionFall

The first stop on our whirlwind Unity tour is FusionFall—a Massively Multiplayer Online Role-Playing Game (MMORPG). You can find it at fusionfall.com. You may need to register to play, but it's definitely worth the extra effort!

FusionFall

FusionFall was commissioned by the Cartoon Network television franchise, and takes place in a re-imagined, anime-style world where popular Cartoon Network characters are all grown up. Darker and more sophisticated versions of the Powerpuff Girls, Dexter, Foster and his imaginary friends, and the kids from Codename: Kids Next Door run around battling a slimy green alien menace.

Completely hammered

FusionFall is a very big and very expensive high-profile game that helped draw a lot of attention to the then-unknown Unity game engine when the game was released. As a tech demo, it's one of the very best showcases of what your new technological hammer can really do! FusionFall has real-time multiplayer networking, chat, quests, combat, inventory, NPCs (non-player characters), basic AI (artificial intelligence), name generation, avatar creation, and costumes. And that's just a highlight of the game's feature set. This game packs a lot of depth.

Should we try to build FusionFall?

At this point, you might be thinking to yourself: "Heck YES! FusionFall is exactly the kind of game I want to create with Unity, and this book is going to show me how!"

Unfortunately, a step-by-step guide in creating a game of the size and scope of FusionFall would likely require its own flatbed truck to transport, and you'd need a few friends to help you turn each enormous page. It would take you the rest of your life to read, and on your deathbed, you'd finally realize the grave error that you had made in ordering it online in the first place, despite having qualified for free shipping.

Here's why: check out the game credits link on the Fusion http://fusionfall.cartoonnetwork.com/game/credits.php.

This page lists all of the people involved in bringing the game to life. Cartoon Network enlisted the help of an experienced Korean MMO developer called Grigon Entertainment. There are over 80 names on that credits list! Clearly, only two courses of action are available to you:

  1. Build a cloning machine and make 79 copies of yourself. Send each of those copies to school to study various disciplines, including marketing, server programming, and 3D animation. Then spend a year building the game with your clones. Keep track of who's who by using a sophisticated armband system.
  2. Give up now because you'll never make the game of your dreams.

Another option

Before you do something rash and abandon game development for farming, let's take another look at this. FusionFall is very impressive, and it might look a lot like the game that you've always dreamed of making. This book is not about crushing your dreams. It's about dialing down your expectations, putting those dreams in an airtight jar, and taking baby steps. Confucius said: "A journey of a thousand miles begins with a single step." I don't know much about the man's hobbies, but if he was into video games, he might have said something similar about them—creating a game with a thousand awesome features begins by creating a single, less feature-rich game.

So, let's put the FusionFall dream in an airtight jar and come back to it when we're ready. We'll take a look at some smaller Unity 3D game examples and talk about what it took to build them.

Off-Road Velociraptor Safari

No tour of Unity 3D games would be complete without a trip to Blurst.com—the game portal owned and operated by indie game developer Flashbang Studios. In addition to hosting games by other indie game developers, Flashbang has packed Blurst with its own slate of kooky content, including Off-Road Velociraptor Safari.

Off-Road Velociraptor Safari

In Off-Road Velociraptor Safari, you play a dinosaur in a pith helmet and a monocle driving a jeep equipped with a deadly spiked ball on a chain (just like in the archaeology textbooks). Your goal is to spin around in your jeep doing tricks and murdering your fellow dinosaurs (obviously).

For many indie game developers and reviewers, Off-Road Velociraptor Safari was their first introduction to Unity. Some reviewers said that they were stunned that a fully 3D game could play in the browser. Other reviewers were a little bummed that the game was sluggish on slower computers. We'll talk about optimization a little later, but it's not too early to keep performance in mind as you start out.

Fewer features, more promise

If you play Off-Road Velociraptor Safari and some of the other games on the Blurst site, you'll get a better sense of what you can do with Unity without a team of experienced Korean MMO developers. The game has 3D models, physics (code that controls how things move around somewhat realistically), collisions (code that detects when things hit each other), music, and sound effects. Just like FusionFall, the game can be played in the browser with the Unity Web Player plugin. Flashbang Studios also sells downloadable versions of its games, demonstrating that Unity can produce standalone executable game files too.

Maybe we should build Off-Road Velociraptor Safari?

Right then! We can't create FusionFall just yet, but we can surely create a tiny game like Off-Road Velociraptor Safari, right? Well... no. Again, this book isn't about crushing your game development dreams. But the fact remains that Off-Road Velociraptor Safari took five supremely talented and experienced guys eight weeks to build on full-time hours, and they've been tweaking and improving it ever since. Even a game like this, which may seem quite small in comparison to a full-blown MMO game like FusionFall, is a daunting challenge for a solo developer. Put it in a jar up on the shelf, and let's take a look at something you'll have more success with.

I bent my Wooglie

Wooglie.com is a Unity game portal hosted by M2H Game Studio in the Netherlands. One glance at the front page will tell you that it's a far different portal than Blurst.com. Many of the Wooglie games are rough around the edges, and lack the sophistication and the slick professional sheen of the games on Blurst. But here is where we'll make our start with Unity. This is exactly where you need to begin as a new game developer, or as someone approaching a new piece of technology like Unity.

Play through a selection of games on Wooglie. I'll highlight a few of them for your interest:

Big Fun Racing

Big Fun Racing is a simple but effective game where you zip around collecting coins in a toy truck. It features a number of different levels and unlockable vehicles. The game designer sunk a few months into the game in his off-hours; with a little help from outsource artists to create the vehicle models.

Big Fun Racing

Diceworks

Diceworks is a very simple, well-polished game designed for the iPhone in Unity 3D. We won't be covering any iPhone development, but it's good to know that your Unity content can be deployed to a number of other devices and platforms, including Apple iOS, Android, and the Nintendo Wii. These add-on versions of the software cost an additional fee, but you can deploy your games to the Web, to the Mac, and to your PC for free using the indie version of Unity.

Diceworks

Diceworks was created by one artist and one programmer working together as a team. It's rare to find a single person who possesses both programming and artistic talent simultaneously; scientists say that these disciplines are split between two different lobes in our brains, and we tend to favor one or the other. The artist-programmer pairing that produced Diceworks is a common setup in game development. What's your own brain telling you? Are you more comfy with visuals or logic? Art or programming? Once you discover the answer, it's not a bad plan to find someone to make up the other half of your brain so that your game handles both areas competently.

At any event, with Diceworks we're definitely getting closer to the scope and scale that you can manage on your own as you start out with Unity.

It's also interesting to note that Diceworks is a 2D game created in a 3D engine. The third "D" is largely missing, and all of the game elements appear to exist on a flat plane. Nixing that extra dimension when you're just starting out isn't a half bad idea. Adding depth to your game brings a whole new dimension of difficulty to your designs, and it will be easier to get up and running with Unity by focusing on the X and Y axes, and leaving the Z-axis in one of those dream jars. With a few sturdy working game examples under your belt, it won't be long before you can take that jar with Z axis down off the shelf and pop it open. The games that we'll be building in this book will stick to a two-dimensional plane, using three-dimensional models. Even so, certain games have taken this concept and ran with it. For example, the New Super Mario Bros. Wii locked its 3D characters to a 2D plane and wound up an extremely complex and satisfying platformer.

Walk before you can run (or double jump)

A common mistake that new game developers make is biting off more than they can chew. Even experienced game developers make this mistake when they get really excited about a project, or when they approach a new technology and expect to be immediately proficient at using it. The real danger here is that you'll sit down and try to create your dream—let's say it's a sword and sorcery RPG epic that combines all the best parts of Diablo, ChuChu Rocket!, and Microsoft Excel. When you've sunk days and weeks and months into it and it still looks nothing like the game you envisioned, you give up. You figure that since you failed at creating your dream game, you were never really cut out to be a game developer to begin with.

You owe it to yourself to start small! Rome wasn't built in a day, and neither was your dream kart racing game starring famous figures from Roman history. By taking smaller steps, you can experience success with a number of smaller games. Then you can take what you learn and add to it, slowly building your expertise until you're in a position to take that dream game jar off the shelf.

For now, let's keep our dream shelf fully stocked, and turn our attention to something small and achievable. By the end of this book, you'll have a collection of working games that started out simply, and grew more and more complex as you got smarter. My hope is that once you finish the book, you'll be well-equipped to dream up new incremental features for your games, and to hunt down the resources you need to fill the gaps in your new-found knowledge.

In Chapter 2, we'll go into detail about where you should start when you're deciding what kind of game to create. We'll also see some real-world examples of games that began as simple, effective ideas and later grew into enormously complex and feature-rich titles. From small acorns, mighty multiplayer oak tree games grow.

There's no such thing as "finished"

We'll be learning a lot about iteration throughout this book. Some game developers who produce content for fixed media such as game disks and cartridges are used to producing a gold master—the final build of the game—and calling it a day. One of the joys of deploying games to the Web is that they're never truly finished. You can continue tweaking your web games and modifying them until you end up with a far more fun and polished game than you started with.

Flashbang Studios constantly modified and improved upon Off-Road Velociraptor Safari even years after they were "finished" - three years afterward, in fact! The team addressed critics' initial concerns about sluggish performance by relentlessly tweaking the game and improving upon its performance.

Likewise, we'll be creating some games that are really raw and unfinished at first. But as we learn more about how to program the crucial bits and pieces common to many games, we'll keep revisiting our rough, early games to add those pieces and improve them.

Stop! Hammer time

Now that you've seen some of what Unity can do, it's time to download the program and kick the tires! Unity indie version is available for the low price of free (at the time of writing) from the Unity 3D website.

  1. Go to http://unity3D.com.
  2. Click on the Download Now button.
  3. Download the latest version of the Unity 3D authoring tool for your platform—Mac or PC. If you are given the option, make sure to download the sample project along with the program.
  4. Follow all the onscreen prompts until the Unity authoring tool has finished installing.
  5. Launch Unity!

Explore Bootcamp

After a quick registration process, Unity is ready to go. With any luck, the AngryBots Demo will automatically open. If it doesn't, and you're faced with a dialog asking you to open a project, you can find the AngryBots Demo here by default:

Max OS:

/Users/Unity/

Windows XP:

C:\Documents and Settings\All Users\Documents\Unity Projects\AngryBots

Or

C:\Documents and Settings\All Users\Shared Documents\Unity Projects\AngryBots

Windows 7/Vista:

C:\Users\Public\Documents\Unity Projects\AngryBots

If you thought you'd be a rebel and you unchecked the sample projects box when you downloaded Unity, you may find yourself re-downloading Unity to get the AngryBots Demo. You can pull down other sample learning projects such as the AngryBots Demo from the Unity website: http://unity3d.com/support/resources/example-projects/

Note

As the Unity Technologies team improves the software, they launch new and more impressive demos to show off what Unity can do. If you're reading this book, and your copy of Unity 3D launches a different demo project, don't freak out—everything we're about to discuss can be generally applied to most demos.

When the AngryBots Demo first opens, you should see a splash screen referring you to different tutorial resources and language guides. How helpful! Now close it. (Don't worry; it'll be there next time, unless you uncheck the Show at Startup checkbox). If you checked the box but you'd really like to see that Welcome Screen again, look in the menus under Help | Welcome Screen.

Go to Window | Layouts | 2 by 3 menu to see the different panels that we are about to tour.

Explore Bootcamp

To try out the demo, click on the Play button at the top-center of the screen.

Explore Bootcamp

You can walk around the AngryBots Demo using the WASD keys on your keyboard. Hold down the main mouse button to fire your boomstick at the aggravated automatons. When you're finished exploring, press the Esc key to pause the game and regain mouse control. Then click on the Play button again to end the demo.

Explore Bootcamp

The wonders of technology!

Unity contains terrain tools that let you model your level right inside the software. It contains a readymade First Person Controller Prefab object you can plunk into the world with automatic WASD keyboard controls that will allow you to explore the terrain, or you can replace the AngryBots hero with your own character to build a third-person game. Unity automatically takes care of the rendering (drawing), collisions, physics, and sound effects. That's one fancy hammer!

Tip

Wide-open worlds with Will

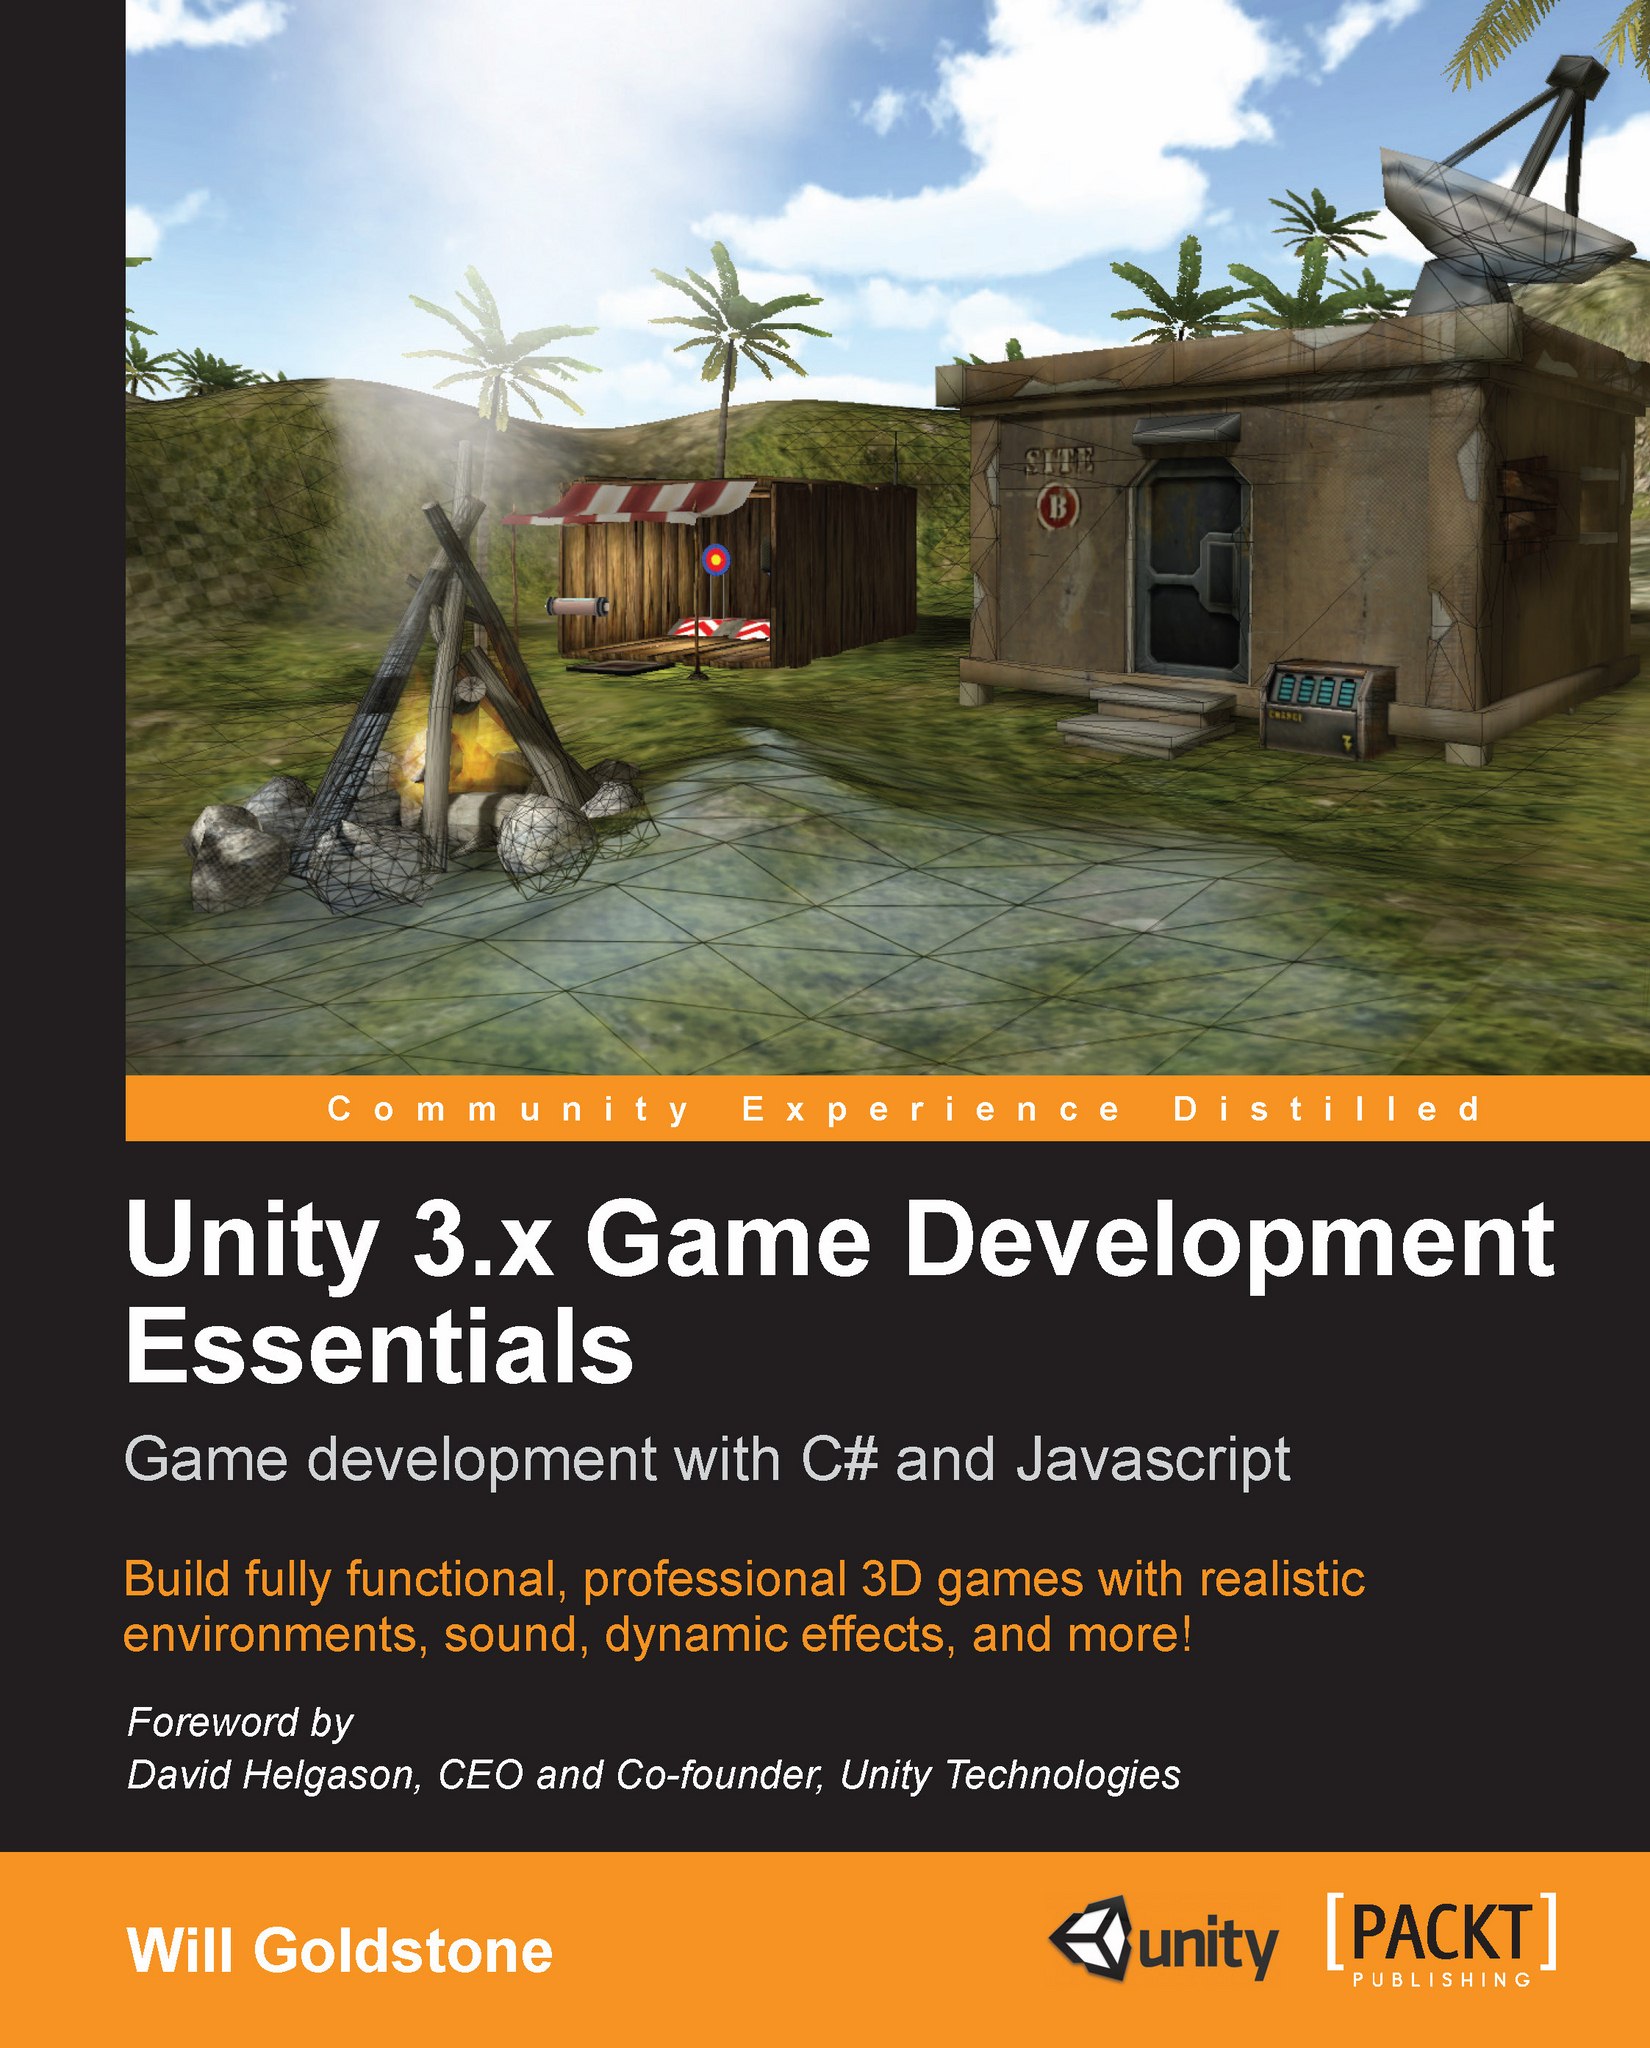
If you'd like to learn how to sculpt your own terrain in Unity, and to add 3D models, sounds, and interactivity to create a simple but functional 3D open-world game, check out, Unity 3.x Game Development Essentials, Will Goldstone, Packt Publishing.

Much of what you see in the AngryBots Demo can't be built directly in Unity. Most of the assets were created with other software; Unity is the program you use to put everything together and to make it interactive. The demo contains special models, such as the airlocks, which were imported from 3D software packages like 3D Studio Max, Maya, or Blender. Certain elements, such as robot enemies, have scripts attached to them. Scripts are lists of instructions that tell the items in the game world how to behave. Throughout the book, we'll learn how to import 3D models and to write scripts to control them.

Let's take a quick look around the Unity interface and note a few points of interest.

The Scene window

The Scene window is where you can position your Game Objects and move them around. This window has various controls to change its level of detail. Use these controls to toggle lighting on and off, and to display the window contents with textures, wireframes, or a combination of both. You can use the colorful gizmo in the top-right corner to constrain the view to the X, Y, and Z axes to view the top and sides of your scene. Click on the white box in the middle to return to perspective view. This window also features a search field. Try clicking on the gizmo's green Y cone to view the AngryBots Demo from above, and then type rock into the search field. Every object with "rock" in its name lights up, while the rest of the scene fades to grayscale. Press the tiny x button to clear the search field.

The Scene window

The Game window

The Game window shows you what your players will see. When you click on the Play button to test your game (as you just did with the AngryBots Demo) the results of your efforts play out in this window. Toggle the Maximize on Play button to test your game in full-screen mode.

The Game window

The Hierarchy

The Hierarchy panel lists all of the Game Objects in your Scene. Game Objects—cameras, lights, models, and prefabs—are the things that make up your game. They can be "tangible" things like the airlock doors and the cannisters in the AngryBots Demo. They can also include intangible things, which only you as the game developer get to see and play with, such as the cameras, the lights, and colliders, which are special invisible shapes that tell the game engine when two Game Objects are touching.

The AngryBots Demo Hierarchy contains Game Objects for the cannisters, the tables, the airlocks and the computer terminals, to name a few. It also lists the Player, a very complicated Game Object that controls how the hero moves and collides with his environment. The player character has a camera following him. That camera is our eye into the game world. The demo lists a collection called Environment (sounds)—a series of Game Objects that determine what the player hears when he walks through different parts of the level (such as torrential rain outside, and the droning equipment hum when he moves indoors). So, Game Objects can include touchy-feely "physical" objects such as cannisters and airlocks, as well as behind-the-scenes intangible things such as lights, cameras, and actions (scripts).

The Hierarchy

Click on a Game Object in the Hierarchy panel, and then hover your mouse over the Scene window. Press the F key on your keyboard, and the Scene window will automatically pan and zoom directly to that object. Alternatively, you can go to Edit | Frame Selected, which can be more reliable than using the keyboard shortcut. (I like to think of the F as standing for Focus to help me remember what this shortcut does.)

The Project panel

The Project panel lists all of the elements that you'll use to create Game Objects in your project. For example, look for the mech_bot in the Objects/Enemies folder. The AngryBots Demo EnemyMech Game Object is made up of a series of meshes that represent the mech's shape, a material to depict its "skin" or coloring, and an animation to describe its movement. All of these types of goodies are listed in the Project panel.

The Project panel displays the contents of a special folder on your computer's operating system called Assets. Unity automatically creates the Assets folder for you when you create a new project. If you drag a compatible file, like a 3D model, a sound effect, or an image into the Project panel, Unity copies it to the Assets folder behind the scenes, and displays it in the Project panel.

The Project panel

Tip

Don't mess with the Assets folder!

Unity stores metadata about the folder, and by moving stuff around or deleting things through your operating system, you may break your project. If you need to make changes, make them right inside Unity in the Project panel.

The Inspector

The Inspector is a context-sensitive panel, which means that it changes depending on what you select elsewhere in Unity. This is where you can adjust the position, rotation, and scale of Game Objects listed in the Hierarchy panel. The Inspector can also display controls to configure components that add functionality to Game Objects. Between the three main panels in Unity (Hierarchy, Project, and Inspector), the Inspector is where you'll likely spend most of your time because that's where you'll be tweaking and fiddling with every aspect of the elements that comprise your game projects.

The Inspector

The preceding screenshot of the Inspector shows the components attached to the Player Game Object in the AngryBots Demo: a number of scripts (including Free Movement Motor and Player Move Controller), a Rigidbody component, a Capsule Collider, and others. To see the same content on your computer, click to open the Player Game Object in the Hierarchy panel.

The Inspector

Heads up?

Let's use the Inspector panel to make a quick change to the orientation of the character. We'll begin the demo with the hero standing on his head (which is a sure-fire way to make those bots even angrier, by the way).

We can use the Inspector panel to change the rotation of the player. Follow these steps:

  1. In the Hierarchy panel, click to select the Player Game Object.
  2. Click on the Rotate button, which looks like two arrows sniffing each others' behinds.
    Heads up?

    A globe appears around the bottom of the Player Game Object. The red X-axis rotator handle encircles the player's body. Clicking and dragging it rotates the player model as if he were standing in a very dodgy canoe. The blue Z-axis rotator handle rotates the player as if there was an invisible pin running through his ankles. If we click-and-drag that handle, the player rotates to either fall flat on his face, or flat on his back, like he's got space sickness. And the green Y-axis rotator handle runs around the player like a hula hoop.

    Dragging this handle around makes the player spin to face different directions. The Player Game Object can get pretty hairy; in order to isolate the rotation controls, type player into the Scene window's search field to exclude all other Game Objects. (Remember that you can bring the selected Game Object into view by pressing the F key when your mouse cursor is within the Scene view.)

    Heads up?
  3. You can click-and-drag the red X-axis arrow to turn the player upside down, but a better method is to change the X-axis rotation in the Inspector panel. Expand the gray arrow next to Transform in the Inspector panel if it's not already open, and change the X value under Rotation to 180. The player flips upside down.
    Heads up?
  4. Now, when you click on Play to test the game, the player will break-dance his way around the AngryBots Demo, electric boogaloo-style. The robots are freaking out, thinking "ERROR! DOES NOT COMPUTE!" Way to keep them on their mechanical toes.

Layers and layout dropdowns

Above the Inspector panel, you'll see the Layers and Layout dropdowns. Game Objects can be grouped into layers, somewhat like in Photoshop or Flash. Unity stores a few commonly used layouts in the Layout dropdown (mine is set to the "2 by 3" configuration). You can also save and load your own custom layouts.

Layers and layout dropdowns

Playback controls

These three buttons help you test your game and control playback. As you've seen, the Play button starts and stops your game. The Pause button works as expected—it pauses your game so that you can make changes to it on the fly. The third button is a Step-Through control; use it to advance frame-by-frame through your game so that you can more tightly control what's going on.

Playback controls

Tip

Changes you make while testing don't stick!

One of the more surprising features of Unity is that you can make changes to Game Objects and variables on the fly while you're testing your game. But it's important to know that the changes you make during testing will not "stick". Once you stop testing your game, the changes that you made during testing will revert to the state they were in before you clicked on the Play button. It's disheartening to make a number of changes to your game, only to realize that the Play button was on the entire time, and your changes will be lost. One way to avoid this problem is to toggle the Maximize on Play button in the Game window so that you'll be more aware of when you're testing and when you're not.

Scene controls

At the top-left of your screen, you'll see four controls that help you move around your Scene, and position Game Objects within it. These controls are mapped to the Q, W, E, and R keys on your keyboard. From left to right, they are:

Scene controls
  • The Hand tool (Q): Use it to click-and-drag around your scene. Hold down the Alt key on your keyboard to rotate the view. Hold down the Ctrl key (Windows) or the Command/control key (Apple) to zoom in and out. Your mouse wheel will also zoom the scene. Hold down the Shift key to pan, zoom, and rotate in larger increments to speed things up. This is a way for you to navigate around the game world. It doesn't actually impact the way the player sees the game. To modify the Game view, you need to use the Move or Rotate tools to modify the Camera position.
  • The Move tool (W): This tool lets you move the Game Objects around your scene. You can either drag the object(s) around by the X, or Y, or Z-axis handles, or by the square in the center for freeform movement. Holding down the Ctrl key or Command key (Apple) will snap movement to set grid increments. Hold down Shift at the same time to snap objects to the "floor".
  • Rotate tool (E): Use it to spin your objects around using a neat spherical gizmo. The red, green, and blue lines map to the X, Y, and Z axes.
  • Scale tool (R): This tool works much the same as the Move and Rotate tools. Use it to make your Game Objects larger or smaller. Dragging an X, Y, or Z handle will non-uniformly scale (squash and stretch) the object, while dragging the gray cube in the center will uniformly scale it.

Don't stop there—live a little!

We've glanced briefly at the key elements of the Unity interface, but there's no need to stop poking around. Far beyond the scope of this book, there is a wealth of menu options, buttons, and controls that we haven't covered. Why not explore those menus or start randomly clicking on things that you don't yet understand? Now is the time to safely break stuff. You didn't work hard to create the AngryBots Demo, so why not mess around with it a little bit?

Here are some things to try:

  • Select some of the Game Objects in the Hierarchy panel and move them around in the Scene window using the Scene controls. What happens when you put an airlock in the middle of the sky? Can the player still pass through? What if you put the cannisters or the computers over the player's head before the game starts? Do they fall, or do they hover? Can you remove objects to help the player careen off the edge of the balcony? What happens when he does?
  • Randomly right-click in the three different panels and read through the context menu options to see what you're getting yourself into.
  • Poke around in the Game Object | Create Other menu. There's a whole list of interesting things that you can add to this scene without even touching the 3D modeling program.
  • What happens when you delete the lights from the scene? Or the camera? Can you add another camera? More lights? How does that affect the Scene?
  • Can you move the player to another part of the demo to change your starting position?
  • Can you replace the audio files to make the gun "moo" whenever you fire it?
  • Download a picture of kittens from the Internet and see if you can wrap it around a boulder model. Kittens rock! You can pull the kitties into your project using the Assets | Import New Asset option in the menu.

Tip

A tuner's paradise

The Unity 3D interface is designed to be customized. Not only can you define your own custom window layouts, but you can even write custom scripts to make certain buttons and panels appear inside Unity to speed up your workflow. That kind of thing is well beyond the scope of this book, but if you're the kind of person who really likes to get under the hood, you'll be happy to know that you can tweak Unity 3D to your heart's content—maybe add a few racing stripes and install an enormous pair of subwoofers in the back?

Summary

Chapter 1 was all about getting a feel for what Unity can do and for what the program interface had to offer. Here's what we found out:

  • Massive 80 person teams, all the way down to tiny one or two person teams are using Unity to create fun games.
  • By thinking small, we'll have more success in learning Unity and producing fully functional games instead of huge but half-baked abandoned projects.
  • Different flavors of Unity help us deploy our games to different platforms. By using the free indie version, we can deploy to the Web, the Mac, and PC platforms.
  • The Unity interface has controls and panels that let us visually compose our game assets, and test games on the fly right inside the program!

I hope you've taken some time to thoroughly vandalize the Bootcamp Demo. If you save the file by clicking on File | Save Project, you'll have a perma-upside-down space marine in your demo. If you want to return to a pristine AngryBots Demo later to wreak more havoc, don't bother saving the hilarious (but meaningless) changes we've made in this chapter.

Big ambition, tiny games

Now that we've trashed this joint, let's take a quick trip through some game design theory. In the next chapter, we'll figure out the scope and scale of a game that a solo, beginner developer should actually tackle. Crack your knuckles and put on your favorite hat because you're about to dip yourself in awesome sauce.

Left arrow icon Right arrow icon

Key benefits

  • Build fun games using the free Unity game engine even if you've never coded before
  • Learn how to "skin" projects to make totally different games from the same file ‚Äì more games, less effort!
  • Deploy your games to the Internet so that your friends and family can play them
  • Packed with ideas, inspiration, and advice for your own game design and development
  • Stay engaged with fresh, fun writing that keeps you awake as you learn
  • Updated for the latest 3.x release

Description

Beginner game developers are wonderfully optimistic, passionate, and ambitious. But that ambition is often dangerous! Too often, budding indie developers and hobbyists bite off more than they can chew. Some of the most popular games in recent memory – Doodle Jump, Paper Toss, and Canabalt, to name a few – have been fun, simple games that have delighted players and delivered big profits to their creators. This is the perfect climate for new game developers to succeed by creating simple games with Unity.This book starts you off on the right foot, emphasizing small, simple game ideas and playable projects that you can actually finish. The complexity of the games increases gradually as we progress through the chapters. The chosen examples help you learn a wide variety of game development techniques. With this understanding of Unity and bite-sized bits of programming, you can make your own mark in the game industry by finishing fun, simple games.Unity 3.x Game Development by Example shows you how to build crucial game elements that you can reuse and re-skin in many different games, using the phenomenal (and free!) Unity 3D game engine. It initiates you into indie game culture by teaching you how to make your own small, simple games using Unity3D and some gentle, easy-to-understand code. It will help you turn a rudimentary keep-up game into a madcap race through hospital hallways to rush a still-beating heart to the transplant ward, program a complete 2D game using Unity's User Interface controls, put a dramatic love story spin on a simple catch game, and turn that around into a classic space shooter with spectacular explosions and "pew" sounds! By the time you're finished, you'll have learned to develop a number of important pieces to create your own games that focus in on that small, singular piece of joy that makes games fun.

Who is this book for?

If you've ever wanted to develop games, but have never felt "smart" enough to deal with complex programming, this book is for you. It's also a great kick-start for developers coming from other tools like Flash, Unreal Engine, and Game Maker Pro.

What you will learn

  • Find out how people are using the amazing new Unity game engine
  • Develop and customize four fun game projects, including a frantic race through hospital hallways with a still-beating human heart and a catch game with a jilted lover that morphs into a space shooter!
  • Create both 2D and 3D games using free software and supplied artwork
  • Add motion, gravity, collisions, and animation to your game objects using Unity s built-in systems
  • Learn how to use code to control your game objects
  • Create particle systems like shattering glass, sparks, and explosions
  • Add sound effects to make your games more exciting
  • Create static and animated backdrops using multiple cameras
  • Build crucial elements you ll use again and again, like timers, status bars, title screens, win/lose conditions, and buttons to link game screens together
  • Deploy your games to the Web to share them with friends, family, and adoring fans
  • Discover the difference between game skins and mechanics, to earn more money from your games
Estimated delivery fee Deliver to United States

Economy delivery 10 - 13 business days

Free $6.95

Premium delivery 6 - 9 business days

$21.95
(Includes tracking information)

Product Details

Country selected
Publication date, Length, Edition, Language, ISBN-13
Publication date : Sep 23, 2011
Length: 408 pages
Edition : 1st
Language : English
ISBN-13 : 9781849691840
Vendor :
Unity Technologies
Languages :
Tools :

What do you get with Print?

Product feature icon Instant access to your digital copy whilst your Print order is Shipped
Product feature icon Paperback book shipped to your preferred address
Product feature icon Redeem a companion digital copy on all Print orders
Product feature icon Access this title in our online reader with advanced features
Product feature icon DRM FREE - Read whenever, wherever and however you want
Modal Close icon
Payment Processing...
tick Completed

Shipping Address

Billing Address

Shipping Methods
Estimated delivery fee Deliver to United States

Economy delivery 10 - 13 business days

Free $6.95

Premium delivery 6 - 9 business days

$21.95
(Includes tracking information)

Product Details

Publication date : Sep 23, 2011
Length: 408 pages
Edition : 1st
Language : English
ISBN-13 : 9781849691840
Vendor :
Unity Technologies
Languages :
Tools :

Packt Subscriptions

See our plans and pricing
Modal Close icon
$19.99 billed monthly
Feature tick icon Unlimited access to Packt's library of 7,000+ practical books and videos
Feature tick icon Constantly refreshed with 50+ new titles a month
Feature tick icon Exclusive Early access to books as they're written
Feature tick icon Solve problems while you work with advanced search and reference features
Feature tick icon Offline reading on the mobile app
Feature tick icon Simple pricing, no contract
$199.99 billed annually
Feature tick icon Unlimited access to Packt's library of 7,000+ practical books and videos
Feature tick icon Constantly refreshed with 50+ new titles a month
Feature tick icon Exclusive Early access to books as they're written
Feature tick icon Solve problems while you work with advanced search and reference features
Feature tick icon Offline reading on the mobile app
Feature tick icon Choose a DRM-free eBook or Video every month to keep
Feature tick icon PLUS own as many other DRM-free eBooks or Videos as you like for just $5 each
Feature tick icon Exclusive print discounts
$279.99 billed in 18 months
Feature tick icon Unlimited access to Packt's library of 7,000+ practical books and videos
Feature tick icon Constantly refreshed with 50+ new titles a month
Feature tick icon Exclusive Early access to books as they're written
Feature tick icon Solve problems while you work with advanced search and reference features
Feature tick icon Offline reading on the mobile app
Feature tick icon Choose a DRM-free eBook or Video every month to keep
Feature tick icon PLUS own as many other DRM-free eBooks or Videos as you like for just $5 each
Feature tick icon Exclusive print discounts

Frequently bought together


Stars icon
Total $ 108.98
Unity 3.x Game Development Essentials
$57.99
Unity 3.x Game Development by Example Beginner's Guide
$50.99
Total $ 108.98 Stars icon

Table of Contents

14 Chapters
1. That's One Fancy Hammer! Chevron down icon Chevron up icon
2. Let's Start with the Sky Chevron down icon Chevron up icon
3. Game 1: Ticker Taker Chevron down icon Chevron up icon
4. Code Comfort Chevron down icon Chevron up icon
5. Game #2: Robot Repair Chevron down icon Chevron up icon
6. Game #2: Robot Repair Part 2 Chevron down icon Chevron up icon
7. Don't Be a Clock Blocker Chevron down icon Chevron up icon
8. Ticker Taker Chevron down icon Chevron up icon
9. Game #3: The Break-Up Chevron down icon Chevron up icon
10. Game #3: The Break-Up Part 2 Chevron down icon Chevron up icon
11. Game #4: Shoot the Moon Chevron down icon Chevron up icon
12. Action! Chevron down icon Chevron up icon
A. References Chevron down icon Chevron up icon
Index Chevron down icon Chevron up icon

Customer reviews

Top Reviews
Rating distribution
Full star icon Full star icon Full star icon Half star icon Empty star icon 3.8
(13 Ratings)
5 star 15.4%
4 star 61.5%
3 star 7.7%
2 star 15.4%
1 star 0%
Filter icon Filter
Top Reviews

Filter reviews by


Sol_HSA Nov 29, 2011
Full star icon Full star icon Full star icon Full star icon Full star icon 5
I've been considering getting into unity for a while, but I've been too lazy to do it in the usual self-learning method of trial and error. Okay, sure, there are online tutorials but nothing which inspired me. So I thought maybe a book would do it.So I picked up this book. I'm a fan of learning by doing, and all I really needed to get into Unity is some hands-on practice to get my bearings as to where to find what. The book walks you through writing a bunch of games, starting small and building up from there. It painstakingly explains everything that's going on, meaning that more experienced developers can browse through the book quickly, but people new to the world of code aren't left behind.A lot of the book is dedicated to whetting the readers' appetite on what's possible with unity, without going too deep into it (simply because it would be impossible to cover everything in one book). There's also a lot of humor, which may be irritating if all you want is hard facts, despite which I did find myself chuckling at some of the jokes.I would have liked a bit more attention to the content pipeline (using blender and photoshop, for instance), but I understand that would have expanded the scope of the book too much.As a tutorial book, it's a very good springboard into the wonderful world of game development. And it did serve my purposes well, too.
Amazon Verified review Amazon
Kathryn Dec 17, 2012
Full star icon Full star icon Full star icon Full star icon Full star icon 5
This guy is an amazing writer and I hope he writes a whole lot more books in his lifetime because for ONCE, my kid (11)and I could just work through a book, learn something really hard, and have it be a fun and non-frustrating experience. He will say "click on the little button with a landscape icon". Thank you Ryan Creighton, because ever other book would have said, "while in landscape mode..." without ever telling you what actual button to click.I want this guy to write books on PHP, Google Sketchup, Blender... I would rule the world, it would unlock so many pieces of software that are just too hard to learn because the support materials are awful. And yes, Unity 3x, your support materials are awful. Newbies and non-programmers are never going to use this unless you create materials like this for regular folks.
Amazon Verified review Amazon
Kindle Customer Nov 05, 2011
Full star icon Full star icon Full star icon Full star icon Empty star icon 4
Is it a five star book or a one star book? How to rate a fun, thoughtful, well organized, well taught tutorial that is not very useful because all of the formatting, which the author so carefully thought through to differentiate between types of points they want to draw our attention to, were stripped out in the conversion to Kindle?If you want a laugh read the part of the introduction where he writes "I'll call your attention to a critical piece of information like this" and "I'll highlight a crucial gotcha like this" and all eight or ten of his formatting styles are basically the same. It even says "in a block of code I'll call attention to the key concept in bold" and the bold got stripped out. What a joke. Amazon, Kindle group, and the publisher should be ashamed.Having gotten that off my chest, the book itself is really nice. If you have the patience to follow it through start to finish, it is a great example of the art of teaching.
Amazon Verified review Amazon
Michael Gareth Jun 12, 2013
Full star icon Full star icon Full star icon Full star icon Empty star icon 4
I quickly realized that this book was not written for me. I have been making games a while, so when a book spends several pages describing very core fundamentals, I end up skipping a lot. I was literally skipping several pages at a time though most of it. I really just wanted a book to walk me thorough how things are put together, not describe to me what game development itself is. If you know nothing at all about game development, this is probably a really good book. It reminded me of the program through which I learned. If you've ever programmed at all, though, and especially if you've ever made games, this will appear rudimentary. If you want to learn how to program and have fun doing it through game development, this could be a cool place to start. Ultimately, I ended up using it as a springboard for the free tutorials on the Unity website.
Amazon Verified review Amazon
Raul Jun 09, 2013
Full star icon Full star icon Full star icon Full star icon Empty star icon 4
The book need more examples of how to move and object throw scene ,,, only that ,not only animation ,,,,, but the book is great for beginners
Amazon Verified review Amazon
Get free access to Packt library with over 7500+ books and video courses for 7 days!
Start Free Trial

FAQs

What is the digital copy I get with my Print order? Chevron down icon Chevron up icon

When you buy any Print edition of our Books, you can redeem (for free) the eBook edition of the Print Book you’ve purchased. This gives you instant access to your book when you make an order via PDF, EPUB or our online Reader experience.

What is the delivery time and cost of print book? Chevron down icon Chevron up icon

Shipping Details

USA:

'

Economy: Delivery to most addresses in the US within 10-15 business days

Premium: Trackable Delivery to most addresses in the US within 3-8 business days

UK:

Economy: Delivery to most addresses in the U.K. within 7-9 business days.
Shipments are not trackable

Premium: Trackable delivery to most addresses in the U.K. within 3-4 business days!
Add one extra business day for deliveries to Northern Ireland and Scottish Highlands and islands

EU:

Premium: Trackable delivery to most EU destinations within 4-9 business days.

Australia:

Economy: Can deliver to P. O. Boxes and private residences.
Trackable service with delivery to addresses in Australia only.
Delivery time ranges from 7-9 business days for VIC and 8-10 business days for Interstate metro
Delivery time is up to 15 business days for remote areas of WA, NT & QLD.

Premium: Delivery to addresses in Australia only
Trackable delivery to most P. O. Boxes and private residences in Australia within 4-5 days based on the distance to a destination following dispatch.

India:

Premium: Delivery to most Indian addresses within 5-6 business days

Rest of the World:

Premium: Countries in the American continent: Trackable delivery to most countries within 4-7 business days

Asia:

Premium: Delivery to most Asian addresses within 5-9 business days

Disclaimer:
All orders received before 5 PM U.K time would start printing from the next business day. So the estimated delivery times start from the next day as well. Orders received after 5 PM U.K time (in our internal systems) on a business day or anytime on the weekend will begin printing the second to next business day. For example, an order placed at 11 AM today will begin printing tomorrow, whereas an order placed at 9 PM tonight will begin printing the day after tomorrow.


Unfortunately, due to several restrictions, we are unable to ship to the following countries:

  1. Afghanistan
  2. American Samoa
  3. Belarus
  4. Brunei Darussalam
  5. Central African Republic
  6. The Democratic Republic of Congo
  7. Eritrea
  8. Guinea-bissau
  9. Iran
  10. Lebanon
  11. Libiya Arab Jamahriya
  12. Somalia
  13. Sudan
  14. Russian Federation
  15. Syrian Arab Republic
  16. Ukraine
  17. Venezuela
What is custom duty/charge? Chevron down icon Chevron up icon

Customs duty are charges levied on goods when they cross international borders. It is a tax that is imposed on imported goods. These duties are charged by special authorities and bodies created by local governments and are meant to protect local industries, economies, and businesses.

Do I have to pay customs charges for the print book order? Chevron down icon Chevron up icon

The orders shipped to the countries that are listed under EU27 will not bear custom charges. They are paid by Packt as part of the order.

List of EU27 countries: www.gov.uk/eu-eea:

A custom duty or localized taxes may be applicable on the shipment and would be charged by the recipient country outside of the EU27 which should be paid by the customer and these duties are not included in the shipping charges been charged on the order.

How do I know my custom duty charges? Chevron down icon Chevron up icon

The amount of duty payable varies greatly depending on the imported goods, the country of origin and several other factors like the total invoice amount or dimensions like weight, and other such criteria applicable in your country.

For example:

  • If you live in Mexico, and the declared value of your ordered items is over $ 50, for you to receive a package, you will have to pay additional import tax of 19% which will be $ 9.50 to the courier service.
  • Whereas if you live in Turkey, and the declared value of your ordered items is over € 22, for you to receive a package, you will have to pay additional import tax of 18% which will be € 3.96 to the courier service.
How can I cancel my order? Chevron down icon Chevron up icon

Cancellation Policy for Published Printed Books:

You can cancel any order within 1 hour of placing the order. Simply contact customercare@packt.com with your order details or payment transaction id. If your order has already started the shipment process, we will do our best to stop it. However, if it is already on the way to you then when you receive it, you can contact us at customercare@packt.com using the returns and refund process.

Please understand that Packt Publishing cannot provide refunds or cancel any order except for the cases described in our Return Policy (i.e. Packt Publishing agrees to replace your printed book because it arrives damaged or material defect in book), Packt Publishing will not accept returns.

What is your returns and refunds policy? Chevron down icon Chevron up icon

Return Policy:

We want you to be happy with your purchase from Packtpub.com. We will not hassle you with returning print books to us. If the print book you receive from us is incorrect, damaged, doesn't work or is unacceptably late, please contact Customer Relations Team on customercare@packt.com with the order number and issue details as explained below:

  1. If you ordered (eBook, Video or Print Book) incorrectly or accidentally, please contact Customer Relations Team on customercare@packt.com within one hour of placing the order and we will replace/refund you the item cost.
  2. Sadly, if your eBook or Video file is faulty or a fault occurs during the eBook or Video being made available to you, i.e. during download then you should contact Customer Relations Team within 14 days of purchase on customercare@packt.com who will be able to resolve this issue for you.
  3. You will have a choice of replacement or refund of the problem items.(damaged, defective or incorrect)
  4. Once Customer Care Team confirms that you will be refunded, you should receive the refund within 10 to 12 working days.
  5. If you are only requesting a refund of one book from a multiple order, then we will refund you the appropriate single item.
  6. Where the items were shipped under a free shipping offer, there will be no shipping costs to refund.

On the off chance your printed book arrives damaged, with book material defect, contact our Customer Relation Team on customercare@packt.com within 14 days of receipt of the book with appropriate evidence of damage and we will work with you to secure a replacement copy, if necessary. Please note that each printed book you order from us is individually made by Packt's professional book-printing partner which is on a print-on-demand basis.

What tax is charged? Chevron down icon Chevron up icon

Currently, no tax is charged on the purchase of any print book (subject to change based on the laws and regulations). A localized VAT fee is charged only to our European and UK customers on eBooks, Video and subscriptions that they buy. GST is charged to Indian customers for eBooks and video purchases.

What payment methods can I use? Chevron down icon Chevron up icon

You can pay with the following card types:

  1. Visa Debit
  2. Visa Credit
  3. MasterCard
  4. PayPal
What is the delivery time and cost of print books? Chevron down icon Chevron up icon

Shipping Details

USA:

'

Economy: Delivery to most addresses in the US within 10-15 business days

Premium: Trackable Delivery to most addresses in the US within 3-8 business days

UK:

Economy: Delivery to most addresses in the U.K. within 7-9 business days.
Shipments are not trackable

Premium: Trackable delivery to most addresses in the U.K. within 3-4 business days!
Add one extra business day for deliveries to Northern Ireland and Scottish Highlands and islands

EU:

Premium: Trackable delivery to most EU destinations within 4-9 business days.

Australia:

Economy: Can deliver to P. O. Boxes and private residences.
Trackable service with delivery to addresses in Australia only.
Delivery time ranges from 7-9 business days for VIC and 8-10 business days for Interstate metro
Delivery time is up to 15 business days for remote areas of WA, NT & QLD.

Premium: Delivery to addresses in Australia only
Trackable delivery to most P. O. Boxes and private residences in Australia within 4-5 days based on the distance to a destination following dispatch.

India:

Premium: Delivery to most Indian addresses within 5-6 business days

Rest of the World:

Premium: Countries in the American continent: Trackable delivery to most countries within 4-7 business days

Asia:

Premium: Delivery to most Asian addresses within 5-9 business days

Disclaimer:
All orders received before 5 PM U.K time would start printing from the next business day. So the estimated delivery times start from the next day as well. Orders received after 5 PM U.K time (in our internal systems) on a business day or anytime on the weekend will begin printing the second to next business day. For example, an order placed at 11 AM today will begin printing tomorrow, whereas an order placed at 9 PM tonight will begin printing the day after tomorrow.


Unfortunately, due to several restrictions, we are unable to ship to the following countries:

  1. Afghanistan
  2. American Samoa
  3. Belarus
  4. Brunei Darussalam
  5. Central African Republic
  6. The Democratic Republic of Congo
  7. Eritrea
  8. Guinea-bissau
  9. Iran
  10. Lebanon
  11. Libiya Arab Jamahriya
  12. Somalia
  13. Sudan
  14. Russian Federation
  15. Syrian Arab Republic
  16. Ukraine
  17. Venezuela
Modal Close icon
Modal Close icon