


 Download code from GitHub
HTML and Shiny
Shiny is an R language framework that is used to create interactive and powerful web apps. Shiny can be used as a standalone app on a web page or as a build dashboard using R Markdown. This allows us to explore, download, and analyze data using a web browser. Shiny apps can be extended using CSS, JavaScript, and even an HTML widgets package.
In this chapter, we will be learning about Shiny built-in functions and HTML to build attractive, interactive, user-friendly applications. We will be covering the following topics in the chapter:
- Introducing Shiny functions to produce HTML
- Creating a Shiny app using HTML and CSS
- An application to download reports using R Markdown
- Introducing HTML templates
Shiny functions to produce HTML
Shiny is based on HTML and hence it allows you to write an entire interface in R and Shiny without thinking of HTML. You can also update your interface using Shiny built-in functions or add custom HTML using the tag function. Shiny also allows you to write an entire interface using HTML from scratch. To work on a Shiny application for the first time, it is preferable that you are familiar with HTML and CSS.
The following are a few common HTML tags:
- p: This is used to create a paragraph
- h1-h6: Heading style used to add headings and subheadings, where h1 is considered to be the largest and h6 the smallest
- a: This is used to create links and it is associated with href, which is the address to the web page. For example, href = http://shiny.rstudio.com/articles/, "Shiny docs", where href is used to define the link and the following text is used to display the text to the user
- br(): This is used to create a line break
- div: This tag is used to define a section with a particular style, defined in the same way as we use a div tag in HTML
- span: The span tag is used to define a similar style to a string of text
- pre: This is used for format code sections or commands in block quotes or pre-formatted text
- code: We can also use the code tag if you want the code block to look the same as computer code
- img: The img tag is used to define the image
- strong: This is used to set the text in bold format
- em: The em tag is used to style the text in italics format or to emphasize the text
- hr: This is used to add a horizontal line between text
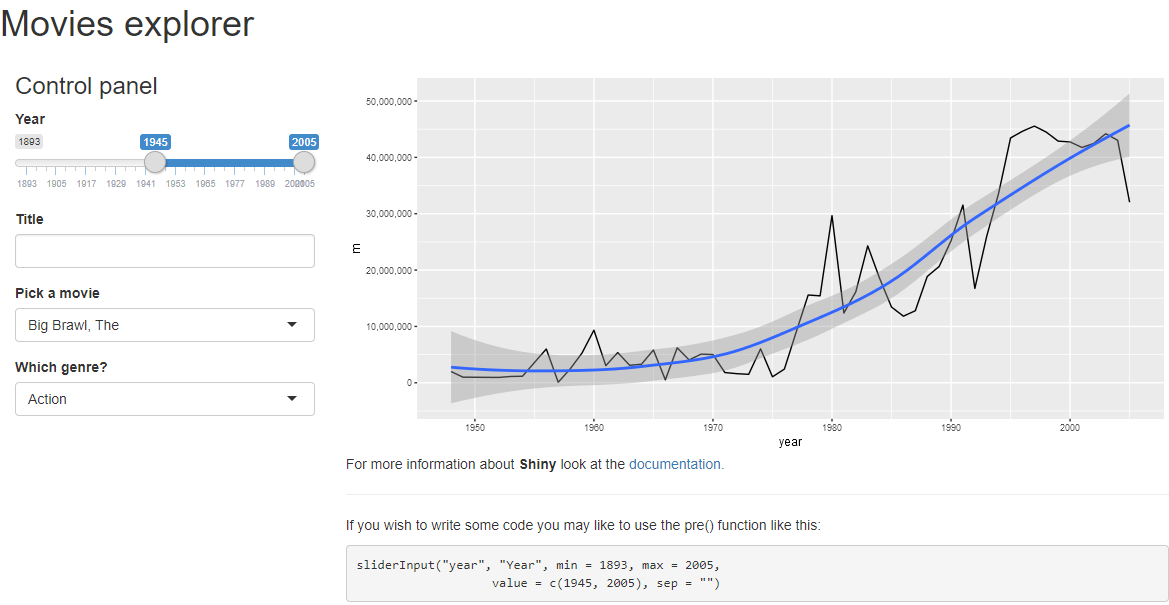
The following screenshot shows the use of some of the HTML tags:
Let's have a look at the code for the application present in the ui.r file:
mainPanel(
    tabsetPanel(
        tabPanel("Budgets over time", plotOutput("budgetYear"),
            p("For more information about ", strong("Shiny"), " look at the ",
            a(href = "http://shiny.rstudio.com/articles/",
              "documentation.")),
            hr(),
            h3("Some code goes under here"),
            p("If you wish to write some code you may like to use the pre()
            function like this:",
            pre('sliderInput("year", "Year", min = 1893, max = 2005,
                   value = c(1945, 2005), sep = "")'))),
        tabPanel("Movie picker", tableOutput("moviePicker"))
    )
)
As we can see in the code block, we have used a strong tag to add bold text within the p function within the same paragraph. We have also used href for the link, hr for the horizontal line, and the pre tag for the code block in the same application.
Creating a UI using HTML
We have covered some of the basics of HTML tags in the previous section. Here, we will be using the same tags to create an entire application using HTML. Let's review the previous sample application, which was created using pure Shiny:
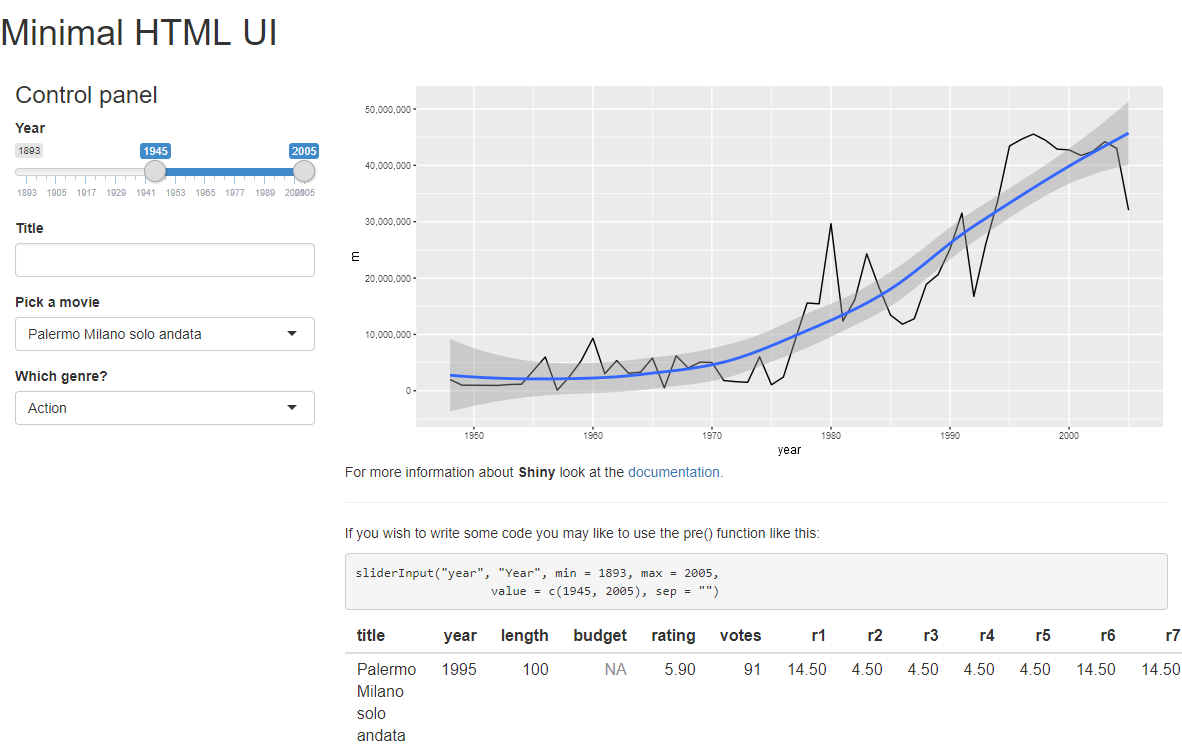
As you can see in the preceding screenshot, there are two drop-down boxes—one to select a movie title and one to select its genre. There is also a textbox, which is used to give a name to the graph. We will not be creating a range slider since producing a range slider using Shiny is much easier than using raw HTML. Here, our final output will be a graph, bold text, some links, and a table with some formatted code. Let's get started with the code part.
We will be adding the following three links in the head section; these are required to run the page correctly. You can add extra JavaScript and CSS links if you wish to use them in the application:
<script src="shared/jquery.js" type="text/javascript"></script>
<script src="shared/shiny.js" type="text/javascript"></script>
<link rel="stylesheet" type="text/css" href="shared/shiny.css"/>
The following link is a reference to the Bootstrap CSS, which is required to make columns and row div classes work correctly:
<link href="shared/bootstrap/css/bootstrap.min.css" rel="stylesheet">
We will be using more CSS later in this chapter.
Once the links are added, we will move on to the main body of the HTML. Add the following code block inside the body tag:
<h1>Minimal HTML UI</h1>

<div class="container-fluid">
<div class="row">

<div class="col-sm-4">
<h3>Control panel</h3>

<div id="listMovies" class="shiny-html-output"></div>

Title:<input type="text" name="title"><br>

<select name = "genre" class = "form-control">
    <option value="Action">Action</option>
    <option value="Animation">Animation</option>
    <option value="Comedy">Comedy</option>
    <option value="Drama">Drama</option>
    <option value="Documentary">Documentary</option>
    <option value="Romance">Romance</option>
    <option value="Short">Short</option>
</select>

</div>
Firstly, we mentioned the heading for the page in the h1 tag. Moving forward, we will be creating our first input, which is the list of movies in the application. It is unusual input, as the output is dynamically rendered. This input is assigned to the shiny-html-output class, which refers to the function that renders the UI dynamically. To help you out here, the UI definition can be wrapped in the rendered UI on the server side and then rendered on the UI side, allowing the user interface element to change in response to the user input. The following code block shows the function used in the server.r file:
output$listMovies = renderUI({

selectInput("pickMovie", "Pick a movie",
choices = moviesSubset() %>%
sample_n(10) %>%
select(title)
    )
})
Next, we will be creating the text control that is given the name title:
Title:<input type="text" name="title"><br>
This name is then referred to input$title on the server side. Next, we will be creating the combo box and giving it the name genre, which is also referred to input$genre on the server side:
<select name = "genre" class = "form-control">
    <option value="Action">Action</option>
    <option value="Animation">Animation</option>
    <option value="Comedy">Comedy</option>
    <option value="Drama">Drama</option>
    <option value="Documentary">Documentary</option>
    <option value="Romance">Romance</option>
    <option value="Short">Short</option>
</select>
We can use standard HTML input in Shiny as well. The output is handled using the div tag, which is assigned an ID and is referred to as a function in the server.r file. For example, we have assigned budgetYear as an ID to the div tag and class as shiny-plot-output, along with information about the width and height, which tells Shiny it is a plot and what its size is:
<div id="budgetYear" class="shiny-plot-output" style="width: 100%; height: 400px"></div>
The next few HTML lines show equivalents of the links, text formatting, and code block tag examples that we defined previously using Shiny commands:
<p>For more information about <strong>Shiny</strong> look at the
<a href="http://shiny.rstudio.com/articles/">documentation.</a>
</p>
<hr>
<p>If you wish to write some code you may like to use the pre() function like this:</p>
<pre>sliderInput("year", "Year", min = 1893, max = 2005, value = c(1945, 2005), sep = "")</pre>
Next, we will have Shiny HTML output. It is similar to the previous Shiny output we created earlier, but this time we use this output to render a table:
<div id = "moviePicker" class = "shiny-html-output"></div>
This creates the output we required at the start of the section. Isn't it easy to create an application using HTML?
Adding HTML using the tag() function
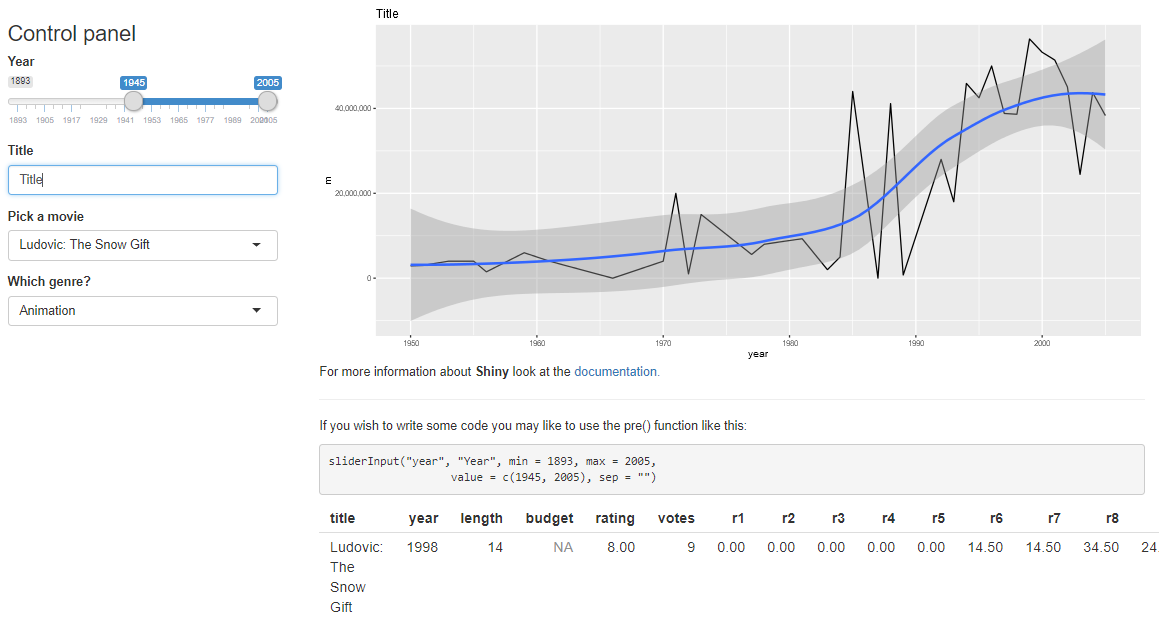
Shiny provides a helper function to use basic HTML tags to create your application. However, if there are some HTML tags that are not included in the function, we can use the tag function. To find out about the tag function, you can simply type names (tags) in the console. This will give you all the functions that are available, as seen in the following screenshot:

To use the function, we can simply use tags$name, where the name is the function required. The name argument becomes the argument within the HTML tag. As you can see in the following screenshot, the first example, tags$script, will yield an output of the script html tag followed by the named argument type. The arguments that do not have names are used as the body of the tag. As seen in the second example, the named argument becomes href, whereas the unamed argument, This is an example, becomes the body of the HTML tag:

As seen in the previous example, the unnamed arguments are used as the body of the tags. We can use this to nest tags. Let's consider the following example:

Here, we are using tags$head and we are using a series of other tags separated by commas. In the example, we are using the links that we added at the beginning of the HTML Shiny UI definition that we created in the previous section. The output is the following HTML with the title, scripts, and style sheet all nested within the head section:

There may be some arguments that contain characters that can affect the output in R. In such cases, we will use backticks (`) around the text.
Using CSS
We are done with the basics of the HTML tags and now we will be changing the styles of the application using CSS and a stylesheet. The following screenshot shows the final output that we will be creating using CSS and a style sheet:

If you have noticed, the font and color of the title of the UI panel, paragraph text size, and formatting of the subheading has changed as compared to the previous application that we used in the Creating a UI using HTML section. Let's get started.
The best way to include CSS is by inserting the style with the element that you require. For example, for the heading style in the Control panel, we have the h1 tag defined inline with the following tag:
h1("Control panel", style = "color:red; font-family:Impact, Charcoal, sans-serif;")
When using CSS in Shiny, basic CSS rules are applied; for example, a semicolon (;) is used to separate elements. The next method for using CSS is to include it in the head section using the tags command:
tags$head(
tags$style(HTML("h3 {
color: blue;font-family:courier;
text-decoration: underline;
                    }"
    ))
  )
You must have noticed that the entire piece of CSS code is included in the head and style tag. The use of the HTML command is to tell Shiny that the command is formatted in HTML and should not be rendered.
The last method of using CSS in Shiny is to use a separate style sheet. For this, we will be using the include command, as follows:
includeCSS("styles.css")
You can use this command anywhere in the code block, but it is advisable to add this command at the top of the UI definition. The style.css file should be present in the same directory that your ui.r file is placed in and not in the www folder.
Writing CSS is quite simple, but the method used depends on the amount of styling used aligned to the application. Your choice depends on where you want to add your CSS. If you are defining a lot of code in a line a number of times, it is advisable to use a proper style sheet. We will be creating an application to download reports in a Word document using R Markdown.
Dynamic downloadable reports in Shiny
In this section, we will learn how to use the Shiny downloadhandler function to render and download reports. We will also learn how to write an R Markdown document and make it dynamic.
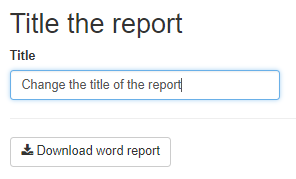
Before we begin, let's understand the application that we are going to create. The following screenshot shows the main page of the application, where we have a textbox to change the title of the report and and a button to download the document in a Word file:
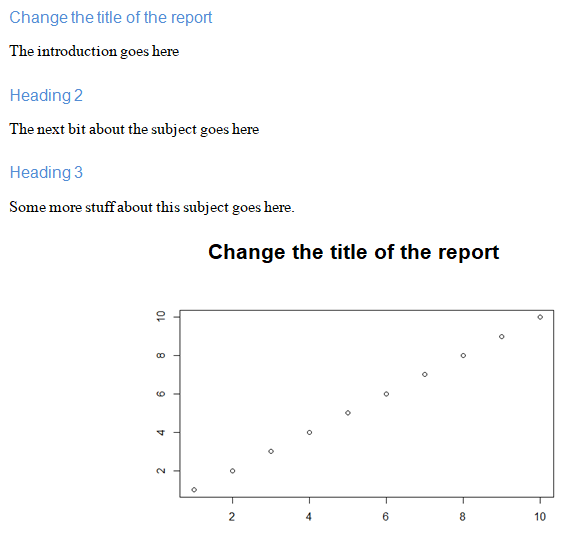
On downloading the report, you should find the new title of the document as well as the title of the graph, which are the same as we used in the textbox, as seen in the following screenshot:
Add the following code to the ui.r file in the DownloadWord folder:
fluidPage(
   titlePanel("Title the report")
   textInput("title", "Title", value = "Your title here"),
   hr(),
   downloadButton("downloadwrodreport", "Download word report")
)
The previous code is self-explanatory. It consists of the title of the page, a textbox to add the title to the report's horizontal line, and a button. This button is defined as a Download button function that will download the file that is mentioned in our server.r file under the downloadhandler function.
In the downloadWord.r file, we have a library, rmarkdown, which is used to make the document rendering function work. The downloadwordReport function that we just saw in our ui.r file contains the downlaodHandler function:
library(rmarkdown)
function(input, output){
     output$downloadWordReport =
       downloadHandler(filename = "report.docx",
                       content = function(file){

                        render("report.Rmd", output_format =                                          "word_document",
                                output_file = file,
                                quiet = TRUE)
         })
}
The downloadHandler function has the following structure. The first part will define the filename that is assigned to the report. This filename can be in any form. For example, we can use today's date to provide the filename or any random name with an extension. As you can see in the code, we have simply used report.docx in our example. The second part, the content function, is defined to write the content using the argument file function. This function takes the argument file and writes whatever you want to that file using the previously defined filename.
In our application, this content will write the content present in the report.rmd document into a Word document and assign the filename of report.docx, which will be provided to you to download with the changes required.
Now, let's look at the R Markdown document:
---
output: word_document
---

# `r input$title`

The introduction goes here

## Heading 2

The next bit about the subject goes here

### Heading 3

Some more stuff about this subject goes here.

```{r, echo = FALSE}

plot(1:10, main = input$title)

```
In the Markdown document, first we will mention the output format. This is an optional step as we have already mentioned the output format in the function. We need to be careful when writing the remaining code. This is similar to Markdown document. In the previous code block, you will find various headings that are defined using hashes (#) for headings and subheadings. We have also defined a few inline R functions and code blocks using backticks and curly brackets { }, similar to the method we saw earlier. And finally, there is the plot with the title dynamically taken from the textbox in the UI. We have finally done with creating an application using HTML and CSS. We will now learn how to use HTML templates with R and Shiny.
Using HTML templates
HTML templates are ready-to-use templates combining HTML and Shiny code together in the same code files. In this section, we will learn about a method to include R code written directly to an HTML template and how to use the R code in a separate file reference from the template.
Here, we will create the first application that contains the range slider. Creating a slider using vanilla Shiny code is much easier than using raw HTML:
In general, there are two ways of using the HTML template. One way is by using an R function defined inline to the template and the other is by referring an R function to the variables defined in a separate file. In both methods, we will need the three separate server.r, ui.r, and .html files. You can name the HTML file as you like. For demonstration purposes, we have used template.html. We can even name the HTML file apps.html. The HTML file needs to be placed at the same level as the server.r and ui.r files and not in a www folder.
Here, the server file will be similar to the one we created earlier and the ui.r file will contain the following line:
htmlTemplate("template.html")
The preceding line just informs the Shiny app that we will be using the HTML template. Now let's understand what the HTML file contains:
<html>
  <head>
    {{ headContent() }}
    {{ bootstrapLib() }}
  </head>
  <body>
    <h1>Minimal HTML UI</h1>

    <div class="container-fluid">
      <div class="row">
        <div class="col-sm-4">
          <h3>Control panel</h3>

            {{ sliderInput("year", "Year", min = 1893, max = 2005, value = c(1945, 2005), sep = "") }}

            {{ textInput("title", "Title") }}

            <div id="listMovies" class="shiny-html-output"></div>

            {{ selectInput("genre", "Which genre?",  c("Action", "Animation", "Comedy", "Drama", "Documentary", "Romance", "Short")) }}

        </div>

        <div class="col-sm-8">

          {{ plotOutput("budgetYear") }}

          <p>For more information about <strong>Shiny</strong> look at the
          <a href="http://shiny.rstudio.com/articles/">documentation.</a></p>

          <hr>

          <p>If you wish to write some code you may like to use the pre() function like this:</p>
            <pre>sliderInput("year", "Year", min = 1893, max = 2005,
                   value = c(1945, 2005), sep = "")</pre>

          <div id = "moviePicker" class = "shiny-html-output"></div>

        </div>

      </div>
    </div>
  </body>
</html>
The previous HTML code is similar to the raw definition that we used earlier, except for the controls and output. The controls and output are Shiny code instead of HTML code. We can also combine Shiny and HTML to define the controls and output. Let's look at the functions of the Shiny code. At the beginning, in the head section, we have two functions; one is {{ headContent() }} and the other is {{ bootstrapLib() }}.
The head content, {{ headContent() }}, will produce the boilerplate HTML that we saw in the previous example about adding the links of JavaScript and CSS. {{ bootstrapLib() }} is required to load the Bootstrap library.
You must have noticed that we have defined the slider, textbox, and genre input using the Shiny commands within the HTML file (template.html), as seen in the following code block:
{{ sliderInput("year", "Year", min = 1893, max = 2005, value = c(1945, 2005), sep = "") }}
{{ textInput("title", "Title") }}
{{ selectInput("genre", "Which genre?",  c("Action", "Animation", "Comedy", "Drama", "Documentary", "Romance", "Short")) }}
All these Shiny commands are wrapped in double curly brackets {{ }}, similar to the function defined in the header section. We are done with the HTML changes. This is the simplest method to add pre-existing HTML frameworks to a Shiny application without using a lot of HTML code blocks and defining the controls. One disadvantage to this method is that we will not be able to use line breaks, as they will not be processed as required.
Let's look at the other method for using the HTML template, where the file structure is similar to the first method of having three files: server.r, ui.r, and an .html file (template.html). Here, we will create the HTML file first, which will have the following lines of code:
<html>
  <head>
    {{ headContent() }}
    {{ bootstrapLib() }}
  </head>
  <body>
    <h1>Minimal HTML UI</h1>
    <div class="container-fluid">
      <div class="row">
        <div class="col-sm-4">
          <h3>Control panel</h3>
          {{ slider }}
          {{ text }}
         <div id="listMovies" class="shiny-html-output"></div>
           {{ comboBox }}
         </div>
         <div class="col-sm-8">
          {{ thePlot }}
          <p>For more information about <strong>Shiny</strong> look at the <a href="http://shiny.rstudio.com/articles/">documentation.</a></p>
          <hr>  <p>If you wish to write some code you may like to
          use the pre() function like this:</p>
          <pre>sliderInput("year", "Year", min = 1893, max = 2005,
                   value = c(1945, 2005), sep = "")</pre>
        <div id = "moviePicker" class = "shiny-html-output"></div>
        </div>
      </div>
    </div>
  </body>
</html>
We have here the two standard functions at the top, and the main difference is that we have defined the variable names in place of curly brackets as compared to defining the function inline, as in the previous method. We have defined the {{ slider }}, {{ text }}, {{ comboBox }}, and {{ thePlot }} variables for the slider, text input, genre, and the plot, respectively.
Now it's time to create the ui.r file. First, we will define the name of the HTML template and also define the variables used in the HTML file. Your final ui.r will look similar to the following structure:
htmlTemplate(
  "template.html",
  slider = sliderInput("year", "Year", min = 1893, max = 2005,
                       value = c(1945, 2005), sep = ""),
  text = textInput("title", "Title"),
  thePlot = plotOutput("budgetYear"),
  comboBox = selectInput("genre", "Which genre?",
                       c("Action", "Animation", "Comedy", "Drama",
                           "Documentary", "Romance", "Short"))
)
Here, we can see that we have defined the slider variable as the sliderInput function, text as the textInput function, theplot as the plotOutput function, and comboBox as the selectInput function. We can define all the variables and functions here instead of defining them in HTML functions. For example, you can also define a string that prints the author name that can be used throughout the function. If the name of the author needs to be changed, then we only need to alter one variable rather than changing all the functions throughout.
Summary
In this chapter, we learned about the basics of Shiny applications and the use of Shiny commands. We also learned about how to create and style an application using the HTML tags and CSS, and create a downloadable application using the R Markdown document. Later, we covered the use of HTML templates and the use of Shiny and HTML to create dynamic applications. In the next chapter, we'll be looking at Shiny layout functions.