


 Download code from GitHub
In the first chapter of this book, we are going to go through all the steps that are required to configure your Raspberry Pi Zero board so you can use it for all the projects we will see in this book.
First we will look at the list of components that are required to use the board. Then, we will install the Raspbian distribution, which will be the operating system we will use throughout this book, on the board. Finally, we'll see how to configure the board for remote, and how to install the Node.js framework that we will use in nearly all the projects of the book. Let's start!
The Raspberry Pi Zero is a board that was introduced in 2015, and the goal was to make a low-cost ($5), small-format board with most of the functionalities of the original Raspberry Pi board.
The following is an image of the Zero board:

In the center of the board, you will find the same System-on-a-Chip (SoC) as the original Raspberry Pi board, with a 1-GHz single-core processor, 512 MB of RAM, and a graphical processing unit.
The board has several inputs and outputs, like the 40-pin GPIO connector that we will use through this whole book to connect the board to sensors and other components.
There are also two USB ports (one for power, one for communication), one mini-HDMI port, and one SD card slot to put the operating system and other files in.
The power consumption of the board was also reduced compared to the first board, going from 1.5W to 0.8W.
Even if the Raspberry Pi Zero board has a very small form factor, it actually can't be used alone, at least for the configuration step. Therefore, we are going to need a lot of additional components for all the projects of this book, and this is what I wanted to go through in this section.
The first thing you will need for your Pi Zero board is a micro-USB to USB converter, so you can plug regular USB devices into your board. This is an image of the cable I used for my Pi board:

Then, you will need some way to connect your Raspberry Pi Zero board to a computer screen. To do so, you will need a mini-HDMI to HDMI adapter:

In order to connect more than one device to the board, you will also need a regular USB hub:

Later in this chapter, we are going to look at how to use the Raspberry Pi board remotely from your computer, so you don't need to always have it connected to an external screen. However, to begin with, you will need a keyboard and mouse to use it:

The Raspberry Pi Zero board doesn't come with onboard storage. Therefore, you will need to use a micro SD card to store the operating system. I recommend using at least an 8-GB SD card:

At some point, we are going to connect the Raspberry Pi Zero board to the Internet. We'll also need to connect it to your local network, so you can access it remotely. To do so, I recommend using a simple Wi-Fi USB dongle:

Of course, you will need other components to use the Raspberry Pi Zero board that I haven't included here as usually, they are already on everyone's desk. For example, you will need a screen with an HDMI input to use the board. You will also need a micro-USB power supply, for example, the one you are using to charge your phone. The Raspberry Pi foundation says it should work with a power supply that can deliver at least 1A, but a 2A power supply is recommended.
Let's now look at how to assemble the required components so we can get started with your Raspberry Pi:
First, insert the micro-USB to USB adapter cable into one of the USB ports of the Pi (not the PWR one), and also plug the mini-HDMI cable to the Pi.
Then, connect all your required USB devices (for example, the Wi-Fi dongle) to the USB hub, and connect the USB to the Pi. Also, connect the Pi to an external screen using an HDMI cable.
This is how it should look when you are done, not showing the connections to the screen or the hub:

At this point, don't connect it to the power yet—we first need to install Raspbian (the operating system) on the SD card.
There are many operating systems that are available for the Raspberry Pi board, most of which are based on Linux. However, the one that is usually recommended is Raspbian, which is an operating system based on Debian that was specifically made for Raspberry Pi.
In order to install the Raspbian operating system on your Pi, the first step is to download the latest Raspbian image from the official Raspberry Pi website:
https://www.raspberrypi.org/downloads/raspbian/
Next, insert the micro SD card into your computer using an adapter (an adapter is usually given with the SD card). To actually configure the SD card, it's best to refer to the official installation guides. If you use Windows, please refer to the following URL:
https://www.raspberrypi.org/documentation/installation/installing-images/windows.md
If you are using OS X, please refer to the following:
https://www.raspberrypi.org/documentation/installation/installing-images/mac.md
Finally, if you are using Linux, you can refer to the following:
https://www.raspberrypi.org/documentation/installation/installing-images/linux.md
Now, once you have Raspbian installed on your SD card, insert it into Raspberry Pi and connect the Raspberry Pi board to the power source via the micro-USB port.
Then, after a while, you should see the desktop of your freshly installed Raspbian operating system:
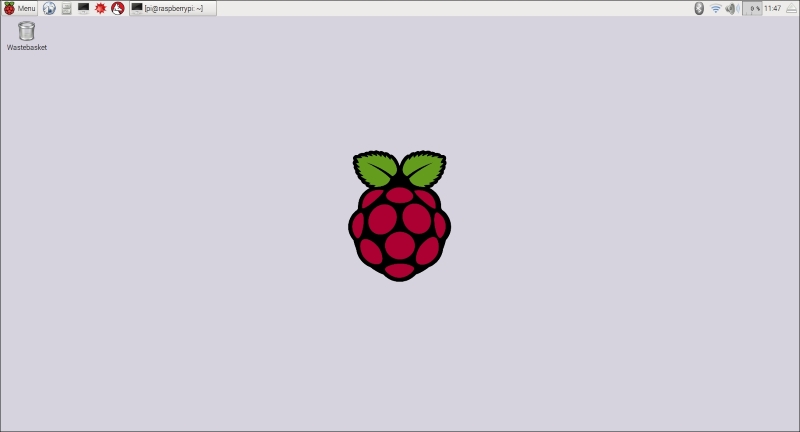
If you can see this screen, congratulations; you now have a fully functional Raspberry Pi Zero board. Throughout the rest of this chapter, we are going to see how to configure the board so it can be accessed remotely, and how to install the Node.js framework on it.
At the end of this chapter, you want to be able to access the board from your own computer, without having it connected to an external screen.
The first step is to connect the Raspberry Pi board to your local Wi-Fi network. If you connected a Wi-Fi dongle to the Pi, you should see the Wi-Fi icon at the top of your Pi desktop. Click on it, and select your Wi-Fi network:
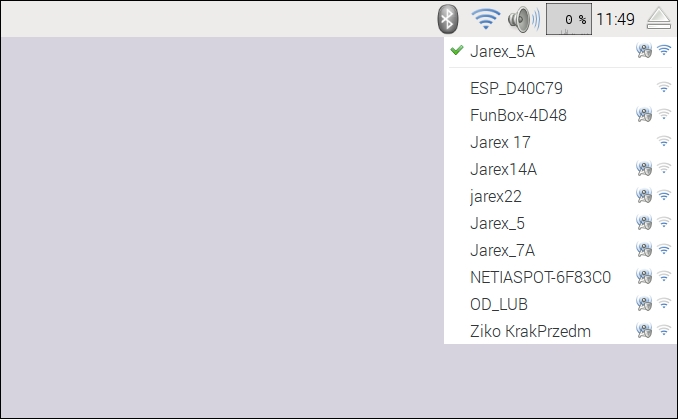
You will then be asked to enter the password for your network, and a few seconds later, you should be connected to your local Wi-Fi network and to the Internet.
Next, we need to enter the Raspberry Pi configuration panel so we can set some essential settings. You can find the Raspberry Pi Configuration tool inside the main Menu:
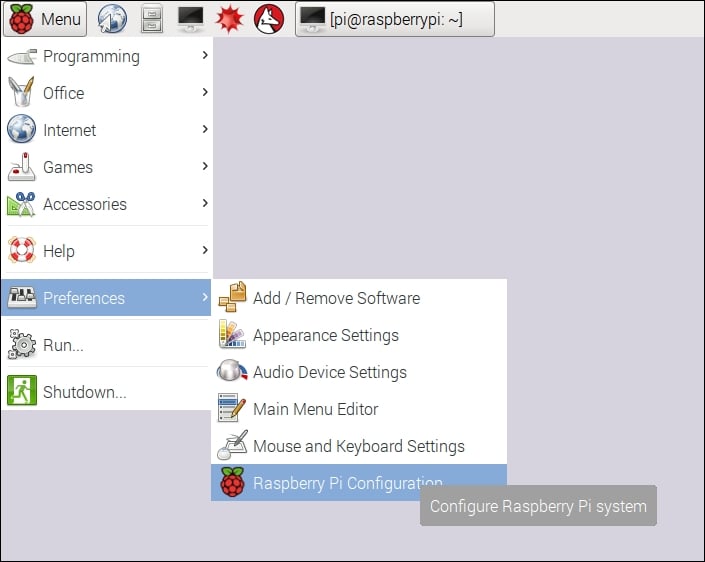
Inside the configuration tool, first press on Expand Filesystem:
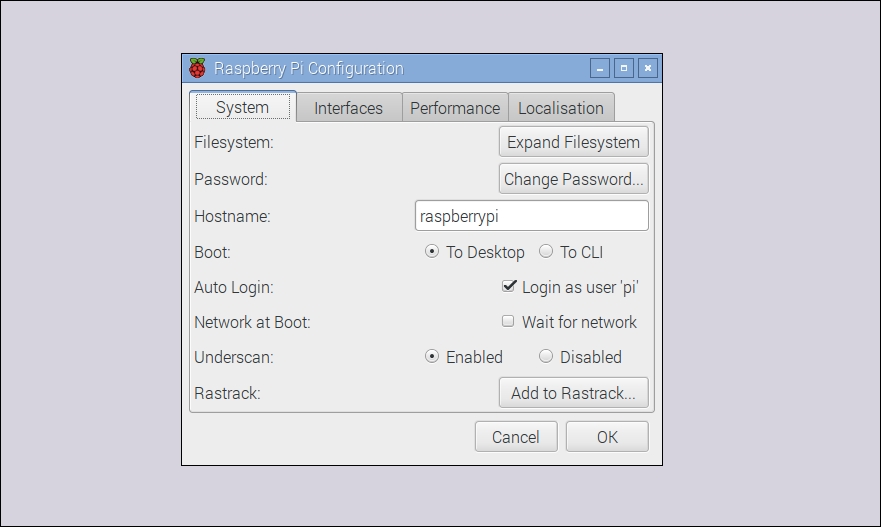
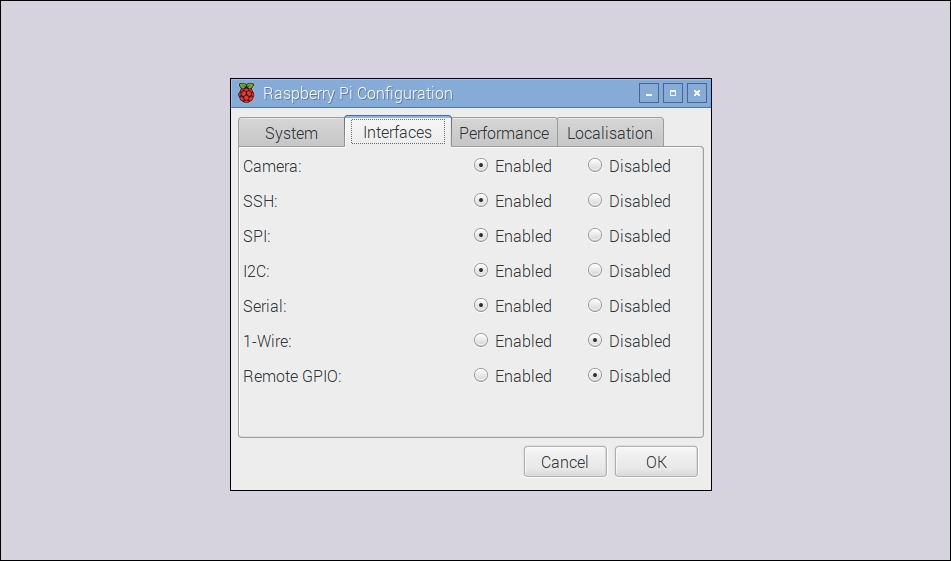
This will make sure that the Pi now has access to all the space available on the SD card. Also, click on the Interfaces tab and check that SSL is checked:
Inside the same configuration tool, you can also give a network name to your Pi. I simply called mine pizero.
We are now going to perform some tests from your computer to make sure that Raspberry Pi is correctly configured for remote access and that it has access to the Internet.
To do so, open a terminal window on your computer (or use PuTTY if you are using Windows), and type the following:
ssh pi@pizero.localThis should initiate a connection to your Pi board and ask for your password. Once you type in your password, you should now be connected to the Pi board. If that doesn't work at this point, try replacing the name of your Raspberry Pi with the IP address of the board (you can get this by typing ifconfig inside a Terminal on the Pi itself).
Then, from your computer, type the following:
sudo apt-get updateThen type the following command:
sudo apt-get upgradeThis will upgrade your Pi board by downloading all the latest packages from the official Raspberry Pi repository, so it's a great way to make sure that your board is connected to the Internet.
To finish this chapter, we are going to install Node.js, which is a powerful framework that we will use to run most of the applications that we are going to see inside this book. Luckily for us, installing Node.js on Raspberry Pi is really simple.
First, log into your Raspberry Pi via SSH. We are going to quickly check that Node.js was not installed with the Linux image. To do so, type the following:
node -vIf this returns the version of Node.js, you can stop there. If it returns an error, you will have to install it manually. To do so, first type the following:
curl -sL https://deb.nodesource.com/setup_4.x | sudo -E bash -After that, type the following command, which will install Node.js:
sudo apt-get install -y nodejsFinally, install some additional tools with the following:
sudo apt-get install -y build-essentialYou can now test that Node.js is correctly installed by typing the following:
node -vCongratulations, you now have a fully configured Raspberry Pi Zero! In the next chapter, we are going to build your first application using the Zero board and learn how to measure data from sensors.
In this first chapter of this book, we saw how to configure our Raspberry Pi Zero board so we can use it in later chapters of this book. We saw what components were needed for the Pi, and how to install Raspbian so we can run software on our board. Finally, we installed Node.js, which we will use in the whole book to run home automation projects on our Pi.
In the following chapter, we are going to dive into the core topic of the book by learning how to measure data from a sensor.


