


Creating your first SPFx solution (step by step)
Having set up your machine and developer tenant, you are now prepared to embark on developing with the SPFx.
Configuring your development environment
With the necessary tools and tenant in place, you can now configure your development environment:
- Create a new directory for your SPFx projects. This can be done by right-clicking on your desktop or within a folder, selecting New and then Folder, and naming it appropriately.
- Open VS Code and navigate to your project directory. You can do this by opening VS Code, clicking on File in the top menu, selecting Open Folder, and then navigating to the folder you created.
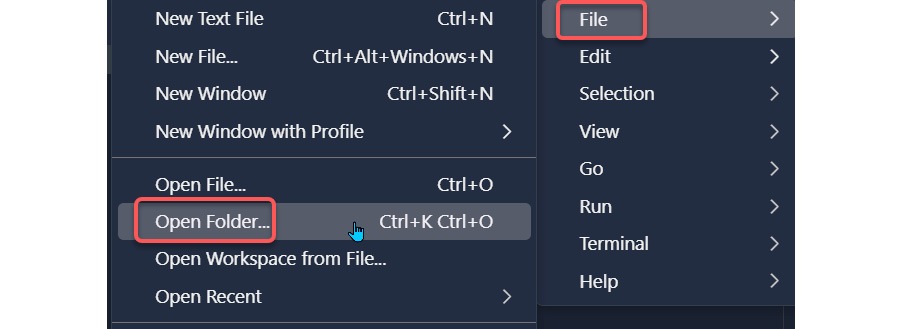
Figure 3.2 - Opening a folder from VS Code
Once you are in your project directory, open the terminal within VS Code. You can do this by clicking on Terminal in the top menu and selecting New Terminal. This will open a terminal window at the bottom of VS Code.


