Download code from GitHub
In this chapter, we will set up a lab with all the tools that are required for the rest of the book. This first chapter is an essential part of the book for those who are new to Android security. It will help us to have an arsenal of tools required for Android security in one place. These are some of the major topics that we will discuss in this chapter:
Setting up the Android environment
Installing the tools required for app assessments
Installing the tools required for assessing the security of the mobile backend
Installing vulnerable apps
An introduction to Android Debug Bridge (adb)
This section explains the tools required for the rest of the chapters. We will start with setting up Android Studio, which is required for developing Android apps, and then move on to creating an Android Virtual Device (AVD). Finally, we will install the necessary tools to assess the security of Android devices and apps. Most of the installation steps shown here are for the Windows platform. If tools are used on other platforms, it will be mentioned explicitly.
Java is one of the necessary dependencies for some of the tools, such as Android Studio and Burp Suite. So, download and install Java from the following link:
The following are the steps to install Java:
Run the installer:
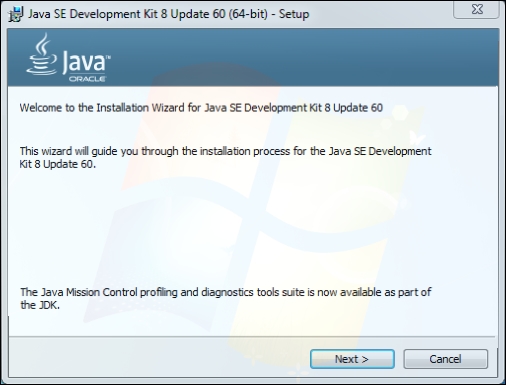
Leave all the settings as defaults unless you have a reason to change it. Click Next till you see the following screen:

The preceding screenshot shows the path to your Java installation. Make sure that you are OK with the path shown here. If not, go back and change it according to your needs.
Follow the steps shown by the installer and continue with the installation until the following window appears:
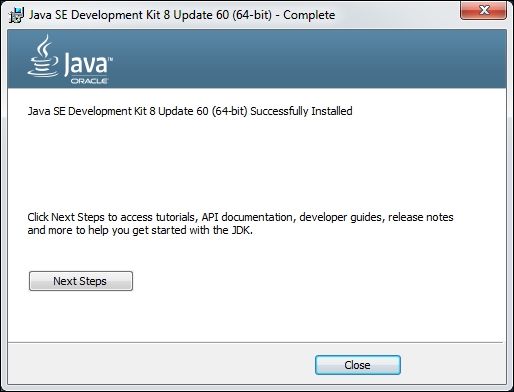
This finishes the installation. Just click the Close button and check your Java installation by opening a new command prompt and running the following command:

That finishes our first installation in this book.
The next tool to be installed is Android Studio. Android Studio is the official IDE for Android application development, based on IntelliJ IDEA. Eclipse used to be the IDE for Android Application development before Android Studio was introduced. Android Studio was in early access preview stage, starting with version 0.1 in May 2013, and then entered beta stage starting with version 0.8, which was released in June 2014. The first stable build was released in December 2014, starting with version 1.0.
Download and install Android Studio from the following link:
https://developer.android.com/sdk/index.html
Download Android Studio and run the installer:
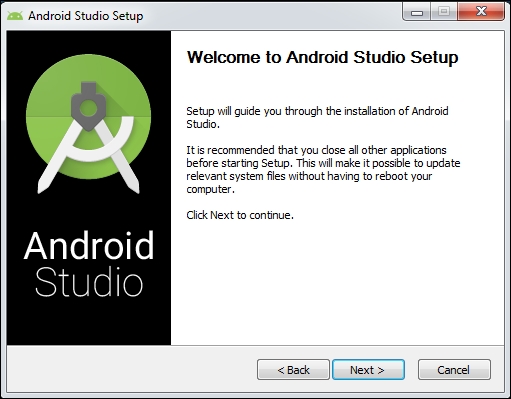
Click Next till the following window appears:

This window shows us the options for the tools to be installed. It is suggested you check all of them to install Android SDK, Android Virtual Device, and Intel@HAXM, which is used for hardware acceleration and necessary to run x86-based emulators with Android Studio.
Agree to the License Agreement and proceed with the installation:
Choose the installation location for Android Studio and the Android SDK. If you don't have any specific choices, leave them to the default values. Please keep a note of the location of your Android SDK to add it to your system environment variables, so that we can access tools such as adb, sqlite3 client, and so on from anywhere on the command prompt:

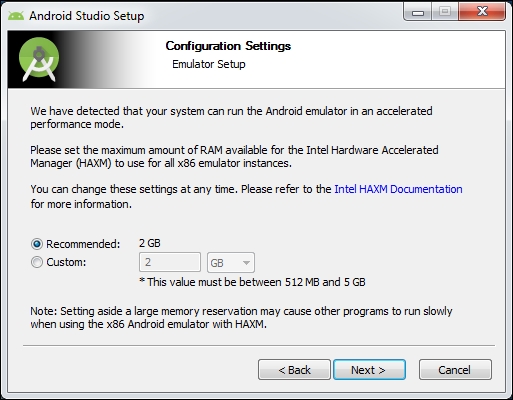
Allocate the RAM based on your available system memory; however, a minimum of 2 GB is recommended:
The following step allows us to choose the name for Android Studio in the start menu. Again, you can leave it to the default value if you don't have any specific choice:

Continue the installation by clicking Next till the following screen appears. This finishes our Android Studio installation:

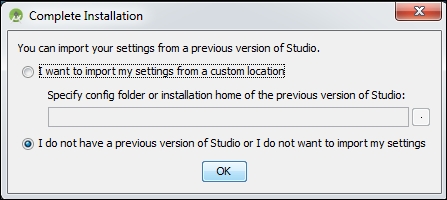
When you click Finish in the preceding window, the following screen will be shown. If you have installed an older version of Android Studio, choose its location to import your previous settings. If this is a fresh installation on this machine, choose I do not have a previous version of Studio or I do not want to import my settings:
Clicking the OK button will start Android Studio, as shown here:

Once it is loaded, we will be greeted with a window, where we need to choose the UI theme. Select one of the themes and click Next.

Clicking Next in the previous window will download the latest SDK components and the emulator, as shown in the following screenshot:
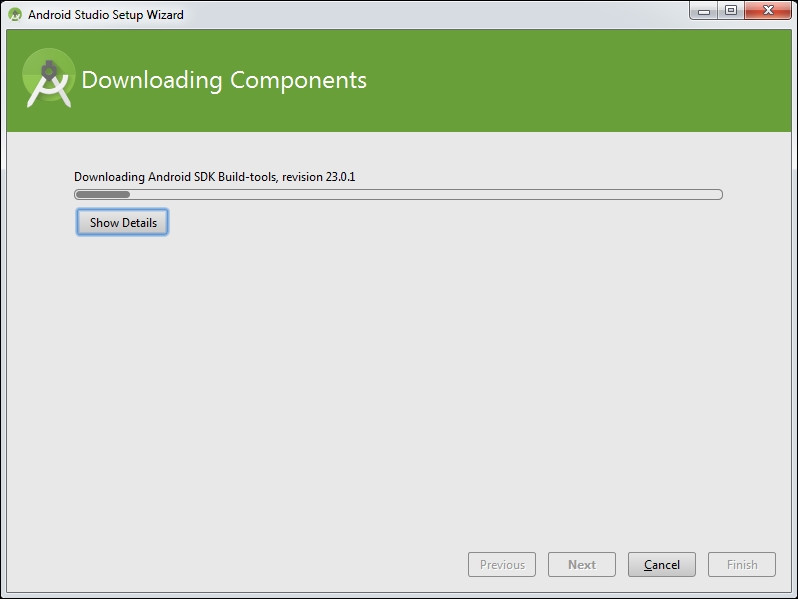
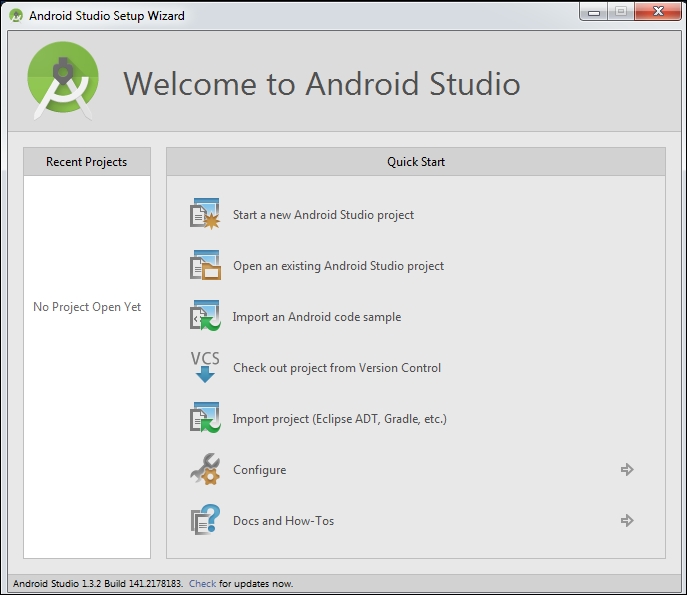
Finally, click Finish and you should be greeted with the following window. This completes our installation:

To create a new sample application, click Start a new Android Studio project:
Choose a name for your app under Application name. Let's name it HelloWorld. Also choose a sample company domain name. Let's name it test.com. Leave the other options to their defaults and click Next:

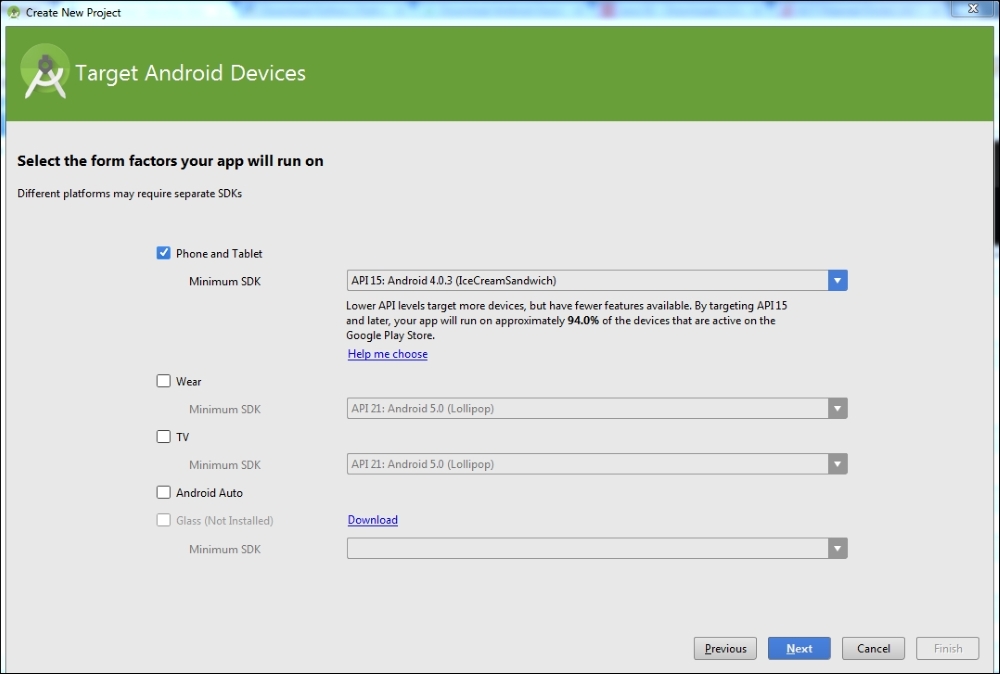
The following screen shows the Minimum SDK version for our app. We choose to make it API Level 15, as it supports a higher number of devices:
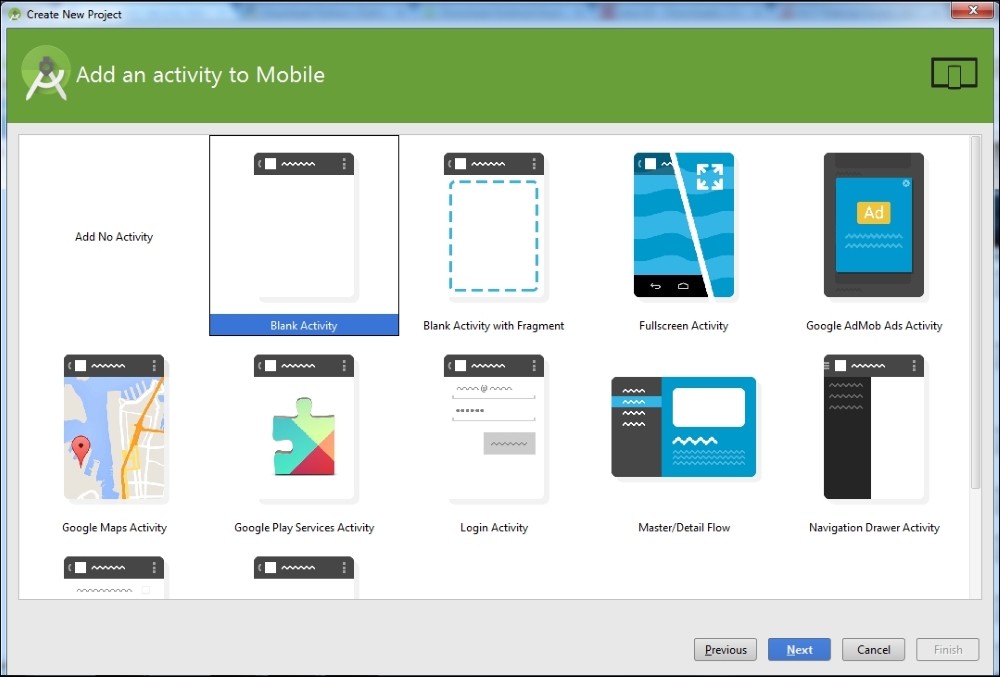
Select a Blank Activity, as shown here, and click Next:
You can choose a name for your activity if you wish. We will leave the options to their defaults:

Finally, click Finish to complete the setup. It will take some time to initialize the emulator and build our first Hello World app:

Wait for all initialization to finish when you see the previous screen. In future chapters, we will see how this app is compiled and run in an emulator.
To get hands-on experience of most of the concepts in this book, readers must have an emulator or a real Android device (preferably a rooted device) up and running. So, let's see how to create an emulator using the setup we have from the previous installation:
Click the AVD Manager icon at the top of the Android Studio interface, shown in the following image:

This will open the following window. There is one emulator by default, which was created during Android Studio's installation process:

Click the Create Virtual Device button in the bottom-left corner of the previous window. This will display the following window:
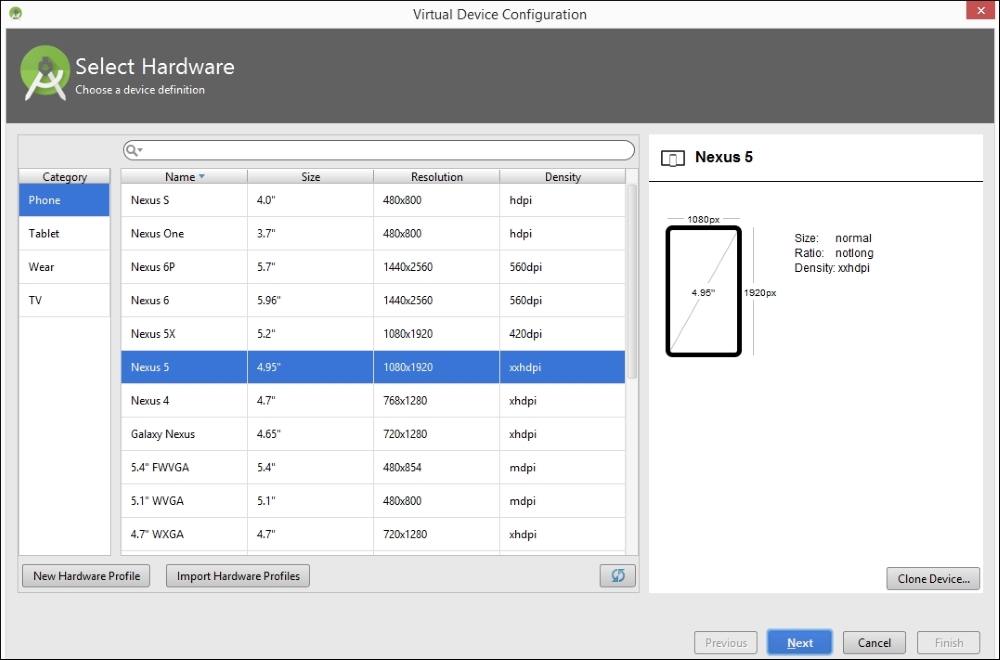
Now, choose your device. I chose a device with the following specs, to create an emulator of a small size:

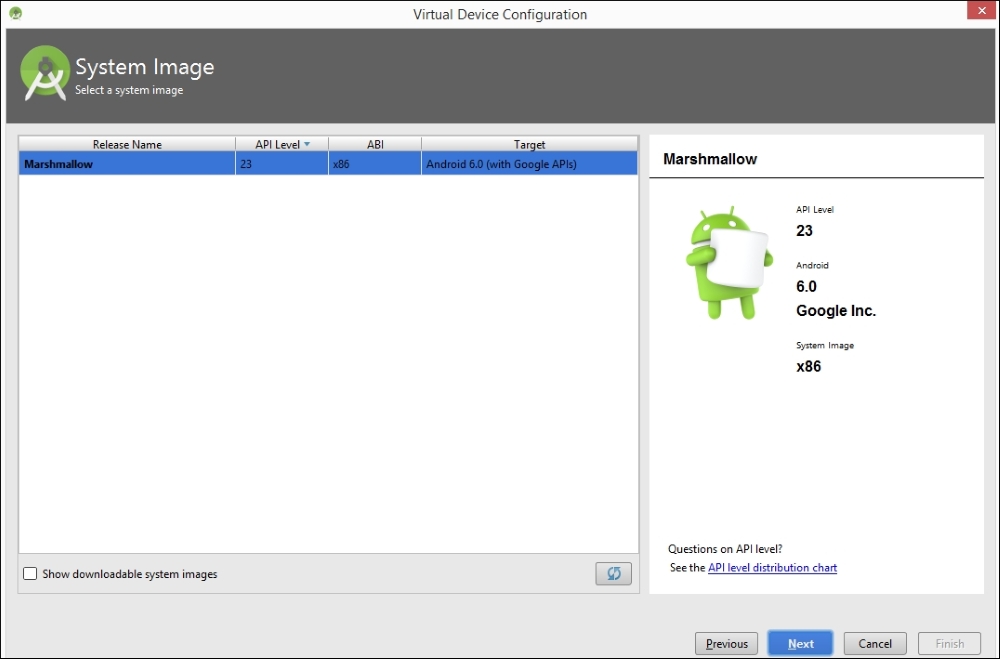
Click Next and you will see the following window. If you check Show downloadable system Images, you will see more options for your system images. We can leave it to the default of x86 for now.
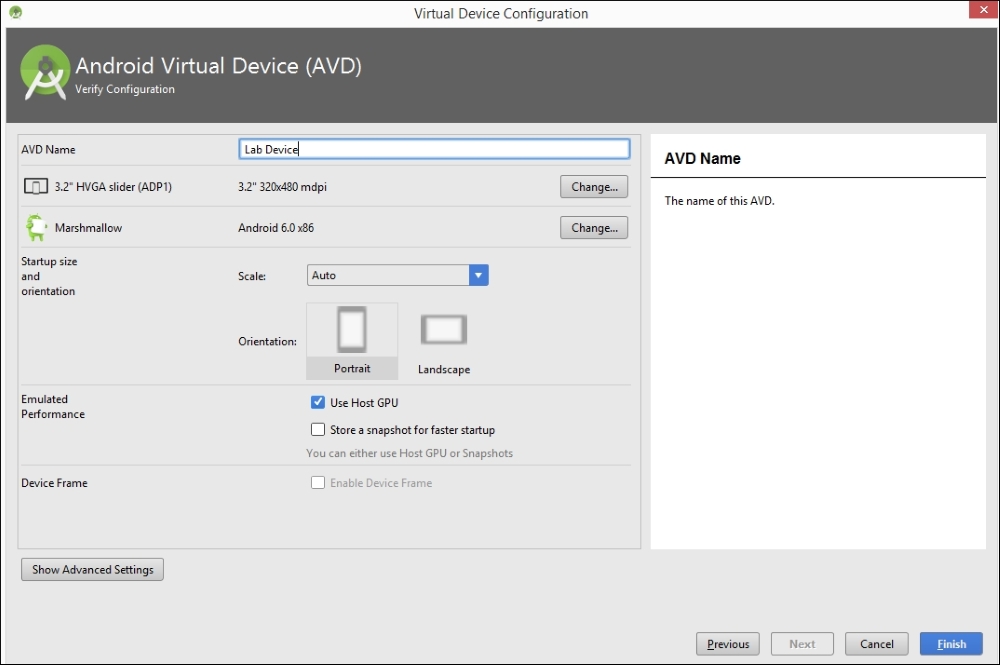
Finally, give your AVD a name and click Finish. In our case, we named it Lab Device:
Once you are done with the previous steps, you should see an additional virtual device, shown here:

Select the emulator of your choice and click the Play button to start the emulator:

When it's ready, you should see an emulator, as shown here:

It is recommended you have a real device along with an emulator to follow some of the concepts shown in this book.
The authors have used the following device for some of their demonstrations with real devices: Sony Xperia model c1504, rooted:

Apktool is one of the most important tools that must be included in an Android penetration tester's arsenal. We will use this tool later for Android application reverse engineering, and for creating malware by infecting legitimate apps.
Download the latest version of Apktool from the following link (please download Apktool 2.0.2 or later to avoid some issues that exist in older versions):
http://ibotpeaches.github.io/Apktool/
We downloaded and saved it in the C:\APKTOOL directory, as shown in the following screenshot:
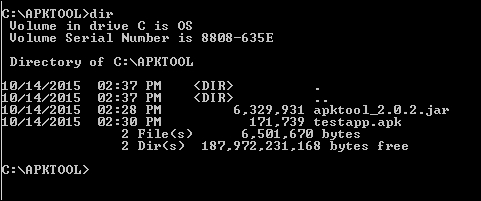
Now, we can go ahead and launch Apktool, using the following command to see the available options:
java –jar apktool_2.0.2.jar --help

This completes the setup of Apktool. We will explore Apktool further in future chapters.
Dex2jar and JD-GUI are two different tools that are often used for reverse engineering Android apps. Dex2jar converts .dex files to .jar. JD-GUI is a Java decompiler that can decompile .jar files to the original Java source.
Download both the tools from the links provided. No installation is required for these tools, as they are executables:
http://sourceforge.net/projects/dex2jar/

Burp Suite is without a doubt one of the most important tools for any penetration testing engagement. Android apps are not an exemption. This section shows how we can set up Burp Suite to view the HTTP traffic from an emulator:
Download the latest version of Burp Suite from the official website:
To launch Burp Suite, double-click on the downloaded file, or simply run the following command, assuming that the downloaded file is in the current working directory:
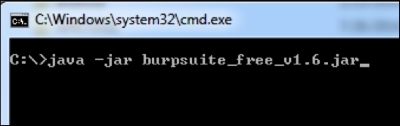
The preceding command launches Burp Suite and you should see the following screen:

Now we need to configure Burp by navigating to Proxy | Options. The default configuration looks like this:
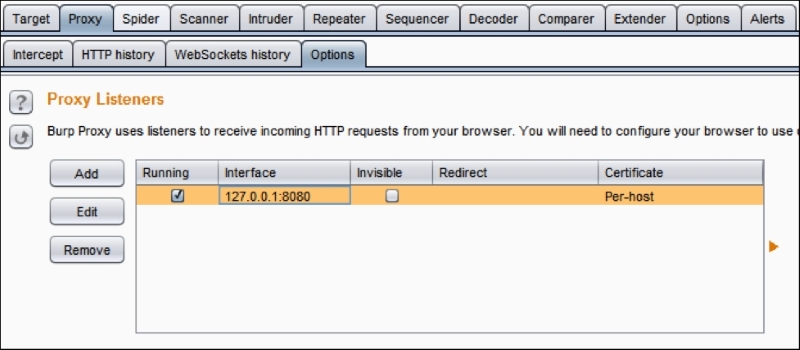
We have to click the Edit button to check the Invisible option. We can do this by clicking the Edit button, navigating to Request handling and then checking Support invisible proxying (enable only if needed). This is shown in the following figure:

Now, let's start our emulator in order to configure it to send its traffic through Burp Suite.
Now the AVD has to be configured in such a way that traffic from the device goes through the proxy:
Navigate to Home | Menu | Settings | Wireless & networks | Mobile Networks |Access Point Names.
Here we will configure the following proxy settings:
Proxy
Port
The following figure shows the IP address of the workstation. This is required to configure the AVD:

Enter the IP address of the system here:

After entering the IP address of the system, enter the port number, 8080, as shown here:

Once this is done, all the HTTP traffic from the device will be sent via the Burp proxy on your machine. We will make use of this setup extensively when we discuss weak server-side controls.
Drozer is a tool used for automated Android app assessments. The following are the steps to get Drozer up and running.
Following are the requirements for setting up:
A workstation (in my case Windows 7) with the following:
JRE or JDK
Android SDK
An Android device or emulator running Android 2.1 or later.
First, grab a copy of the Drozer installer and
Agent.apkfrom the following link:https://www.mwrinfosecurity.com/products/drozer/community-edition/
Download the appropriate version of Drozer if you are working with a different setup than what we are using in this book.
After downloading, run the Drozer installer. Installation uses the usual Windows installation wizard, as shown here:

Click Next and choose the destination location for Drozer installation:
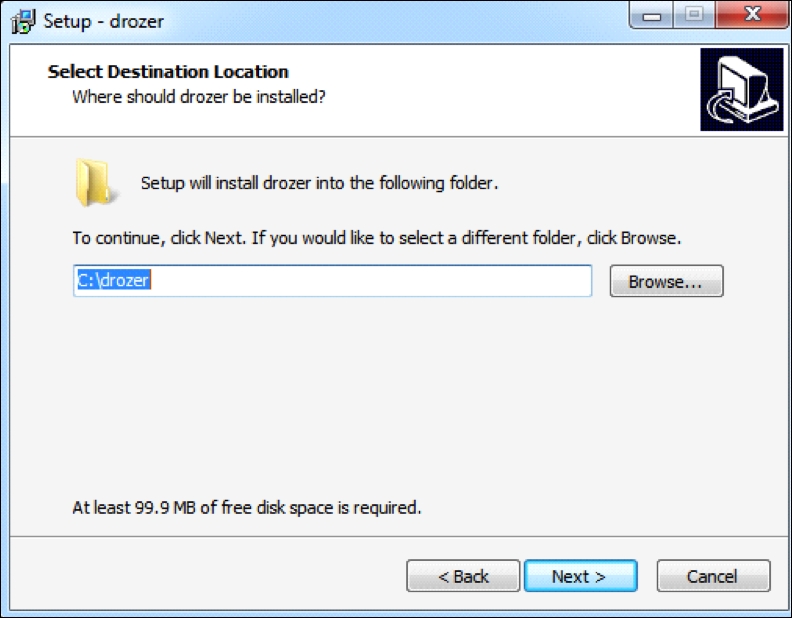
As shown in the preceding screenshot, the default location is
C:\drozer. It is recommended you use the default location if you would like to configure your system identical to ours. Follow the wizard's instructions to complete the installation. The installation window is shown in the following screenshot for your reference:
Click Finish to complete the process:

The preceding installation process automatically installs all the required Python dependencies and sets up a complete Python environment.
To check the validity of the installation, perform the following steps:
Start a new command prompt and run the
drozer.batfile, as shown in the following screenshot:
Now, install the
agent.apkfile we downloaded earlier onto your emulator. We can install.apkfiles using theadbcommand:adb install agent.apk
To start working with Drozer for your assessments, we need to connect the Drozer console on the workstation to the agent on the emulator. To do this, start the agent on your emulator and run the following command to port forward. Make sure you are running the embedded server when launching the agent.

adb forward tcp:31415 tcp:31415As we can see, the command completed successfully without any errors:

Now, we can simply run the following command to connect to the agent from the workstation:
[path to drozer dir]\drozer.bat console connectWe should now be presented with the Drozer console, as shown here:

According to their official GitHub page, QARK is an easy-to-use tool capable of finding common security vulnerabilities in Android applications. Unlike commercial products, it is 100% free to use. QARK features educational information allowing security reviewers to locate precise, in-depth explanations of vulnerabilities. QARK automates the use of multiple decompilers, leveraging their combined outputs to produce superior results when decompiling APKs.
QARK uses static analysis techniques to find vulnerabilities in Android apps and source code.
As of writing this, QARK only supports Linux and Mac:

This will launch an interactive QARK console, shown in the following screenshot:

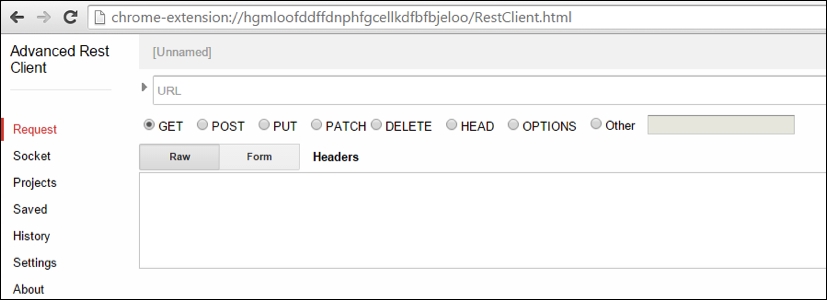
Advanced REST Client is an add-on for Chrome. This is useful for penetration testing REST APIs, which are often a part of mobile applications:
Install the Google Chrome browser.
Open the following URL:
Search for Advanced REST client. You should see the following Chrome extension. Click the ADD TO CHROME button to add it to your browser:

It will prompt you for your confirmation, as shown in the following screenshot:

Once you are done adding this extension to Google Chrome, you should have the add-on available, as shown here:
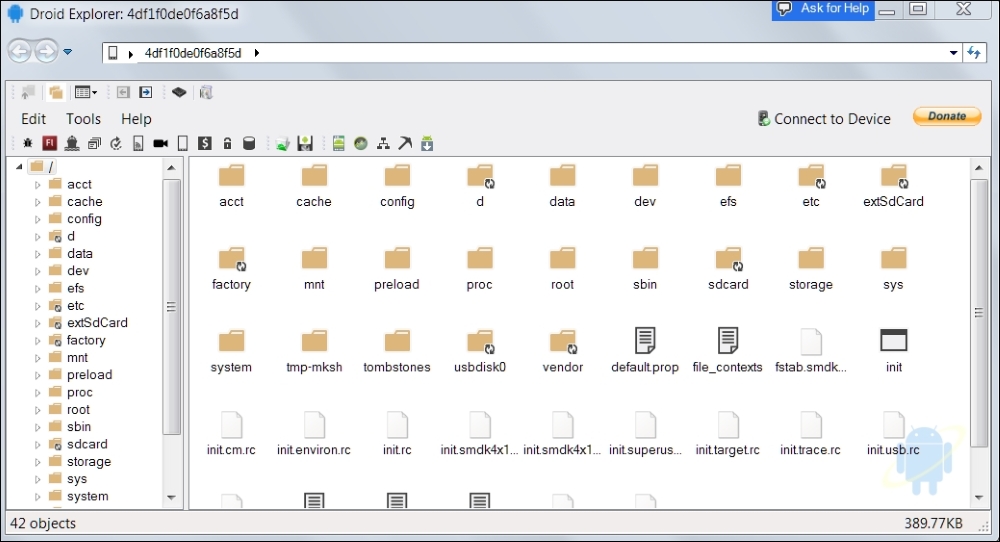
Most of the time in this book, we will use command line tools to explore the Android filesystem, pulling/pushing data from/to the device. If you are a GUI lover, you will appreciate using Droid Explorer, a GUI tool to explore the Android filesystem on rooted devices.
Droid Explorer can be downloaded from the following link:
Introspy is a blackbox tool which helps us to understand what an Android application is doing at runtime, and enables us to identify potential security issues.
Introspy Android consists of two modules:
Follow this process to set up Introspy:
Download Introspy Analyzer from the following link:
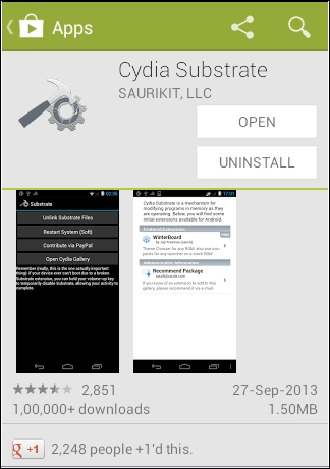
Installing Cydia Substrate for Android is a requirement in order to successfully install Introspy. Let's download it from the Android Play Store and install it:
Now, install Introspy-Android Config.apk and Introspy-Android Core.apk, which we downloaded in step 1. These are the commands to install them using
adb:adb install Introspy-Android Config.apk adb install Introspy-Android Core.apk
You should see the following icons if the installation was successful:

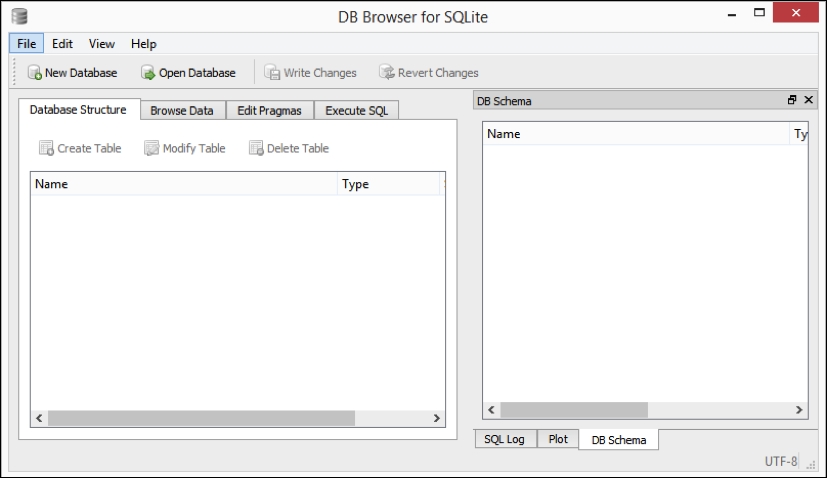
We often come across SQLite databases when dealing with Android applications. SQLite browser is a tool that can be used to connect to SQLite databases. It allows us to perform database operations using some eye candy:

Frida is a framework developed for the dynamic instrumentation of apps on various platforms, which includes support for Android, iOS, Windows and Mac. This tool helps us hook into the apps and performs runtime manipulation.
Some important links are as follows:
https://github.com/frida/frida
http://www.frida.re/docs/android/
The following section shows how to set up Frida. We have used a Mac in this example.
Prerequisites:
Frida client: This will be running on the workstation
Frida server: This will be running on the device
Download Frida server onto your local machine using the following command:
curl -O http://build.frida.re/frida/android/arm/bin/frida-server


$ curl -O http://build.frida.re/frida/android/arm/bin/frida-server
  % Total    % Received % Xferd  Average Speed   Time    Time     Time  Current
                                 Dload  Upload   Total   Spent    Left  Speed
100 12.0M  100 12.0M    0     0   232k      0  0:00:53  0:00:53 --:--:--  166k
$
This step should download the frida-server binary to the workstation and into the current directory.
Give Frida server execute permissions using the following command:
chmod +x frida-serverPush the frida-server binary to the device using
adb push, as shown here:$ adb push frida-server /data/local/tmp/Now, get a shell on the device with root privileges and run frida-server as shown here:
$ adb shell
shell@android:/ $ su
root@android:/ # cd /data/local/tmp
root@android:/data/local/tmp # ./frida-server &
[1] 5376
root@android:/data/local/tmp #
Installing frida-client is as simple as issuing the following command:
$ sudo pip install frida
Password:
Downloading/unpacking frida
  Downloading frida-5.0.10.zip
  Running setup.py (path:/private/tmp/pip_build_root/frida/setup.py) egg_info for package frida

Downloading/unpacking colorama>=0.2.7 (from frida)
  Downloading colorama-0.3.3.tar.gz
  Running setup.py (path:/private/tmp/pip_build_root/colorama/setup.py) egg_info for package colorama

Downloading/unpacking prompt-toolkit>=0.38 (from frida)
  Downloading prompt_toolkit-0.53-py2-none-any.whl (188kB): 188kB downloaded
Downloading/unpacking pygments>=2.0.2 (from frida)
  Downloading Pygments-2.0.2-py2-none-any.whl (672kB): 672kB downloaded
Requirement already satisfied (use --upgrade to upgrade): six>=1.9.0 in /Library/Python/2.7/site-packages/six-1.9.0-py2.7.egg (from prompt-toolkit>=0.38->frida)
Downloading/unpacking wcwidth (from prompt-toolkit>=0.38->frida)
  Downloading wcwidth-0.1.5-py2.py3-none-any.whl
Installing collected packages: frida, colorama, prompt-toolkit, pygments, wcwidth
  Running setup.py install for frida
    downloading prebuilt extension from https://pypi.python.org/packages/2.7/f/frida/frida-5.0.10-py2.7-macosx-10.11-intel.egg
    extracting prebuilt extension

    Installing frida-ls-devices script to /usr/local/bin
    Installing frida script to /usr/local/bin
    Installing frida-ps script to /usr/local/bin
    Installing frida-trace script to /usr/local/bin
    Installing frida-discover script to /usr/local/bin
  Running setup.py install for colorama

Successfully installed frida colorama prompt-toolkit pygments wcwidth
Cleaning up...
$
Now the client and server are ready. We need to configure port forward with adb before we can start using them. Use the following commands to enable port forwarding:
$ adb forward tcp:27042 tcp:27042
$ adb forward tcp:27043 tcp:27043
Now, type in —help to check the Frida client options:
$ frida-ps --help
Usage: frida-ps [options]

Options:
  --version           show program's version number and exit
  -h, --help          show this help message and exit
  -D ID, --device=ID  connect to device with the given ID
  -U, --usb           connect to USB device
  -R, --remote        connect to remote device
  -a, --applications  list only applications
  -i, --installed     include all installed applications
$
As we can see in the preceding output, we can use –R to connect to the remote device. This acts as a basic test for testing our setup:
$ frida-ps -R
  PID  Name
-----  ----------------------------------------
  177  ATFWD-daemon
  233  adbd
 4722  android.process.media
  174  cnd
  663  com.android.phone
 4430  com.android.settings
  757  com.android.smspush
  512  com.android.systemui
  .
  .
  .
  .
  .
  .
  138  vold
  2533  wpa_supplicant
  158  zygote
$
As we can see, a list of running processes has been listed down.
We will be using various vulnerable Android applications to showcase typical attacks on Android apps. These provide a safe and legal environment for readers to learn about Android security:
Kali Linux is a penetration testing distribution often used by security professionals to perform various security tests.
It is suggested that readers install a copy of Kali Linux in VirtualBox or VMware to prepare for network-level attacks on Android devices. Kali Linux can be downloaded from the following link:
adb is an essential tool for penetration testing Android apps. We will use this utility in multiple scenarios during our journey through this book. This tool comes preinstalled with the Android SDK and it is located in the "platform-tools" directory of the Android SDK. We added its path to the environment variables during the SDK installation process. Let us see some of the applications of this utility.
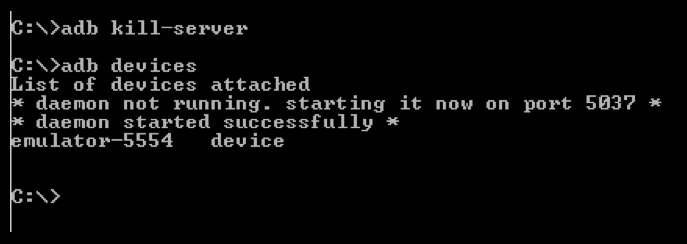
We can use adb to list the devices that are connected to the workstation using the following command:
adb devices

As we can see in the preceding screenshot, there is an emulator running on the laptop.
We can use adb to get a shell on the emulator or device using the following command:
adb shell
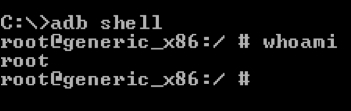
The preceding command will get a shell for the connected device.
The command to get a shell for an emulator when a real device and emulator are connected is as follows:
adb –e shell
The command to get a shell for a real device when a real device and emulator are connected is as follows:
adb –d shell
The command to get a shell for a specific target when multiple devices/emulators are connected is as follows:
adb –s [name of the device]
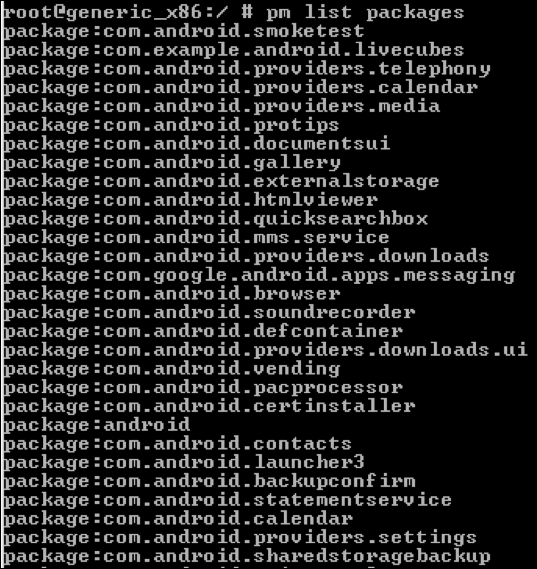
When you have access to a shell on an Android device using adb, you can interact with the device using tools available via the shell. "Listing the installed packages" is one such example that uses pm, which stands for package manager.
We can use the following command to list all the packages installed on the device:
pm list packages
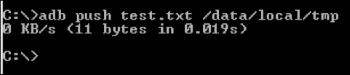
We can push data from the workstation to the device using the following syntax:
adb push [file on the local machine] [location on the device]
Let's see this in action. At the moment, I have a file called test.txt in my current directory:
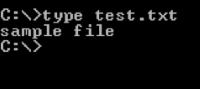
Let's move the test.txt file to the emulator. Type in the following command:
adb push test.txt /data/local/tmp
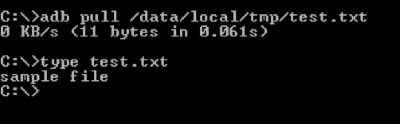
We can also use adb to pull files/data from the device to our workstation using the following syntax:
adb pull [file on the device]
Let us first delete the test.txt file from the current directory:
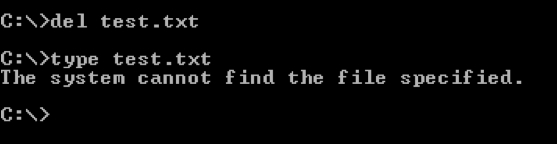
Now, type in the following command to pull the file located at /data/local/tmp directory to the device:
adb pull /data/local/tmp/test.txt
As we have seen in one of the previous sections of this chapter, we can also install apps using the following syntax:
adb install [filename.apk]
Let's install the Drozer agent app using the following command:
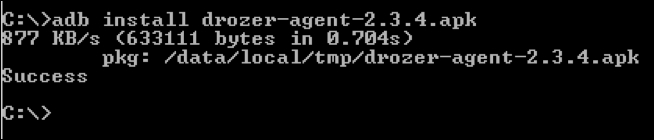
As we can see, we have successfully installed this app.
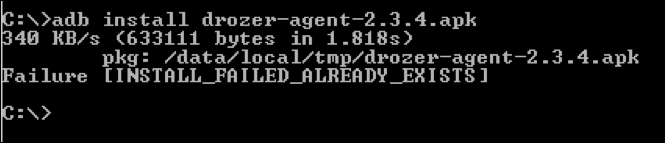
Note
Note: If we install an app that is already installed on the target device/emulator, adb throws a failure error as shown following. The existing app has to be deleted before we proceed to install the app again.
In this chapter, we have installed the tools necessary to do security assessments for Android mobile applications and services. We have installed static tools such as JD-GUI and dex2jar, which help us to do static analysis without running the app, and we have also managed to install Dynamic Analysis tools such as Frida and emulators, which will help us with dynamic analysis when the app is running.
In the next chapter, we will discuss the concept of Android rooting.