


 Download code from GitHub
Chapter 1: Exploring Blender's User Interface for Sculpting
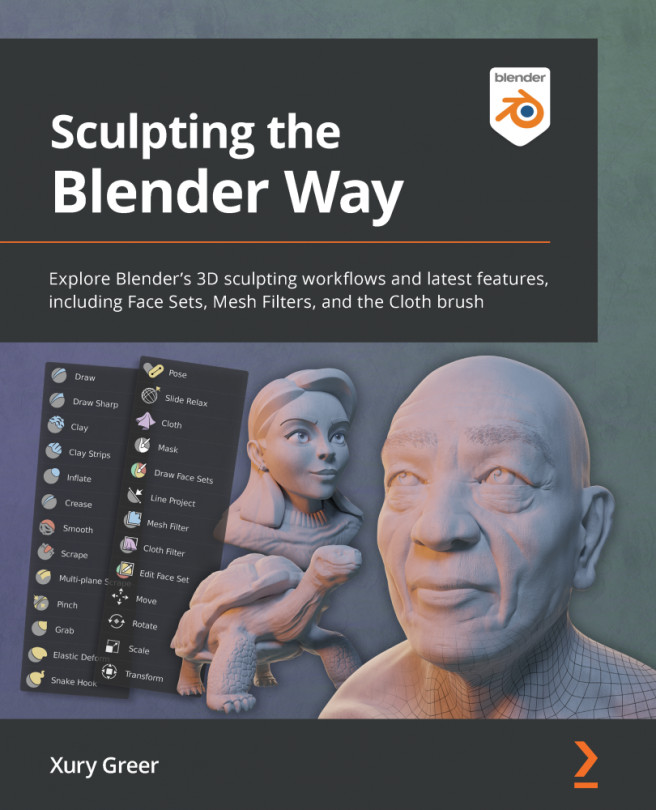
Welcome to Sculpting the Blender Way. Blender is a free and open-source 3D modeling suite, which means it has tools for creating 3D art with many different workflows. The sculpting workflow is widely considered to be the most fun and artistic approach. Blender includes all of the sculpting features you need to create amazing organic 3D artwork and characters. Blender has seen countless improvements to the sculpting process over the last year, so now is an excellent time to learn how to sculpt in Blender.
In this chapter, we will learn how to use Blender's user interface as it pertains to sculpting. No prior knowledge of 3D modeling or sculpting is required to follow along with this book, so don't worry if this is your first experience making 3D art of any kind. The Blender Foundation has created a list of features that you can read about here: https://www.blender.org/features/. This book will be focusing...
Technical requirements
For sculpting in Blender, you will of course need a computer that can run the latest version of Blender. Blender works on all major operating systems, including Windows 8.1, 10, and 11, macOS 10.13+, and Linux. 3D sculpting primarily utilizes the CPU and RAM. A high-end graphics card (GPU) can help for rendering and viewport performance but isn't as important for sculpting performance as the CPU and RAM. You can read more about Blender's hardware requirements here: https://www.blender.org/download/requirements/.
We will need a recent version of Blender that has the latest sculpting features. The features we need are available in Blender version 2.93 and later. Blender 2.93 is a Long-Term Support (LTS) release, so it will get continued support and fixes until June 2023. Blender does not currently have an auto-updater, so if you've downloaded Blender before, you should check that you have at least version 2.93.6 before following along with this...
Installing Blender
First, we'll need to download the latest version of Blender. Blender is available through the Blender Foundation's official website. You do not need to register an account or pay license fees or anything like that; Blender is 100% free and open source!
Getting ready
Make sure your computer meets the requirements for Blender, as mentioned in the Technical requirements section, and then head over to the download page of the Blender website: https://www.blender.org/download/. The website will automatically detect your computer's operating system so you don't have to worry about choosing the correct version.
Now, let's install Blender.
How to do it…
To install Blender from the Blender Foundation website, follow these instructions:
- Navigate to https://www.blender.org/download/.
- Click on the Download Blender... button.
- Once the installer file has been downloaded, click to open the installation wizard.
- Follow...
Understanding Blender's user interface
Blender's User Interface (UI) is highly customizable and offers several presets for different workflows. For this book, we will take a look at Blender's UI as it pertains to the sculpting workflow. Luckily for us, Blender includes a project template specifically for sculpting, so getting started will be easy and we'll be well on our way to exploring the UI.
Getting ready
Launch Blender so that we can take a look at the UI. You'll be greeted by Blender's splash screen. The splash screen is a little floating window that provides quick access to your recent Blender projects and a few helpful links. The first time you launch Blender, the splash screen will provide you with a Quick Setup option, as you can see in the following screenshot:
Figure 1.1 – The Blender splash screen
We recommend leaving all of these settings at their defaults so that your keyboard shortcuts and other settings...
Expanding and collapsing the Toolbar and the Sidebar
Both the Toolbar on the left side and the Sidebar on the right side of the 3D Viewport can be expanded to show more of their contents or collapsed entirely while we aren't using them.
We will spend a lot of time with the Toolbar since all of our sculpting brushes can be found there. Tools can be chosen from the Toolbar by clicking on them. Only one tool can be active at a time; the active tool will be highlighted blue. By default, the Toolbar is in a minimized state, so all we can see are icons. It can be very helpful to expand the Toolbar and display the names of the tools next to the tool icons. Expanding the Sidebar will also give us more information while we work with our tools.
Let's learn how to expand and collapse the Toolbar and the Sidebar.
Getting ready
If you haven't already loaded the sculpting preset, do so now. The tools available on the Toolbar will be different for each Interaction Mode...
Exploring the viewport shading modes
As we saw earlier in this chapter, the 3D Viewport has a region for customizing the display and shading settings. In this topic, we will take a look at the different viewport shading modes available to us.
Getting ready
The viewport shading modes that we are about to see will work in any Blender project. However, it will be difficult to show off these modes without a proper model. We have provided the childHead.blend file for you so that you can follow along with this topic. You can download the file here: https://github.com/PacktPublishing/Sculpting-the-Blender-Way/blob/main/Chapter01/childHead.blend.
Once you've downloaded the example file, open it in Blender by either double-clicking the file or dragging the file into the Blender window and choosing Open. Inside this file, you'll find a nearly identical setup to the sculpting preset we saw earlier. However, this file contains a character sculpture instead of a basic sphere...
Customizing solid shading mode with the pop-over menu
Now that we've seen the different shading modes available to us, let's take a look at how to adjust some of the settings for solid shading mode. Using the correct settings can help for optimizing sculpting performance as well as give us the best visual feedback during our sculpting workflow.
Getting ready
The viewport customization that we are about to explore will work in any Blender project. However, many of the settings will be difficult to demonstrate without a proper model, so we will be using the childHead.blend file again.
How to do it…
Have another look at the viewport shading options in the top-right corner of the 3D Viewport. We need to return to solid shading mode so that we can learn how to customize the solid shading:
- Click on the second of the four sphere icons to set the shading mode to Solid.
On the far-right side of the four shading mode icons, there is a little arrow for opening...
Using viewport overlays
Very similar to the shading options, we have another set of features called overlays. Overlays are extra parts of the viewport that are drawn on top of the regular shading features. This includes things like object outlines and grids.
Let's learn how to use viewport overlays to turn on features that will help us visualize some of the details of our scene, such as the position of the sculpture in 3D space.
Getting ready
We will continue where we left off in the previous topic using the childHead.blend file.
How to do it…
Overlays can be turned on and off either as a group, or individually. Turning overlays on can give us valuable information while we work on our sculptures, but sometimes all the visual clutter can be distracting while we work. Let's learn how to toggle our overlays.
Overlays can be accessed with the icon directly to the left of the shading icons in the top-right corner of the 3D Viewport. You can see the Overlays...
Navigating the 3D Viewport
Navigating in 3D space is fundamental to being able to create 3D art. We have to be able to look at our model from multiple angles while we work.
3D navigation can be broken down into three types of movement: orbit, zoom, and pan. We can see gizmos for these types of navigation in the top-right corner of the 3D Viewport:
Figure 1.20 – The navigation gizmo
Clicking on these gizmos will allow us to orbit, zoom, and pan respectively. However, navigation in 3D is very important, and it is best to use a dedicated button on your mouse or graphics tablet for these functions instead of relying on the gizmos. Orbit, pan, and zoom are all accessible from the middle mouse button, plus one of several modifier keys (Alt, Ctrl, and Shift).
In this topic, we will learn how to perform basic 3D Viewport navigation.
Getting ready
We will continue where we left off in the previous recipe using the childHead.blend file. It will be...
Setting up your graphics tablet's stylus buttons
Using a graphics tablet for sculpting makes a huge difference in ease of use and fine control over our brushstrokes. In particular, graphics tablets offer pressure sensitivity, which will allow us to control the strength of our brushstrokes on the fly.
Graphics tablets come in a variety of forms: pen tablets, pen displays, and touchscreen devices with integrated stylus support.
Pen tablets are often the most affordable option. They can be placed on your desk or held in your lap. Pen tablets do not have an integrated display, so you will have to look up at your computer's display while you move your pen across the tablet. This is not as difficult as it may sound; it's a lot like using a mouse.
Pen displays cost a lot more because they include a display underneath the drawing surface. They usually need lots of extra desk space and a stand to hold up the device. Many artists prefer these types of tablets because...