Search icon
Arrow left icon
All Products
Best Sellers
New Releases
Books
Videos
Audiobooks
Learning Hub
Newsletters
Free Learning
Arrow right icon
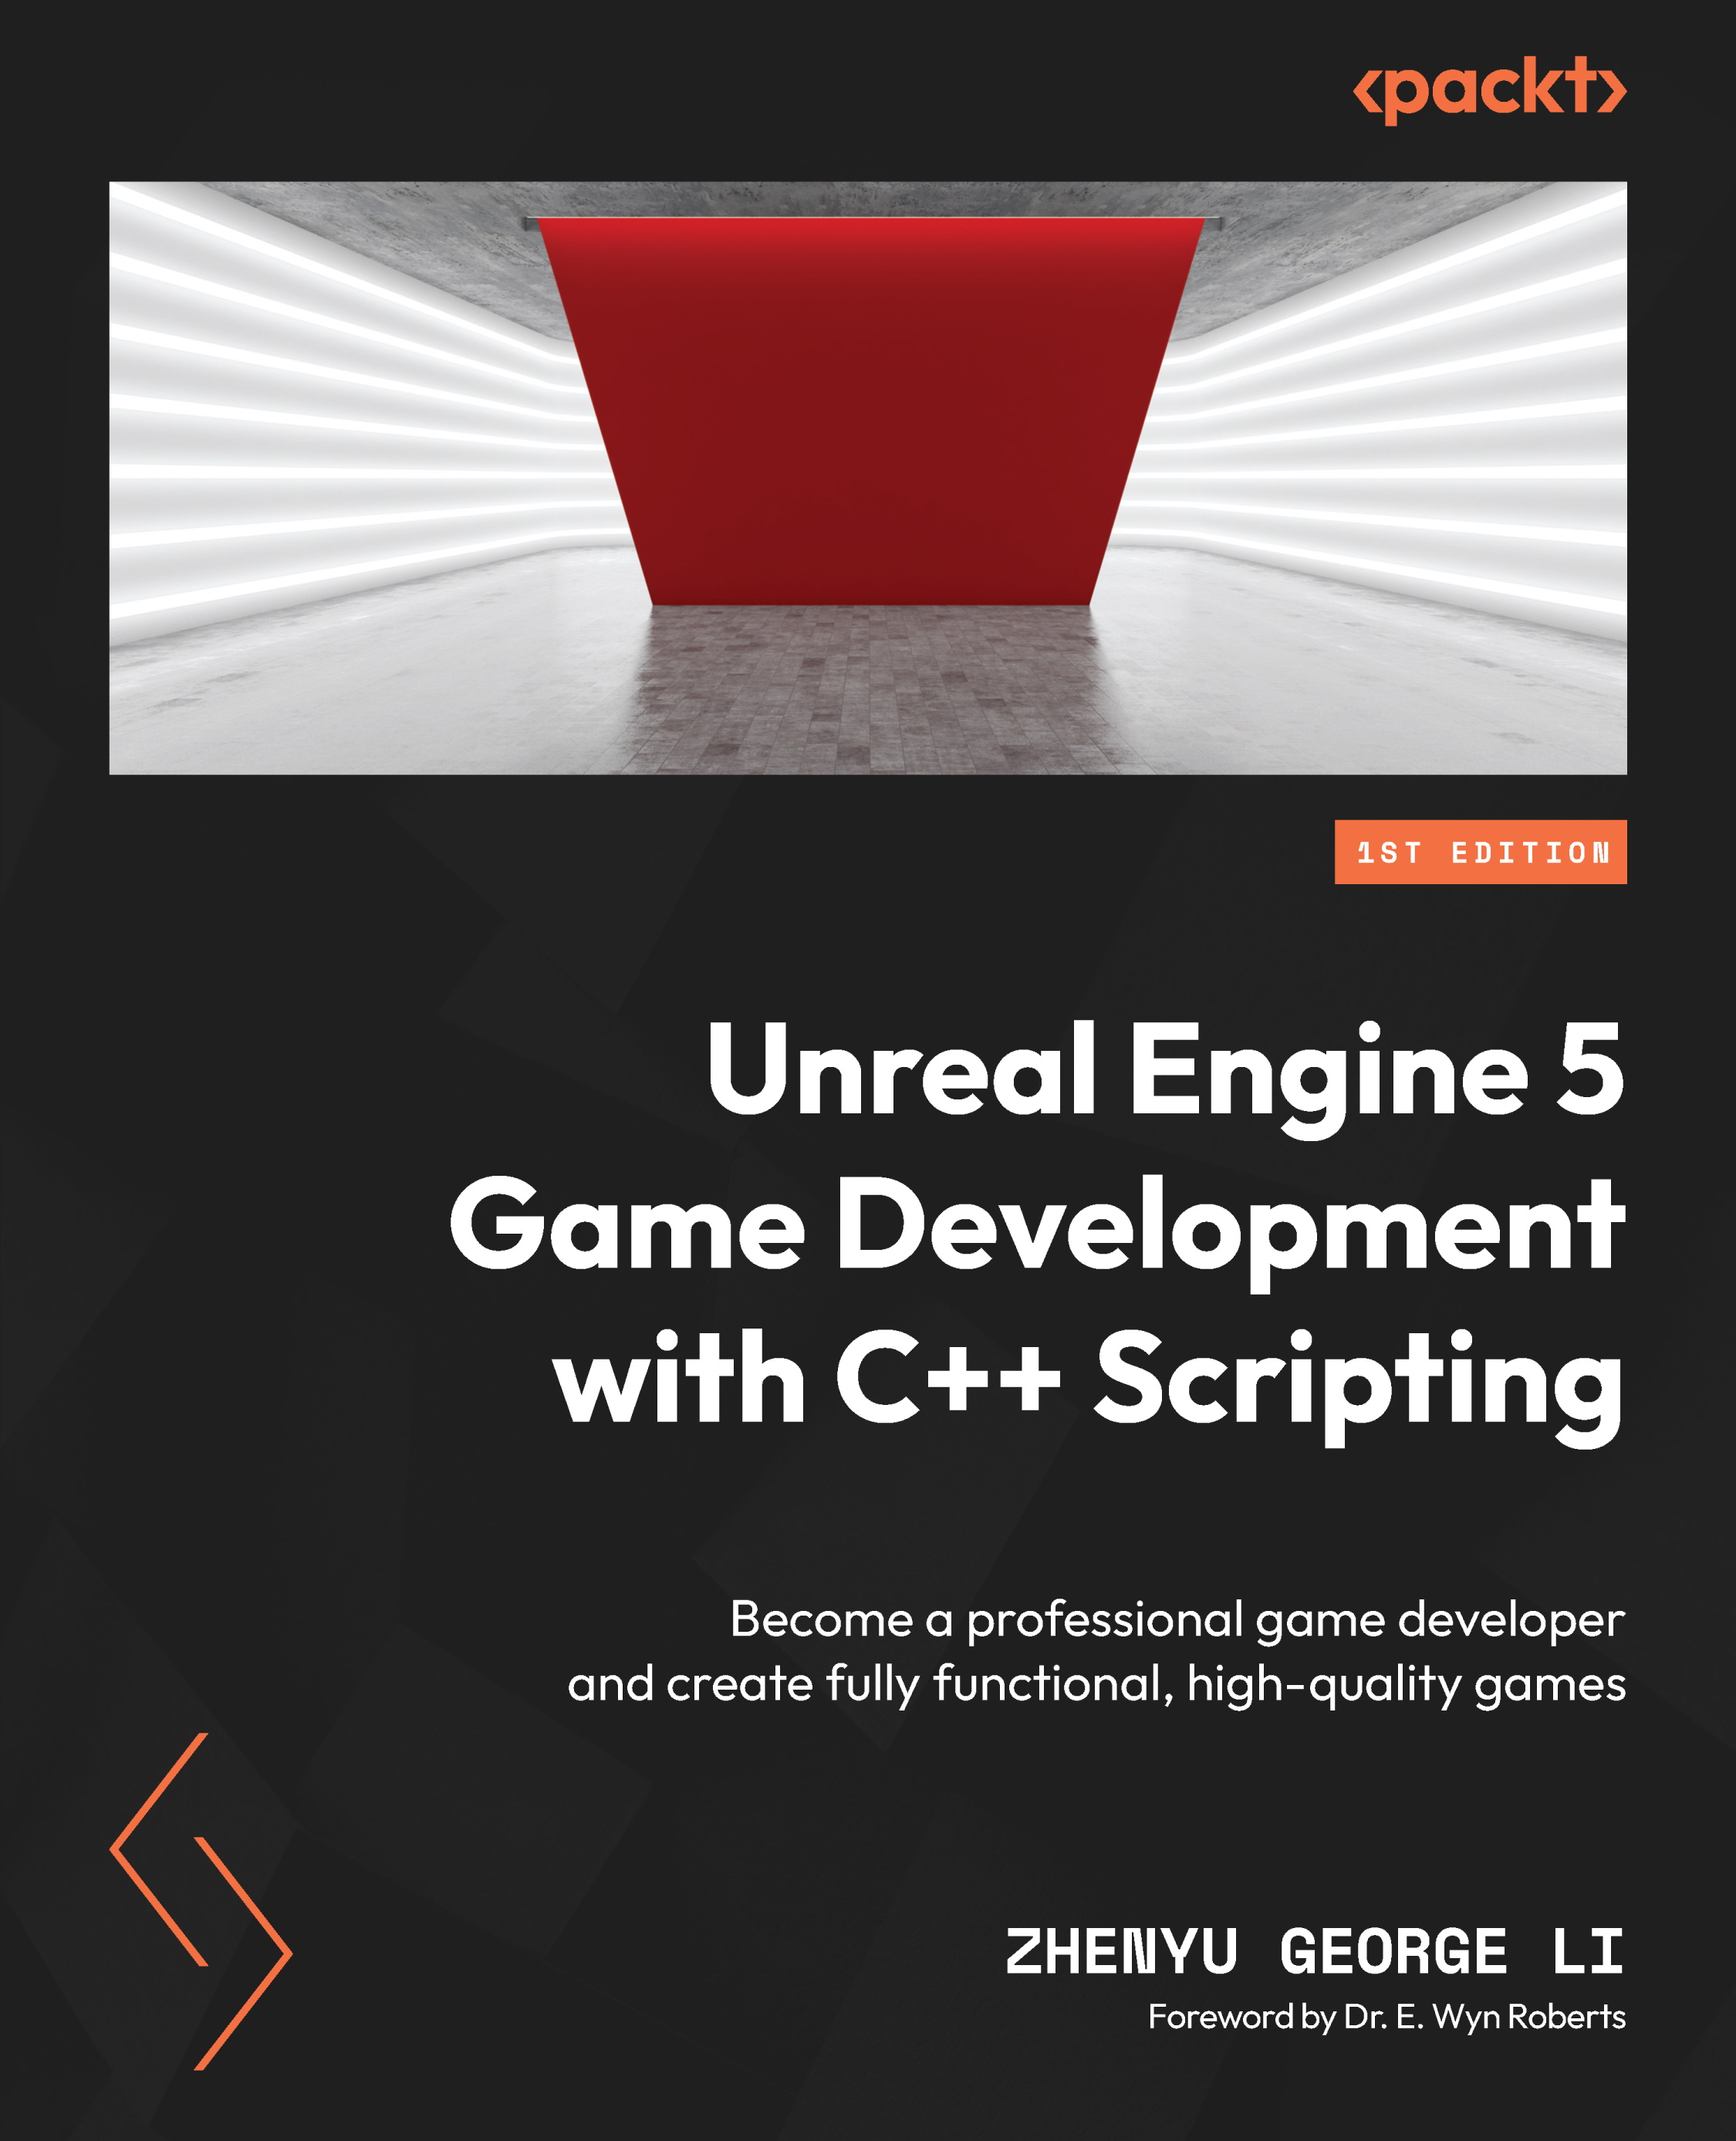
Unreal Engine 5 Game Development with C++ Scripting

Unreal Engine 5 Game Development with C++ Scripting: Become a professional game developer and create fully functional, high-quality games

By ZHENYU GEORGE LI
$49.99
Book Aug 2023 384 pages 1st Edition
eBook
$39.99 $27.98
Print
$49.99
Subscription
$15.99 Monthly
eBook
$39.99 $27.98
Print
$49.99
Subscription
$15.99 Monthly

What do you get with Print?

Product feature icon Instant access to your digital eBook copy whilst your Print order is Shipped
Product feature icon Black & white paperback book shipped to your address
Product feature icon Download this book in EPUB and PDF formats
Product feature icon Access this title in our online reader with advanced features
Product feature icon DRM FREE - Read whenever, wherever and however you want
Buy Now

Product Details


Publication date : Aug 30, 2023
Length 384 pages
Edition : 1st Edition
Language : English
ISBN-13 : 9781804613931
Vendor :
Epic Games
Category :
Languages :
Concepts :
Table of content icon View table of contents Preview book icon Preview Book

Unreal Engine 5 Game Development with C++ Scripting

Creating Your First Unreal C++ Game

Unreal Engine (UE) is one of the most popular 3D computer graphics game engines developed by Epic Games, providing a comprehensive set of tools and functionalities to develop high-quality, immersive 3D simulations. The engine offers its intuitive visual scripting system, Blueprint, and a robust C++ programming framework for developers of all skill levels. This book provides a concise introduction to C++ programming and demonstrates how to write C++ scripts in UE for game development.

In this chapter, you will learn the essential skill of creating an Unreal C++ project from scratch or converting an existing Unreal Blueprint project into an Unreal C++ project, which serves as a fundamental skill to advance in game development. By mastering this process, you will gain the necessary foundation to take your game development abilities to the next level.

This chapter will cover the following topics:

  • Understanding C++ scripting in Unreal
  • Creating your C++ shooter project from a template
  • Converting an existing Blueprint project to a C++ project

Technical requirements

As a reader of this book, you will be expected to have common computer operational skills. You should also have basic knowledge of and experience with the UE5 editor, as well as some Blueprint scripting skills.

To follow this chapter, you should have installed Epic Games Hub and the 5.03 or later version of the engine editor on your computer. If you haven’t done so, please go to the official Epic website (https://www.unrealengine.com/en-US) to register an account and download the Epic Games Launcher.

The minimum required development environment is as follows:

  • Operating system: Windows 10
  • Processor: Intel 7th generation or equivalent
  • Memory: 16 GB of RAM
  • GPU: GTX 1080 (or AMD equivalent)
  • DirectX: Version 12
  • Storage: 25 GB of available space
  • Additional notes: 8 GB of VRAM recommended

The official system requirements can be found here: https://docs.unrealengine.com/5.0/en-US/hardware-and-software-specifications-for-unreal-engine/. To save game editing time in the UE5 editor, it is recommended to use a computer with an i9 (or an AMD equivalent) CPU, 64 GB of RAM, and a GeForce RTX 3060 video card.

Understanding C++ scripting in Unreal

Before getting started, we need to answer some questions that people usually ask about C++ scripting. This will help to clarify the pros and cons of using C++, the reasons to use C++, and the difference between UE C++ scripting and C++ programming.

What is the difference between C++ and Blueprint?

Both C++ and Blueprint are scripting languages that can accomplish the same tasks, but one might be better suited than the other under certain circumstances. The main difference between them is that C++ is a programming language that allows you to write general-purpose, text-based code, whereas Blueprint is a visual scripting system for UE.

For UE projects, game studios usually use both C++ and Blueprint to develop commercial-level games. C++ is usually used for advanced techniques, complex algorithms, and big-scale logic code. If you can script with C++, you will have more chances to work on a professional team.

One of the most important advantages of using C++ is performance. C++ allows you to write low-level operational code. It also provides control over the core system that is not accessible to Blueprint. In addition, the final C++ code will eventually be optimized and compiled to be machine-friendly binary native code. On the other hand, Blueprint scripts are interpreted and executed by a middle layer, which means more execution time.

C++ code and files can be well-organized based on an entire project’s mechanics. It is easy to globally search, locate, and access code blocks to edit, maintain, and troubleshoot. In the meantime, it is also easier to read and understand a big chunk of code that implements complex algorithms and logic. Blueprint, on the other hand, is a context-sensitive scripting environment. Blueprint graphs are relatively independent. When a graph needs to solve complex logic, the nodes and the connection lines create messy spaghetti that can hardly be understood and maintained.

C++ also has some shortcomings. One example is that it may cause critical errors that may crash an entire system. That is usually caused by the developer’s mistakes. Since Blueprint is a protected layer, it is safer, and hence, the chances of the system crashing are fewer.

In conclusion, the choice between C++ and Blueprint should be made based on specific development requirements and conditions, considering the pros and cons of each approach.

When do you use C++?

Both C++ and Blueprint can handle game development processes without a problem. There is no exact rule that regulates when to use C++ or Blueprint. It mainly depends on your experience and the actual needs of different games. You make your own decision based on how much you know about the two scripting systems.

Before you start working on something, you can ask yourself this question: “Where does it make sense to use C++, and where does it make sense to use Blueprints?” We recommend basing your answer on the following aspects and trade-offs:

  • Performance
  • Logic and algorithm complexity
  • Accessibility to a system’s core functions
  • The developer’s experience

If you want higher performance and deal with advanced game logic and system processes, and you are capable of coding and solving complex problems, you should go for C++.

What is the difference between C++ programming and C++ scripting?

You may be confused about the difference between C++ programming and C++ scripting. We want to clarify the meanings of these two terms.

C++ programming means using the C++ programming language to write code for any purpose; it doesn’t have to be just for UE projects. C++ scripting, in this book, is a specific dialect of the C++ programming language supported by the UE. It takes advantage of the power of C++ syntax and also works with UE’s Application Programming Interfaces (APIs), which allow developers to create and extend the engine’s functionalities for their games and the development environment’s context, such as objects, graphics, audio, and network communication.

Now that we have a basic overview of C++ and have learned why and when to use C++ for Unreal game developments, let’s dive deeper into C++ scripting by creating a sample project.

Creating your C++ Shooter project from a template

Now, it’s the time to get your hands dirty working on a UE5 C++ project yourself. We will go through the steps to create a new C++ project from scratch based on the First Person template.

The First Person template is one of the default game templates that come with UE. When you want to create a new project, you can pick this template from the Unreal Project Browser window. Our new MyShooter game will derive all the features from the template game, and we don’t have to do any additional work.

To get started with C++ scripting, we first need to install an IDE. In this book, we will use MS Visual Studio 2022 as an example.

Installing Visual Studio 2022

Visual Studio (VS) is an Integrated Development Environment (IDE) from Microsoft. It is a tool used to create, edit, debug, and compile code. In order to do C++ scripting, you need to go to the official website at https://visualstudio.microsoft.com/vs/ and download the Community 2022 version installation package (see Figure 1.1).

Figure 1.1 – Downloading VS 2022

Figure 1.1 – Downloading VS 2022

Note

To install VS, a Microsoft account is typically required. If you don’t have a Microsoft account, you can register using the following page: https://account.microsoft.com/account/.

Next, launch VisualStudioSetup.exe inside the folder where you downloaded the VS installer (the \Downloads folder, for example).

Enable the two Game development with C++ and Desktop development with C++ checkboxes – these two options tell the installer to install the C++ compiler and the professional game development support for UE (see Figure 1.2).

Figure 1.2 – Picking workloads for the VS installation

Figure 1.2 – Picking workloads for the VS installation

Also, keep an eye on the following options on the Installation details panel that belongs to the Desktop development with C++ group, and make sure the following are checked:

  • C++ profiling tools
  • C++ AddressSanitizer
  • Windows 10 SDK
  • IntelliCode
  • IDE support for Unreal Engine

Then, click the Install button to install the workloads and reboot the system, and then you will see a prompt from the dialog popup (see Figure 1.3):

Figure 1.3 – The VS Done installing dialog box

Figure 1.3 – The VS Done installing dialog box

The next thing we need to do is to confirm that we have installed the engine source code together with the UE5 editor. The reason why we need this is that when we generate a new project, the engine source code can be integrated into the new project; under certain circumstances, we may need to modify or customize the engine for the game’s specific needs.

Ensuring your UE has the source code installed

Before launching the UE5 editor, we first need to check whether Engine Source is installed for the editor. By doing this check, we make sure that the UE5 source code is integrated with the C++ projects we are going to create.

The three steps to check or install the engine source code are as follows:

  1. Click the downward arrow button and choose Options from the drop-down menu.
  2. Make sure that the Engine Source option is checked.
  3. Press the Apply button:
Figure 1.4 – The UE5 Options menu

Figure 1.4 – The UE5 Options menu

UE is an ongoing development product, with bugs and defects that may need to be fixed by its users. Also, professional developers sometimes modify the engine source code to adapt to their specific needs. An example of this is when we face an issue with geometry instancing (or instanced rendering) working only in the game’s development build but not in the release build, which is subsequently resolved by our engineer modifying the engine’s source code.

Note

Geometry instancing is a rendering technique that renders multiple instances of a visual object in a single draw call and provides each instance with some unique attributes: https://en.wikipedia.org/wiki/Geometry_instancing.

We are now ready to start the UE editor through the Epic Games Launcher.

Launching the UE5 editor through the Epic Games Launcher

Launching the UE5 editor is pretty straightforward. You simply click the Launch button on the 5.03 engine card to start the editor (see Figure 1.5).

Figure 1.5 – Launching the UE5 editor from the Epic Games Launcher

Figure 1.5 – Launching the UE5 editor from the Epic Games Launcher

The next thing we want to do is to create a new game project. Let’s name the new project MyShooter.

Creating the MyShooter C++ project

To create the project, follow these steps (and see Figure 1.6 for reference):

  1. In the Unreal Project Browser window, choose the GAMES tab on the left side.
  2. Select the First Person template.
  3. Select the C++ button.
  4. Choose the project location (for example, C:\UEProjects) and type MyShooter in the Project Name field.
  5. Click the Create button.
Figure 1.6 – Creating the MyShooter project

Figure 1.6 – Creating the MyShooter project

The created game project also includes the starter content, which is packaged with assets and resources that can be used to prototype the game.

The engine will do some initialization work and then open the editor when things are ready. If you look at the project tree panel’s MyShooter tab in the bottom-left corner of the editor window, you should see the C++ Classes node on the same layer as the Content node (see Figure 1.7).

Figure 1.7 – The MyShooter C++ project opened in the UE5 editor

Figure 1.7 – The MyShooter C++ project opened in the UE5 editor

Associating VS with UE5 as the default source code editor

Since we created the C++, project, all the C++ source code for the game was already generated. To open the source files directly in the UE5 editor, we want to associate VS as the engine editor’s default IDE.

On the UE5 Editor’s main menu, select Edit | Editor Preferences to open the preference window, then find the General | Source Code item on the left panel, and finally, pick Visual Studio 2022 from the Source Code Editor dropdown (see Figure 1.8).

Figure 1.8 – Making VS the default source code editor

Figure 1.8 – Making VS the default source code editor

You can now use VS to open the source code files.

Opening the C++ source code in VS (optional)

If you want to open and view the C++ source code in VS, you can find the source code file (for example, C++/MyShooter/MyShooterCharacter.cpp) in the project and simply double-click on it (see Figure 1.9).

Figure 1.9 – Opening MyShooterCharacter.cpp source code in VS

Figure 1.9 – Opening MyShooterCharacter.cpp source code in VS

The system will automatically launch VS, and the VS editor will open the MyShooterCharacter.cpp file (see Figure 1.10).

Figure 1.10 – Viewing the MyShooterCharacter.cpp source code in VS

Figure 1.10 – Viewing the MyShooterCharacter.cpp source code in VS

Back in the Unreal editor, click the Play (A picture containing text, electronics, clock radio

Description automatically generated) button to start the game. While playing the game on the battlefield, you can control your character, move them around, and pick up the gun in front of them (see Figure 1.11).

Figure 1.11 – Playing the MyShooter game

Figure 1.11 – Playing the MyShooter game

We have learned how to create a UE C++ project from scratch. However, what if we already have a Blueprint project and want to convert it to a C++ project? UE allows developers to do it by adding a new C++ class to the project. Let’s practice converting a MyBPShooter Blueprint project.

Converting an existing Blueprint project to a C++ project

UE provides a very straightforward way to convert an existing Blueprint project to a C++ project. All you need to do is add a C++ class to your project and then let UE take care of the conversion and add the needed project files:

  1. First of all, you have to create a Blueprint project, MyBPShoopter, under C:\UEProjects (you can choose a different path to create the new project). Use the same steps introduced in the Creating the MyShooter C++ project section, but choose BLUEPRINT instead of C++ for the creation of the MyBPShooter project.
Figure 1.12 – Creating MyBPShooter in UE5

Figure 1.12 – Creating MyBPShooter in UE5

  1. Secondly, open the new project in UE5. Pay attention to the project tree; it doesn’t have the C++ Classes node at this stage.
Figure 1.13 – Open MyBPShooter in UE5

Figure 1.13 – Open MyBPShooter in UE5

  1. Select Tools | New C++ Class from the editor’s main menu, and then, in the Add C++ Class window (see Figure 1.14), choose Character as the base class (a class that contains common attributes and methods that are shared by its derived classes) to create the MyShooterCharacter class.
Figure 1.14 – Adding a new C++ class from the Character class

Figure 1.14 – Adding a new C++ class from the Character class

Once you click the Next> button, it will navigate to the NAME YOUR NEW CHARACTER screen.

  1. On the NAME YOUR NEW CHARACTER screen, type MyBPShooterCharacter into the Name field.
Figure 1.15 – Adding the MyBPShooterCharacter C++ class

Figure 1.15 – Adding the MyBPShooterCharacter C++ class

Please pay attention to the path where the header and the source files will be placed. They look different from the MyShooter project because the C++ node hasn’t been created yet. Don’t worry about it at the moment. Once the conversion job is done, the system will automatically move the files to the right place.

  1. After clicking the Create Class button, you will see a progress bar.
Figure 1.16 – The MyBPShooterCharacter C++ class Adding code to project… progress bar

Figure 1.16 – The MyBPShooterCharacter C++ class Adding code to project… progress bar

Wait for the pop-up message, which indicates that the C++ class job has been added.

Figure 1.17 – A message saying that the MyBPShooterCharacter C++ class is now added

Figure 1.17 – A message saying that the MyBPShooterCharacter C++ class is now added

  1. Click the OK button. Now, you will see the message dialog, which asks you whether you want to edit the code (see Figure 1.18). Choose No here.
Figure 1.18 – Dialog for editing the MyBPShooterCharacter source code

Figure 1.18 – Dialog for editing the MyBPShooterCharacter source code

  1. Shut down your UE editor and reopen MyBPShooter. When you see a dialog that asks whether you want to rebuild the project, answer Yes here.
Figure 1.19 – The rebuilding MyBPShooter dialog

Figure 1.19 – The rebuilding MyBPShooter dialog

When it is done, you will find the new C++ Classes node on the project tree, and the MyShooterCharacter class is already placed in the MyBPShooter folder:

Figure 1.20 – The converted MyBPShooter C++ project

Figure 1.20 – The converted MyBPShooter C++ project

You may have noticed that some other files, such as MyBPShooterGameMode are missing, in comparison with the MyShooter project. That is because the Blueprint versions already exist, so the corresponding C++ versions are not automatically generated. You can choose to manually convert those blueprints to C++ classes only when necessary; otherwise, you just keep the blueprints.

Summary

In this chapter, we introduced C++ and the advantages of using it for professional game development. Then, you practiced creating the new MyShooter C++ project and converting the MyBPShooter Blueprint project to a C++ project. Plus, you also set up the development environment with VS and the C++ solution files.

In the next chapter, we will first walk through each part of the IDE’s user interface. Then, you will create a C++ project and practice writing some simple C++ code. Some code editing tricks will be introduced while editing your code.

Left arrow icon Right arrow icon
Download code icon Download Code

Key benefits

  • Learn C++ programming as well as C++ scripting for Unreal Engine 5
  • Practice the UE5 scripting APIs through a game project to improve your knowledge and skills
  • Explore essential techniques and development cycles including design, implementation, optimization, and publishing

Description

Unreal Engine is one of the most popular and accessible game engines in the industry, creating multiple job opportunities. Owing to C++ scripting's high performance, advanced algorithms, and engineering maintenance, it has become the industry standard for developing commercial games. However, C++ scripting can be overwhelming for anyone without a programming background. Unreal Engine 5 Game Development with C++ Scripting will help you master C++ and get a head start on your game development journey. You’ll start by creating an Unreal Engine C++ project from the shooter template and then move on to building the C++ project and the C++ code inside the Visual Studio editor. You’ll be introduced to the fundamental C++ syntax and essential object-oriented programming concepts. For a holistic understanding of game development, you’ll also uncover various aspects of the game, including character creation, player input and character control, gameplay, collision detection, UI, networking, and packaging a completed multiplayer game. By the end of this book, you’ll be well-equipped to create professional, high-quality games using Unreal Engine 5 with C++, and will have built a solid foundation for more advanced C++ programming and game development technologies.

What you will learn

Develop coding skills in Microsoft Visual Studio and the Unreal Engine editor Discover C++ programming for Unreal Engine C++ scripting Understand object-oriented programming concepts and C++-specific syntax Explore NPC controls, collisions, interactions, navigation, UI, and the multiplayer mechanism Use the predefined Unreal Engine classes and the programming mechanism Write code to solve practical problems and accomplish tasks Implement solutions and methods used in game development

What do you get with Print?

Product feature icon Instant access to your digital eBook copy whilst your Print order is Shipped
Product feature icon Black & white paperback book shipped to your address
Product feature icon Download this book in EPUB and PDF formats
Product feature icon Access this title in our online reader with advanced features
Product feature icon DRM FREE - Read whenever, wherever and however you want
Buy Now

Product Details


Publication date : Aug 30, 2023
Length 384 pages
Edition : 1st Edition
Language : English
ISBN-13 : 9781804613931
Vendor :
Epic Games
Category :
Languages :
Concepts :

Table of Contents

18 Chapters
Preface Chevron down icon Chevron up icon
Part 1 – Getting Started with Unreal C++ Scripting Chevron down icon Chevron up icon
Chapter 1: Creating Your First Unreal C++ Game Chevron down icon Chevron up icon
Chapter 2: Editing C++ Code in Visual Studio Chevron down icon Chevron up icon
Chapter 3: Learning C++ and Object-Oriented Programming Chevron down icon Chevron up icon
Chapter 4: Investigating the Shooter Game’s Generated Project and C++ Code Chevron down icon Chevron up icon
Part 2 – C++ Scripting for Unreal Engine Chevron down icon Chevron up icon
Chapter 5: Learning How to Use UE Gameplay Framework Base Classes Chevron down icon Chevron up icon
Chapter 6: Creating Game Actors Chevron down icon Chevron up icon
Chapter 7: Controlling Characters Chevron down icon Chevron up icon
Chapter 8: Handling Collisions Chevron down icon Chevron up icon
Chapter 9: Improving C++ Code Quality Chevron down icon Chevron up icon
Part 3: Making a Complete Multiplayer Game Chevron down icon Chevron up icon
Chapter 10: Making Pangaea a Network Multiplayer Game Chevron down icon Chevron up icon
Chapter 11: Controlling the Game Flow Chevron down icon Chevron up icon
Chapter 12: Polishing and Packaging the Game Chevron down icon Chevron up icon
Index Chevron down icon Chevron up icon
Other Books You May Enjoy Chevron down icon Chevron up icon

Customer reviews

Filter icon Filter
Top Reviews
Rating distribution
Empty star icon Empty star icon Empty star icon Empty star icon Empty star icon 0
(0 Ratings)
5 star 0%
4 star 0%
3 star 0%
2 star 0%
1 star 0%

Filter reviews by


No reviews found
Get free access to Packt library with over 7500+ books and video courses for 7 days!
Start Free Trial

FAQs

What is the delivery time and cost of print book? Chevron down icon Chevron up icon

Shipping Details

USA:

'

Economy: Delivery to most addresses in the US within 10-15 business days

Premium: Trackable Delivery to most addresses in the US within 3-8 business days

UK:

Economy: Delivery to most addresses in the U.K. within 7-9 business days.
Shipments are not trackable

Premium: Trackable delivery to most addresses in the U.K. within 3-4 business days!
Add one extra business day for deliveries to Northern Ireland and Scottish Highlands and islands

EU:

Premium: Trackable delivery to most EU destinations within 4-9 business days.

Australia:

Economy: Can deliver to P. O. Boxes and private residences.
Trackable service with delivery to addresses in Australia only.
Delivery time ranges from 7-9 business days for VIC and 8-10 business days for Interstate metro
Delivery time is up to 15 business days for remote areas of WA, NT & QLD.

Premium: Delivery to addresses in Australia only
Trackable delivery to most P. O. Boxes and private residences in Australia within 4-5 days based on the distance to a destination following dispatch.

India:

Premium: Delivery to most Indian addresses within 5-6 business days

Rest of the World:

Premium: Countries in the American continent: Trackable delivery to most countries within 4-7 business days

Asia:

Premium: Delivery to most Asian addresses within 5-9 business days

Disclaimer:
All orders received before 5 PM U.K time would start printing from the next business day. So the estimated delivery times start from the next day as well. Orders received after 5 PM U.K time (in our internal systems) on a business day or anytime on the weekend will begin printing the second to next business day. For example, an order placed at 11 AM today will begin printing tomorrow, whereas an order placed at 9 PM tonight will begin printing the day after tomorrow.


Unfortunately, due to several restrictions, we are unable to ship to the following countries:

  1. Afghanistan
  2. American Samoa
  3. Belarus
  4. Brunei Darussalam
  5. Central African Republic
  6. The Democratic Republic of Congo
  7. Eritrea
  8. Guinea-bissau
  9. Iran
  10. Lebanon
  11. Libiya Arab Jamahriya
  12. Somalia
  13. Sudan
  14. Russian Federation
  15. Syrian Arab Republic
  16. Ukraine
  17. Venezuela
What is custom duty/charge? Chevron down icon Chevron up icon

Customs duty are charges levied on goods when they cross international borders. It is a tax that is imposed on imported goods. These duties are charged by special authorities and bodies created by local governments and are meant to protect local industries, economies, and businesses.

Do I have to pay customs charges for the print book order? Chevron down icon Chevron up icon

The orders shipped to the countries that are listed under EU27 will not bear custom charges. They are paid by Packt as part of the order.

List of EU27 countries: www.gov.uk/eu-eea:

A custom duty or localized taxes may be applicable on the shipment and would be charged by the recipient country outside of the EU27 which should be paid by the customer and these duties are not included in the shipping charges been charged on the order.

How do I know my custom duty charges? Chevron down icon Chevron up icon

The amount of duty payable varies greatly depending on the imported goods, the country of origin and several other factors like the total invoice amount or dimensions like weight, and other such criteria applicable in your country.

For example:

  • If you live in Mexico, and the declared value of your ordered items is over $ 50, for you to receive a package, you will have to pay additional import tax of 19% which will be $ 9.50 to the courier service.
  • Whereas if you live in Turkey, and the declared value of your ordered items is over € 22, for you to receive a package, you will have to pay additional import tax of 18% which will be € 3.96 to the courier service.
How can I cancel my order? Chevron down icon Chevron up icon

Cancellation Policy for Published Printed Books:

You can cancel any order within 1 hour of placing the order. Simply contact customercare@packt.com with your order details or payment transaction id. If your order has already started the shipment process, we will do our best to stop it. However, if it is already on the way to you then when you receive it, you can contact us at customercare@packt.com using the returns and refund process.

Please understand that Packt Publishing cannot provide refunds or cancel any order except for the cases described in our Return Policy (i.e. Packt Publishing agrees to replace your printed book because it arrives damaged or material defect in book), Packt Publishing will not accept returns.

What is your returns and refunds policy? Chevron down icon Chevron up icon

Return Policy:

We want you to be happy with your purchase from Packtpub.com. We will not hassle you with returning print books to us. If the print book you receive from us is incorrect, damaged, doesn't work or is unacceptably late, please contact Customer Relations Team on customercare@packt.com with the order number and issue details as explained below:

  1. If you ordered (eBook, Video or Print Book) incorrectly or accidentally, please contact Customer Relations Team on customercare@packt.com within one hour of placing the order and we will replace/refund you the item cost.
  2. Sadly, if your eBook or Video file is faulty or a fault occurs during the eBook or Video being made available to you, i.e. during download then you should contact Customer Relations Team within 14 days of purchase on customercare@packt.com who will be able to resolve this issue for you.
  3. You will have a choice of replacement or refund of the problem items.(damaged, defective or incorrect)
  4. Once Customer Care Team confirms that you will be refunded, you should receive the refund within 10 to 12 working days.
  5. If you are only requesting a refund of one book from a multiple order, then we will refund you the appropriate single item.
  6. Where the items were shipped under a free shipping offer, there will be no shipping costs to refund.

On the off chance your printed book arrives damaged, with book material defect, contact our Customer Relation Team on customercare@packt.com within 14 days of receipt of the book with appropriate evidence of damage and we will work with you to secure a replacement copy, if necessary. Please note that each printed book you order from us is individually made by Packt's professional book-printing partner which is on a print-on-demand basis.

What tax is charged? Chevron down icon Chevron up icon

Currently, no tax is charged on the purchase of any print book (subject to change based on the laws and regulations). A localized VAT fee is charged only to our European and UK customers on eBooks, Video and subscriptions that they buy. GST is charged to Indian customers for eBooks and video purchases.

What payment methods can I use? Chevron down icon Chevron up icon

You can pay with the following card types:

  1. Visa Debit
  2. Visa Credit
  3. MasterCard
  4. PayPal
What is the delivery time and cost of print books? Chevron down icon Chevron up icon

Shipping Details

USA:

'

Economy: Delivery to most addresses in the US within 10-15 business days

Premium: Trackable Delivery to most addresses in the US within 3-8 business days

UK:

Economy: Delivery to most addresses in the U.K. within 7-9 business days.
Shipments are not trackable

Premium: Trackable delivery to most addresses in the U.K. within 3-4 business days!
Add one extra business day for deliveries to Northern Ireland and Scottish Highlands and islands

EU:

Premium: Trackable delivery to most EU destinations within 4-9 business days.

Australia:

Economy: Can deliver to P. O. Boxes and private residences.
Trackable service with delivery to addresses in Australia only.
Delivery time ranges from 7-9 business days for VIC and 8-10 business days for Interstate metro
Delivery time is up to 15 business days for remote areas of WA, NT & QLD.

Premium: Delivery to addresses in Australia only
Trackable delivery to most P. O. Boxes and private residences in Australia within 4-5 days based on the distance to a destination following dispatch.

India:

Premium: Delivery to most Indian addresses within 5-6 business days

Rest of the World:

Premium: Countries in the American continent: Trackable delivery to most countries within 4-7 business days

Asia:

Premium: Delivery to most Asian addresses within 5-9 business days

Disclaimer:
All orders received before 5 PM U.K time would start printing from the next business day. So the estimated delivery times start from the next day as well. Orders received after 5 PM U.K time (in our internal systems) on a business day or anytime on the weekend will begin printing the second to next business day. For example, an order placed at 11 AM today will begin printing tomorrow, whereas an order placed at 9 PM tonight will begin printing the day after tomorrow.


Unfortunately, due to several restrictions, we are unable to ship to the following countries:

  1. Afghanistan
  2. American Samoa
  3. Belarus
  4. Brunei Darussalam
  5. Central African Republic
  6. The Democratic Republic of Congo
  7. Eritrea
  8. Guinea-bissau
  9. Iran
  10. Lebanon
  11. Libiya Arab Jamahriya
  12. Somalia
  13. Sudan
  14. Russian Federation
  15. Syrian Arab Republic
  16. Ukraine
  17. Venezuela