


Introducing the Build Settings menu
There are times during development when you may want to see what your game looks like outside of the editor. It can give you a sense of accomplishment. I know I felt that way the first time I pushed a build to a console devkit. Whether it’s for PC, Macintosh, Linux, web player, mobile, or console, we have to go through the same menu – the Build Settings menu:
- Start off by opening up the project we created in Chapter 1, Building Your Game. In addition, open the scene we created (
SampleScene.unity, which is inside theScenesfolder):
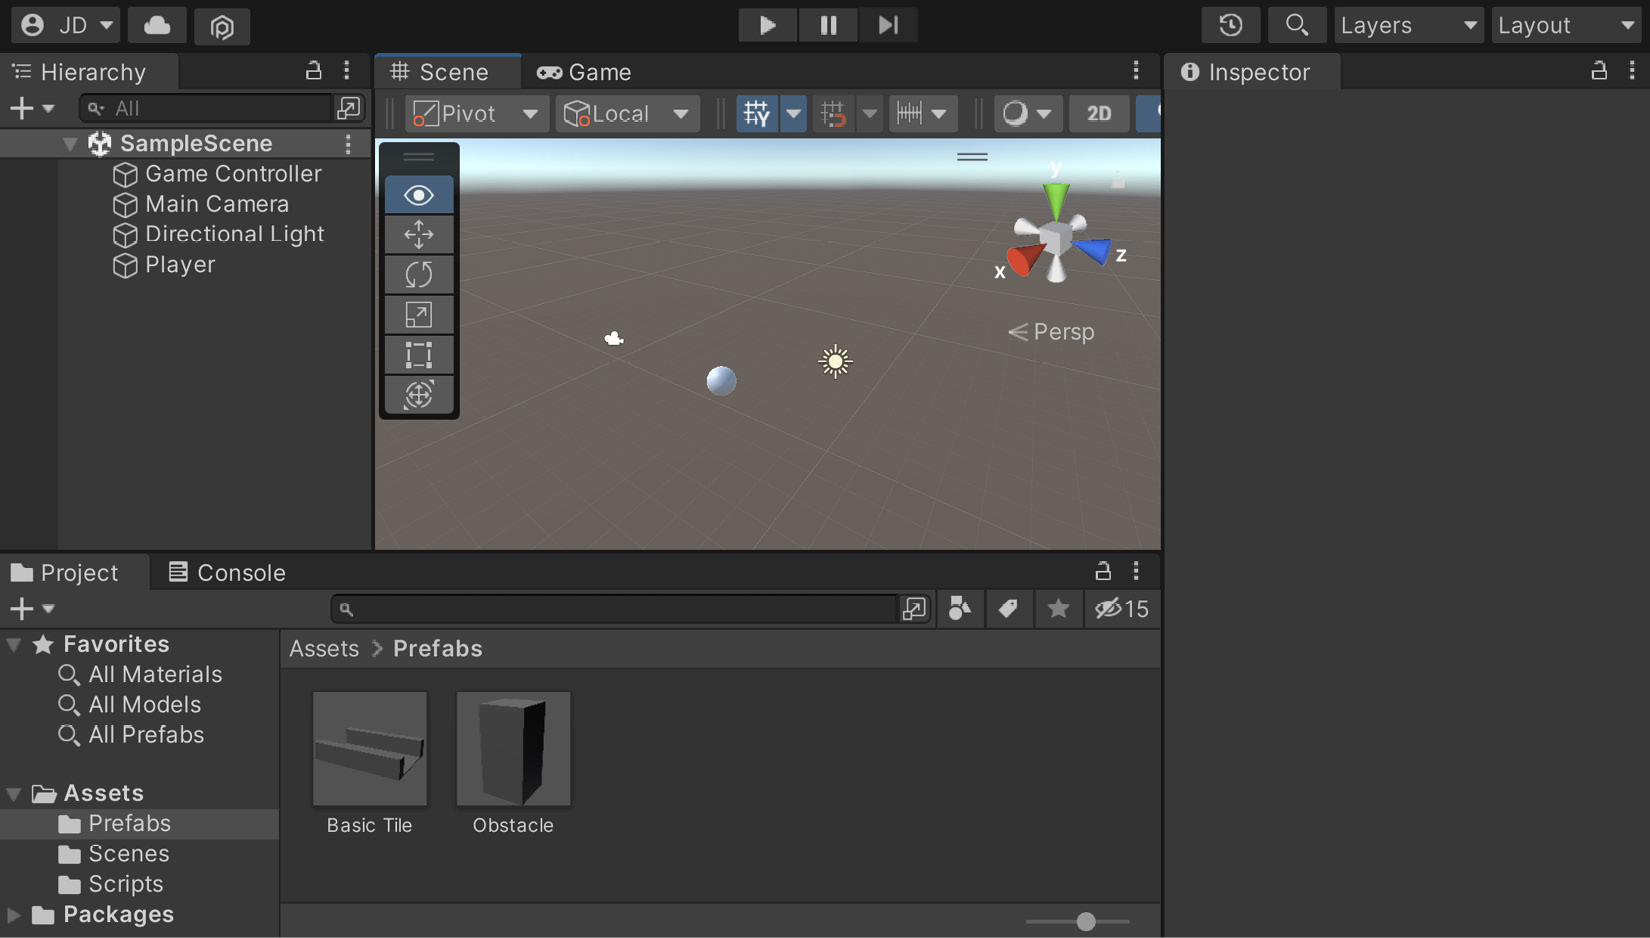
Figure 2.1 –The SampleScene file
- Since the scene is our gameplay, let’s rename the file by first opening the
Scenesfolder in the Project window, right-clicking on theSampleSceneobject, and selecting Rename. Rename the file toGameplayand then press the Enter key to submit the change. Unity will ask whether you want to reload the scene. Do so...


