


Configuring a ControlLogix module
In this exercise, we will learn to add a ControlLogix module to a Logix project and look at a typical module configuration by performing these steps:
- First, we will need to open RSLogix 5000 / Studio 5000 Logix Designer. Create a new project, and select a ControlLogix controller (in my case, I selected 1756-L73 on Slot #0). This process varies between versions of the Logix, so I will not show these steps in detail.
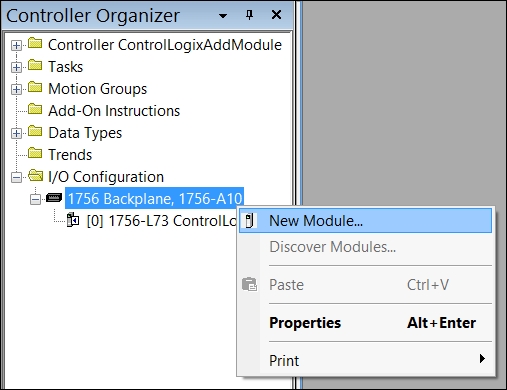
- Next, we will add the module by right-clicking on the Controller Organizer pane's IO Configuration tree, and selecting New Module…, as shown in the following screenshot:
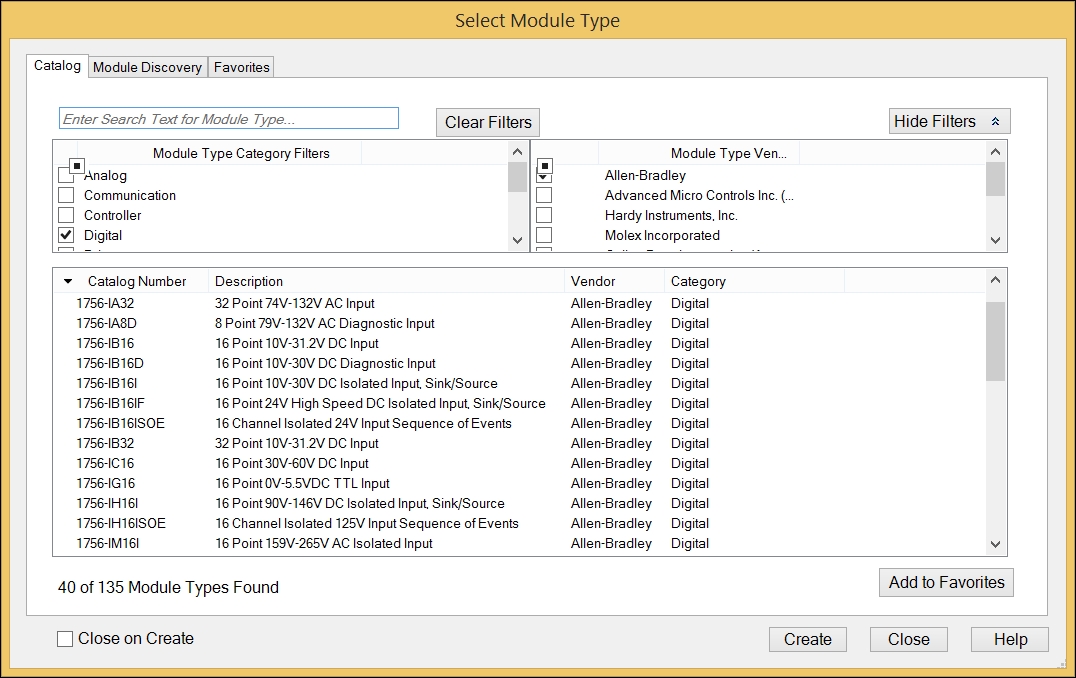
- Now, we can select the module we wish to configure. For our example, it will be a digital input module, 1756-IB16D 16 Point 10V-30V DC Diagnostic Input. The Select Module Type window varies from version to version of Logix, but regardless of the software, it is relatively easy to locate our module.
- Next, we will configure the module by providing these inputs:
- Name:
R01_S01...
- Name:


