Creating Simple Tables
After creating the database, we want to create a table The create table statement is part of the SQL standard. The create table statement allows you to configure your table, your columns, and all your relations and constraints. Along with the create table command, you're going to pass the table name and a list of column definitions. At the minimum for every column, you must provide the column name and the data type the column will hold.
Let's say you want to add a table called Student to the previously created database, studentdemo, and you want this table to contain the following details:
- Student name: The student's full name.
- Student ID: A value to identify each student uniquely.
- Grade: Each student is graded as A, B, or C based on their performance.
- Age: The age of the student.
- Course: The course they are enrolled on.
To achieve this, we need to complete a two-step process:
- To set the current database as
studentdemo, enter the following code in the new query tab:
Figure 1.10: Switching from the default database to our database
You can open a new query tab, by clicking
File|New Query Tab. - Create a table
Studentwithinstudentdemowith the following columns:create table Student ( StudentID CHAR (4), StudentName VARCHAR (30), grade CHAR(1), age INT, course VARCHAR(50), PRIMARY KEY (StudentID) );
The preceding code creates a Student table with the following columns:
StudentIDwill contain four character values.'S001','ssss', and'SSSS'are all valid inputs and can be stored in theStudentIDfield.gradewill just contain a single character.'A','F','h','1', and'z'are all valid inputs.StudentNamewill contain variable-length values, which can be 30 characters in size at most.'John','Parker','Anna','Cleopatra', and'Smith'are all valid inputs.coursewill also contain variable-length values, which can be 50 characters in size at most.agewill be an integer value.1,34,98,345are all valid values.
StudentID is defined as the primary key. This implies that all the values in the StudentID field will be unique, and no value can be null. You can uniquely identify any record in the Student table using StudentID. We will learn about primary keys in detail in Chapter 3, Normalization.
Note
NULL is used to represent missing values.
Notice that we have provided the PRIMARY KEY constraint for StudentID because we require this to be unique.
Once your table has been created successfully, you will see it in the Schemas tab of the Navigator pane:

Figure 1.11: The Schemas tab in the Navigator pane
Exercise 1.01: Building the PACKT_ONLINE_SHOP Database
In this exercise, we're going to start building the database for a Packt Online Shop—a store that sells a variety of items to customers. We will be using the MySQL Community Server in this book. The Packt Online Shop has been working on spreadsheets so far, but as they plan to scale up, they realize that this is not a feasible option, and so they wish to move toward data management through SQL. The first step in this process will be to create a database named PACKT_ONLINE_SHOP with a table for storing their customer details. Perform the following steps to complete this exercise:
- Create a database using the
createstatement:create database PACKT_ONLINE_SHOP;
- Switch to this database:
use PACKT_ONLINE_SHOP;
- Create the
Customerstable:create table Customers ( FirstName varchar(50) , MiddleName varchar(50) , LastName varchar(50) , HomeAddress varchar(250) , Email varchar(200) , Phone varchar(50) , Notes varchar(250) );
Note
Similar to
varchar,nvarcharis a variable-length data type; however, innvarchar, the data is stored in Unicode, not in ASCII. Therefore, columns defined withnvarcharcan contain values in other languages as well.nvarcharrequires 2 bytes per character, whereasvarcharuses 1 byte. - Execute the statement by clicking the Execute button:

Figure 1.12: Creating the Customers table
- Review the table by right-clicking the table in the
Schemas taband clickingSelect Rows - Limit 1000in the contextual menu:
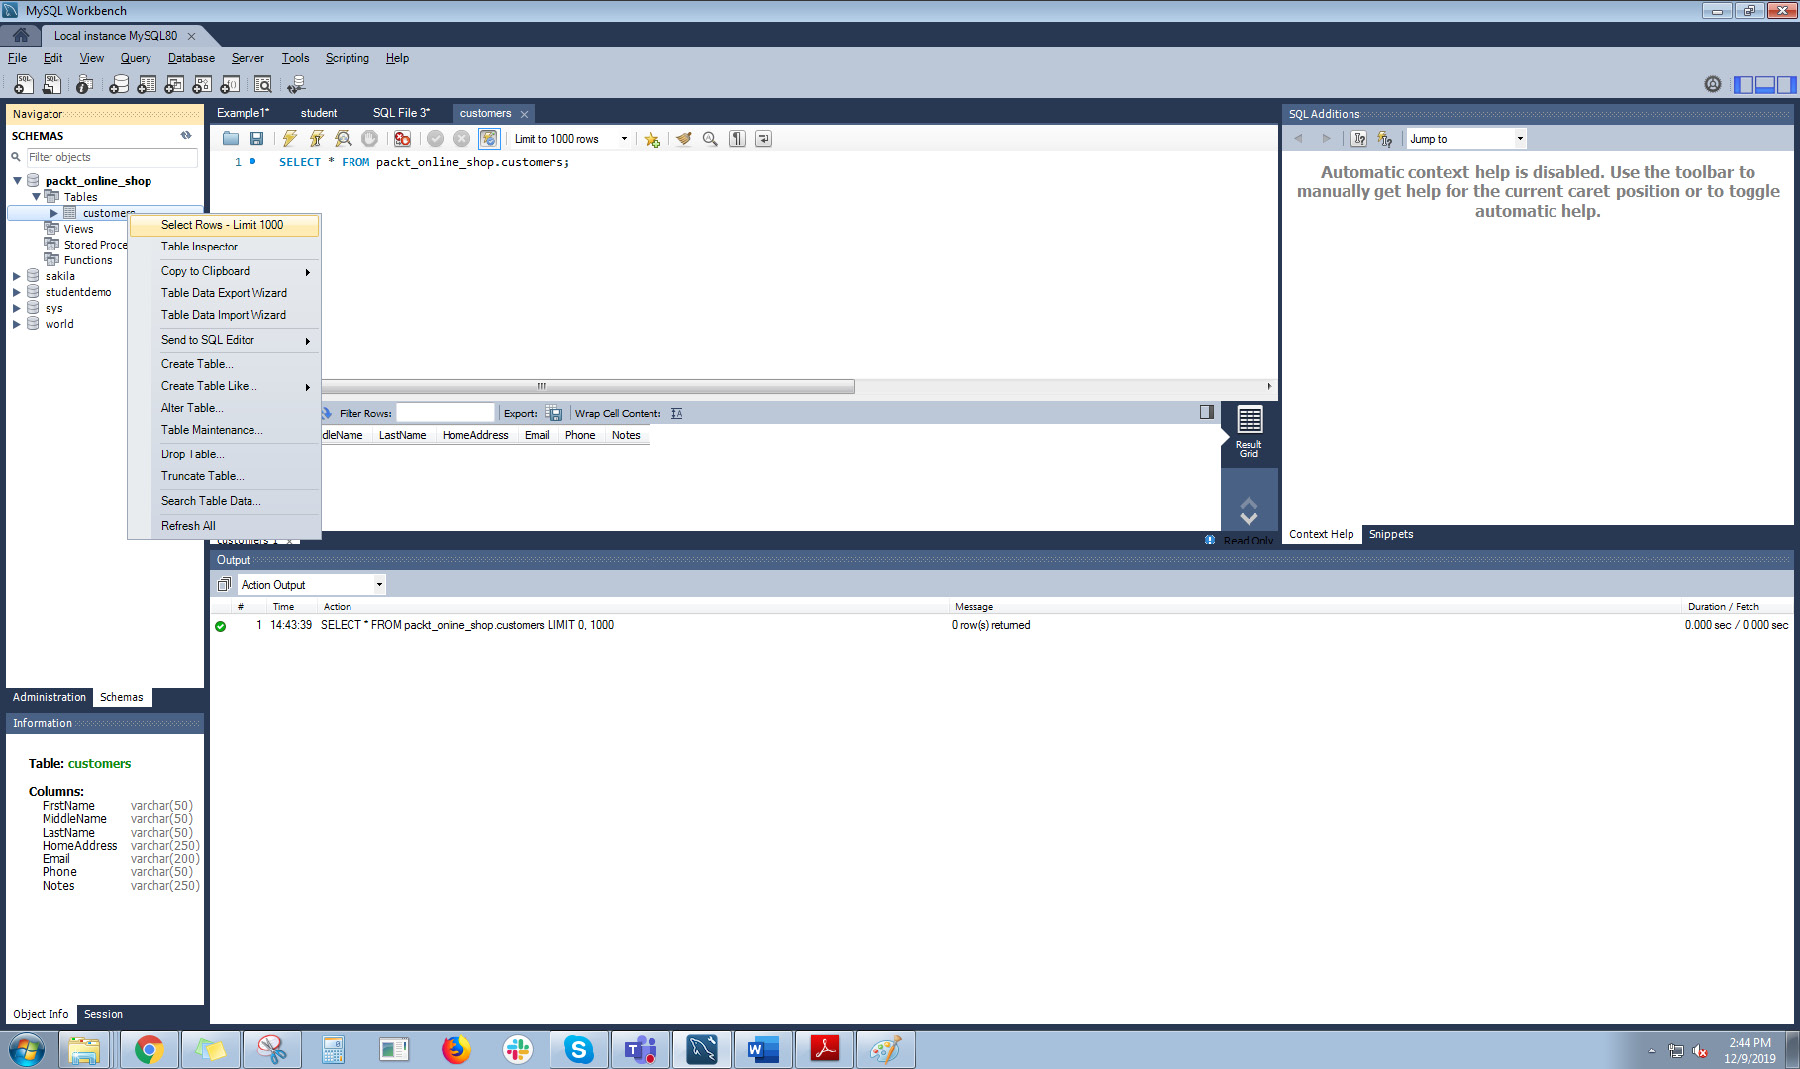
Figure 1.13: Column headers displayed through the SELECT query
This runs a simple Select query. You will learn about the Select statement in Chapter 4, The SELECT Statement. The top 1,000 rows are displayed. Since we have not inserted values into the table yet, we are only able to view the column headers in Result Grid.
Note
If you are working on Microsoft SQL Server, you can do this by right-clicking the table in the Object Explorer window and then selecting Select Top 1000 Rows.
In the next section, we will look at inserting values into tables.